Use Oracle VirtualBox on Oracle Linux
Introduction
Oracle VirtualBox is a cross-platform virtualization product that enables you to run multiple operating systems on your macOS, Windows, Linux, or Oracle Solaris systems. While providing the ability to run multiple virtual machines on a host system, VirtualBox also allows managing resources in Oracle Cloud Infrastructure.
Objectives
In this tutorial, you will learn to:
- Install Oracle VirtualBox on Oracle Linux
- Install the VirtualBox Extension Pack
- Use VirtualBox to create a new Oracle Linux virtual machine
- Install VirtualBox Guest Additions to a Virtual Machine
Prerequisites
Minimum of one Oracle Linux instance
Each system should have Oracle Linux installed and configured with:
- An Oracle user account (used during the installation) with sudo access
- A graphical desktop
- A VNC (Virtual Network Computing) server if running a headless/remote system
If installing on an Oracle Cloud Infrastructure (OCI) instance, you'll need to use an Intel CPU shape such as VM.Standard3.Flex.
Deploy Oracle Linux
Note: If running in your own tenancy, read the linux-virt-labs GitHub project README.md and complete the prerequisites before deploying the lab environment.
Open a terminal on the Luna Desktop.
Clone the
linux-virt-labsGitHub project.git clone https://github.com/oracle-devrel/linux-virt-labs.gitChange into the working directory.
cd linux-virt-labs/olInstall the required collections.
ansible-galaxy collection install -r requirements.ymlUpdate the Oracle Linux instance configuration.
cat << EOF | tee instances.yml > /dev/null
compute_instances:
  1:
    instance_name: "ol-vbox"
    type: "vbox"
    boot_volume_size_in_gbs: 512
use_vnc: true
dwnld_ol_iso: true
instance_ocpus: 8
instance_memory: 128
EOF
Deploy the lab environment.
ansible-playbook create_instance.yml -e localhost_python_interpreter="/usr/bin/python3.6" -e "@instances.yml" -e instance_shape="VM.Standard3.Flex"The free lab environment requires the extra variable
local_python_interpreter, which setsansible_python_interpreterfor plays running on localhost. This variable is needed because the environment installs the RPM package for the Oracle Cloud Infrastructure SDK for Python, located under the python3.6 modules.The default deployment shape uses the AMD CPU and Oracle Linux 8. To use an Intel CPU or Oracle Linux 9, add -e instance_shape="VM.Standard3.Flex" or -e os_version="9" to the deployment command.
Important: Wait for the playbook to run successfully and reach the pause task. At this stage of the playbook, the installation of Oracle Linux is complete, and the instances are ready. Take note of the previous play, which prints the public and private IP addresses of the nodes it deploys and any other deployment information needed while running the lab.
Access the Oracle Linux GUI Desktop Environment
Open a new terminal and connect via SSH to the ol-vbox instance.
The
-Loption enables local forwarding, which opens a local port to connect through an SSH tunnel to the remote VNC server.ssh -L 5914:localhost:5901 oracle@<ip_address_of_instance>Switch to the Luna Desktop.
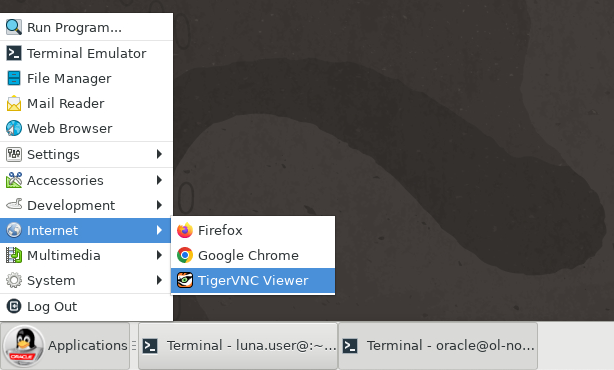
Open the TigerVNC Viewer by clicking the Applications menu, Internet, and then TigerVNC Viewer.
Log on to the deployed server's GUI environment by entering
localhost:5914into the VNC Server text box and pressing the Connect button.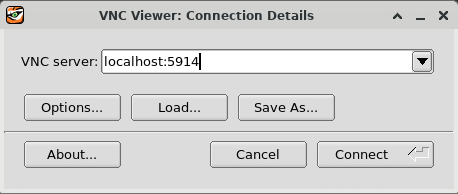
Enter the
oracleuser's password of oracle and press the OK button.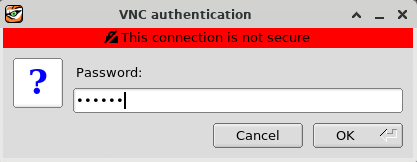
The Server's GUI desktop is displayed with a first-time login setup.
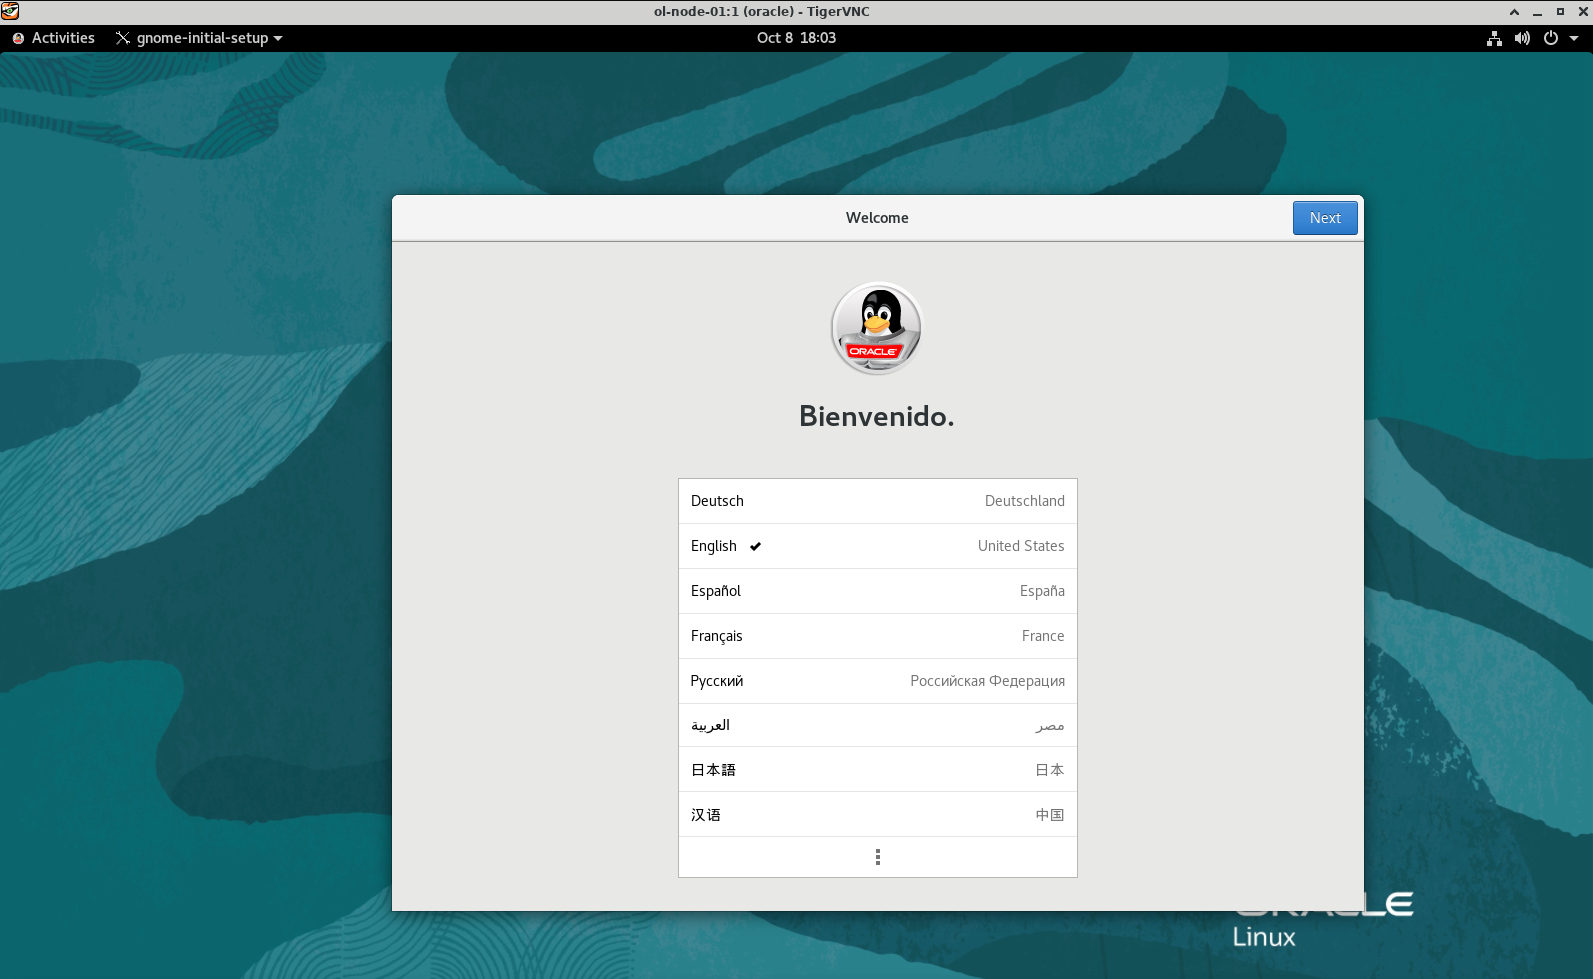
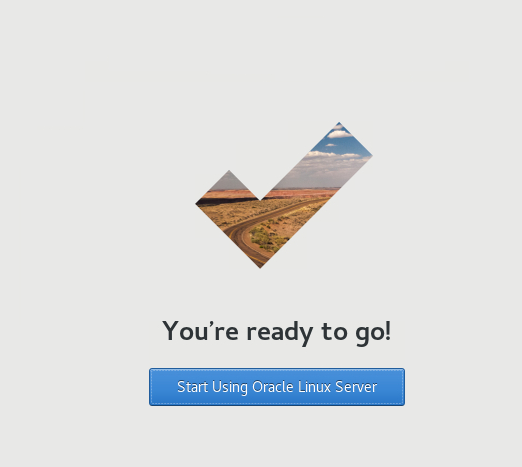
Press the Next button three times, then the Skip button, followed by the Start Using Oracle Linux Server button. Finally, close or minimize the Getting Started window.
Install VirtualBox Package Dependencies
Click on Activities menu and select the Terminal icon.
Install the packages.
sudo dnf install -y kernel-uek-devel-$(uname -r) gcc make perlThe
uname -rcommand will ensure that the matching development packages for the currently active UEK kernel get installed.
Install Dynamic Kernel Module Support
You can optionally install the dkms package, which ensures the system automatically recompiles the various vbox modules if you upgrade the Linux kernel on the VirtualBox host. Without this package, you must run /usr/sbin/vboxsetup after each kernel upgrade.
Install the Oracle Linux EPEL repository package.
Oracle Linux 8:
sudo dnf install oracle-epel-release-el8Oracle Linux 9:
sudo dnf install oracle-epel-release-el9Enable the Oracle Linux EPEL repository.
Oracle Linux 8:
sudo dnf config-manager --set-enable ol8_developer_EPELOracle Linux 9:
sudo dnf config-manager --set-enable ol9_developer_EPELVerify the repository installation.
sudo dnf repolistThe repository appears in the list of enabled repositories.
Install the dkms package.
sudo dnf install -y dkms
Install VirtualBox
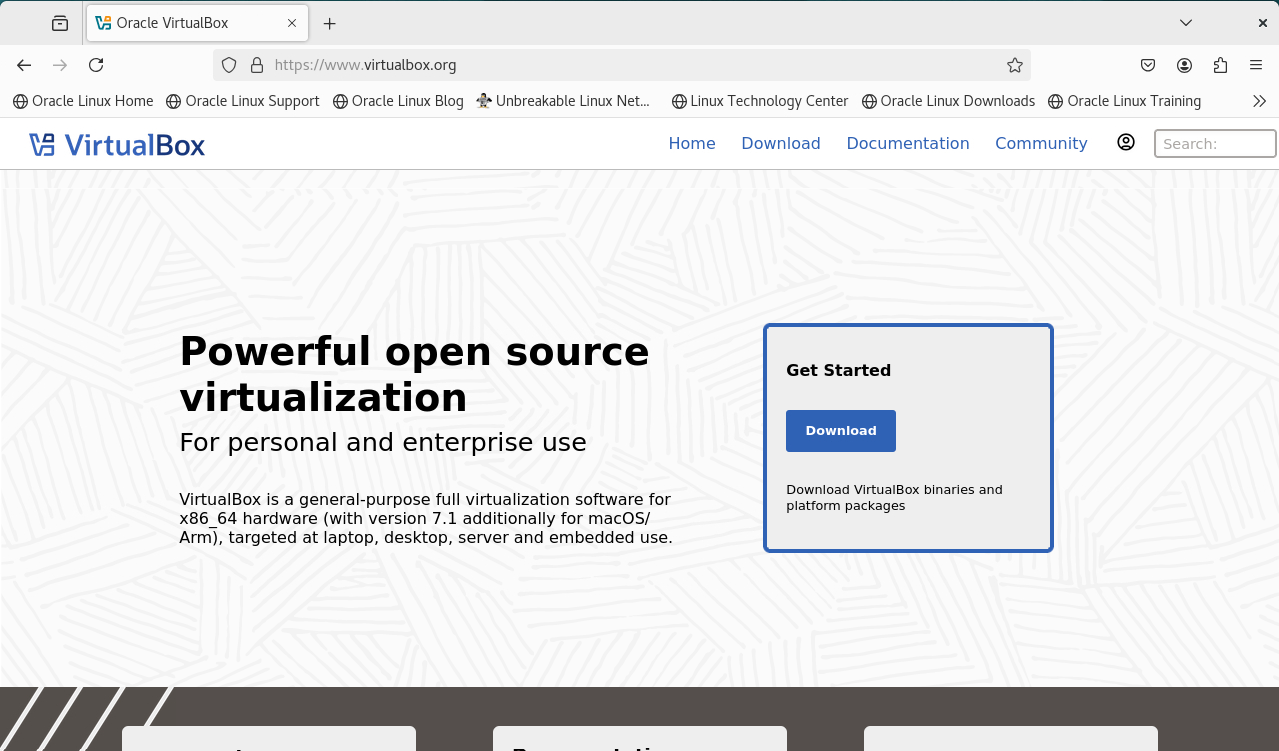
Before installing the VirtualBox software, we need to download the latest version. We can visit the Oracle VirtualBox website to get those details.
Click on Activities menu, select the Firefox browser icon.
Go to https://www.virtualbox.org .
Click the Download link on the top menu.
In the main window, under VirtualBox Platform Packages, click Linux distributions.
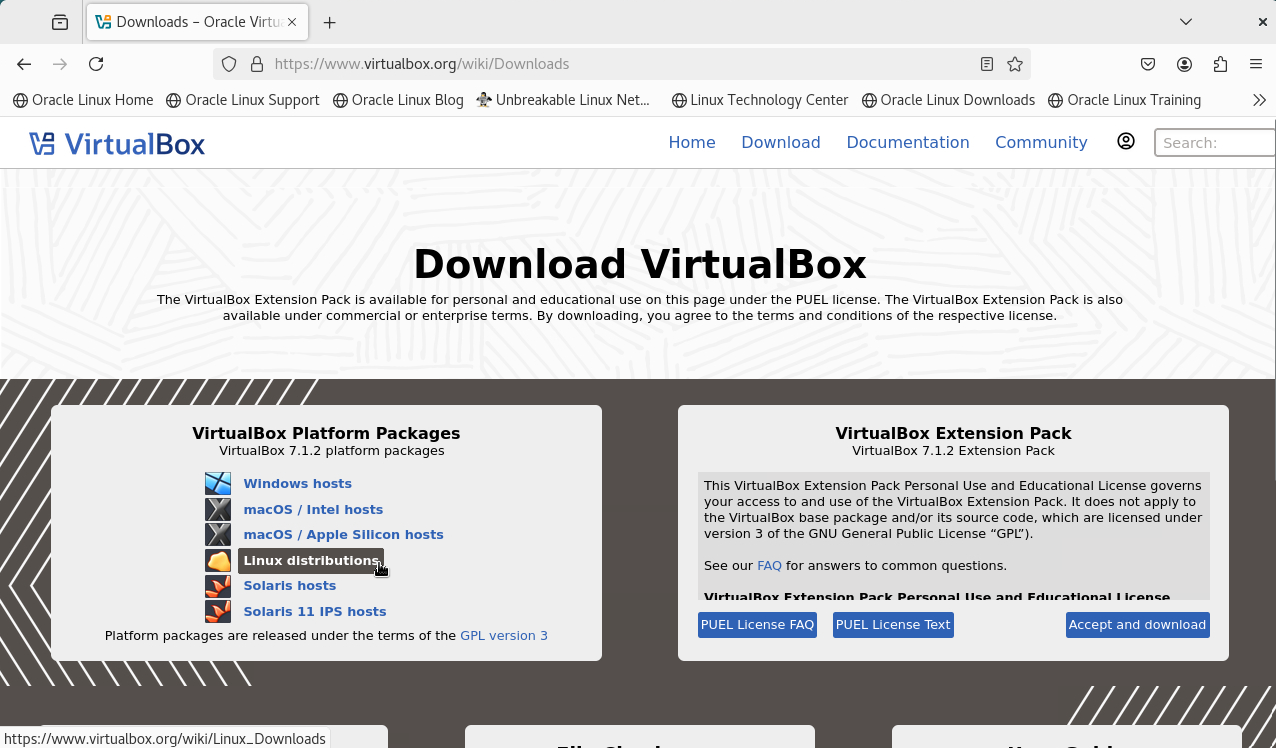
Note: The version of VirtualBox you see may be different from the version in the image. As VirtualBox is often updated, use the latest version on the Downloads page.
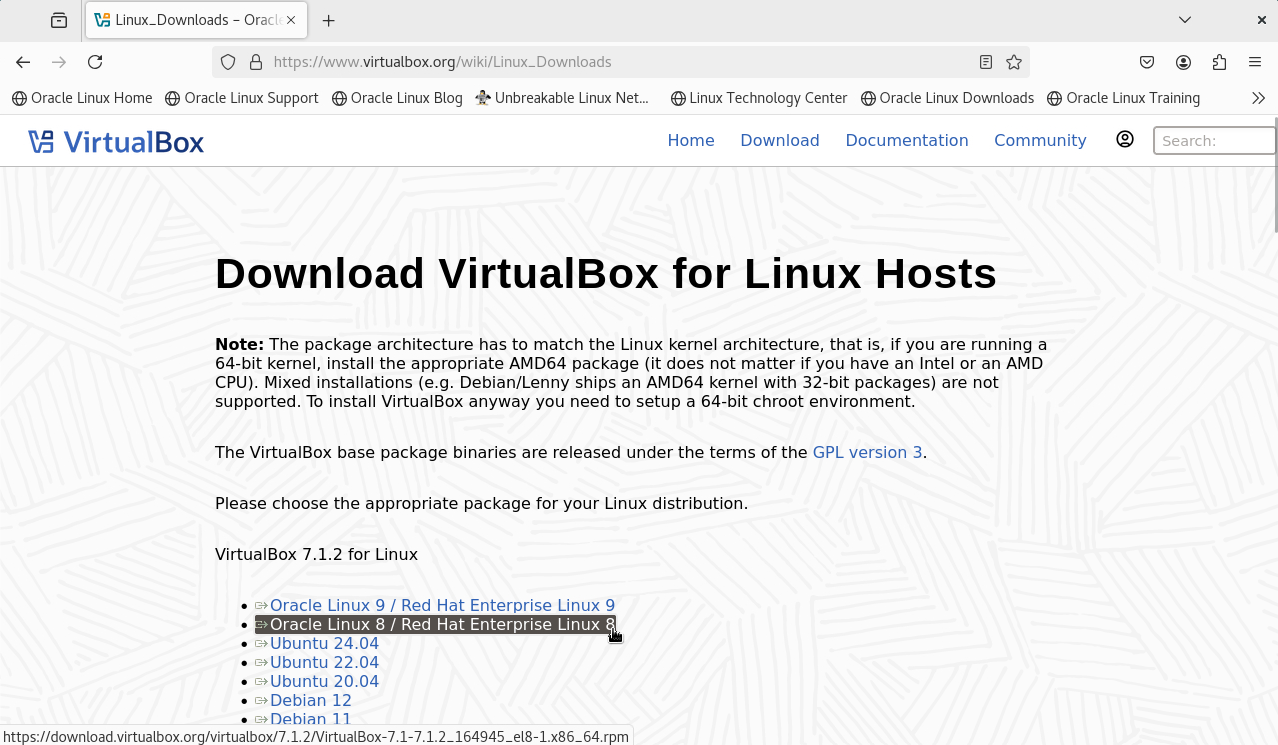
Under VirtualBox for Linux, right-click the link for the version of Oracle Linux you are running and select Copy Link.
Return to your Terminal application.
Hint: Click the Activities menu to see all open applications.
Install the VirtualBox package using the link copied from the VirtualBox website.
Oracle Linux 8:
sudo dnf install -y https://download.virtualbox.org/virtualbox/7.1.2/VirtualBox-7.1-7.1.2_164945_el8-1.x86_64.rpmOracle Linux 9:
sudo dnf install -y https://download.virtualbox.org/virtualbox/7.1.2/VirtualBox-7.1-7.1.2_164945_el9-1.x86_64.rpmValidate that you successfully installed VirtualBox.
Verify the kernel modules are loaded.
sudo lsmod | grep vboxThe output shows the vboxnetadp, vboxnetflt, and vboxdrv kernel modules.
Click on the Activities menu, select the multiple dots Show Applications icon.
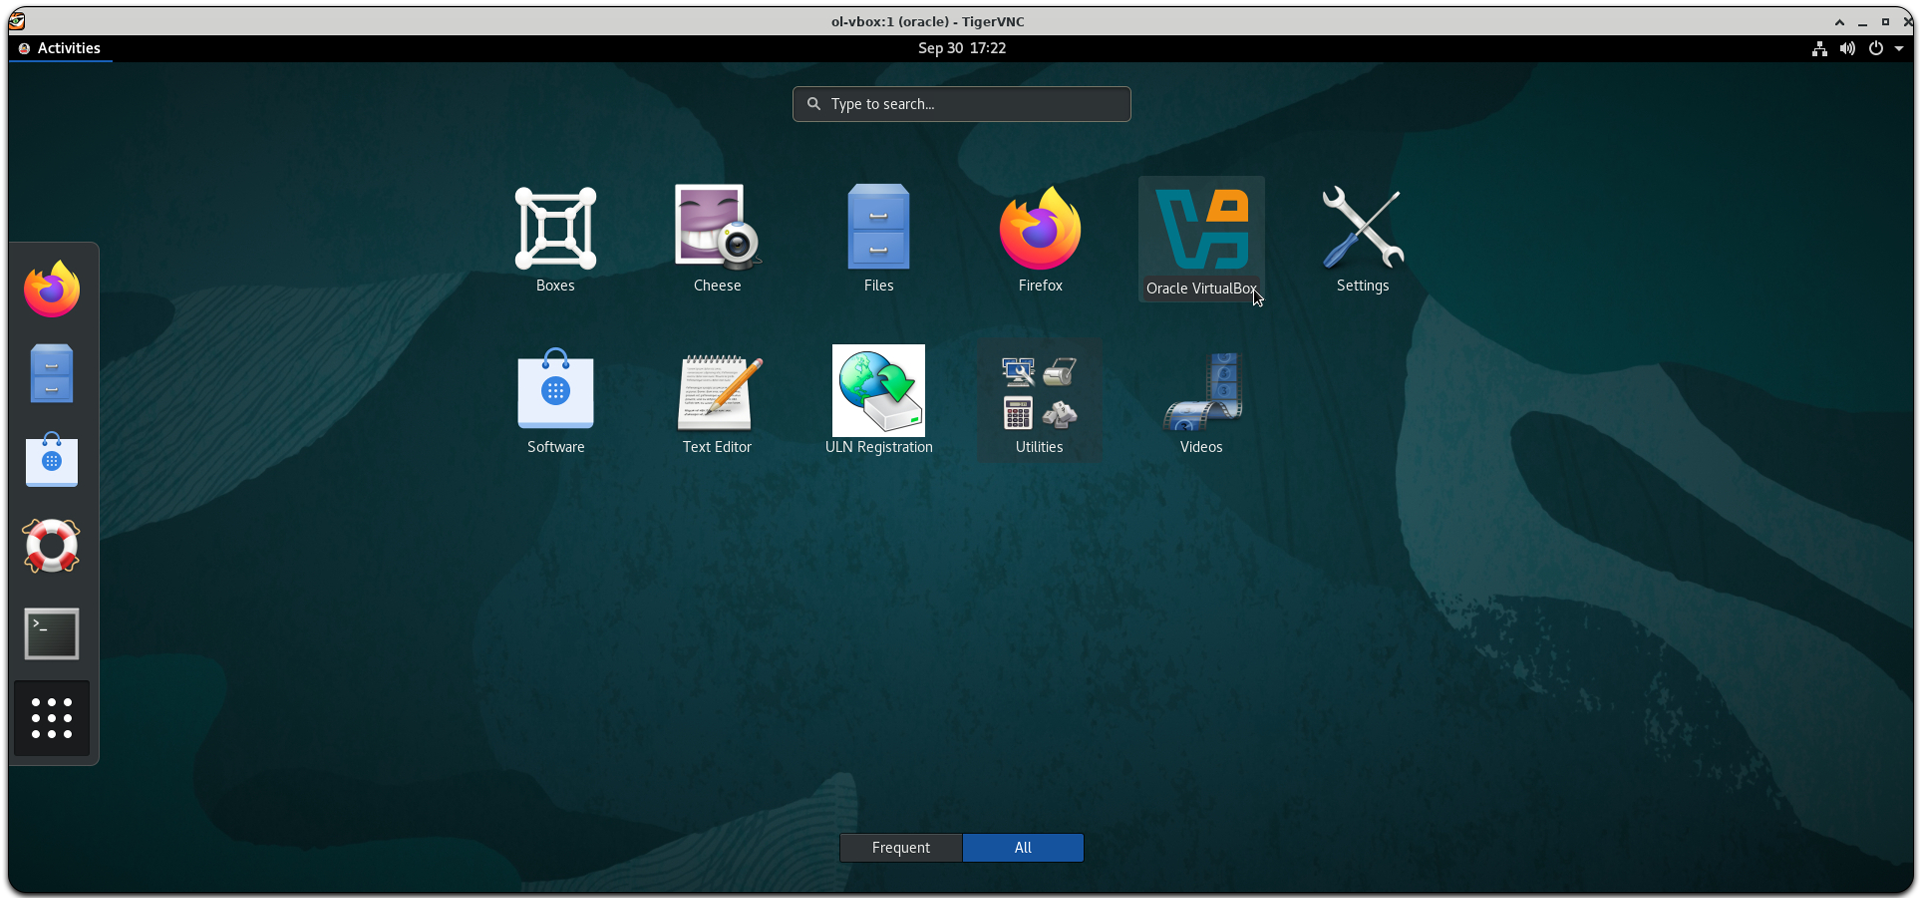
Click the Oracle VirtualBox application to open it.
Install the VirtualBox Extension Pack
Switch to the browser showing the VirtualBox web page.
Click the Download link on the top menu.
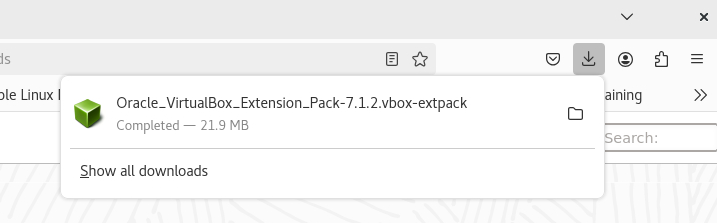
Scroll over to the VirtualBox Extension Pack section on the Download VirtualBox . Click the button Accept and download.
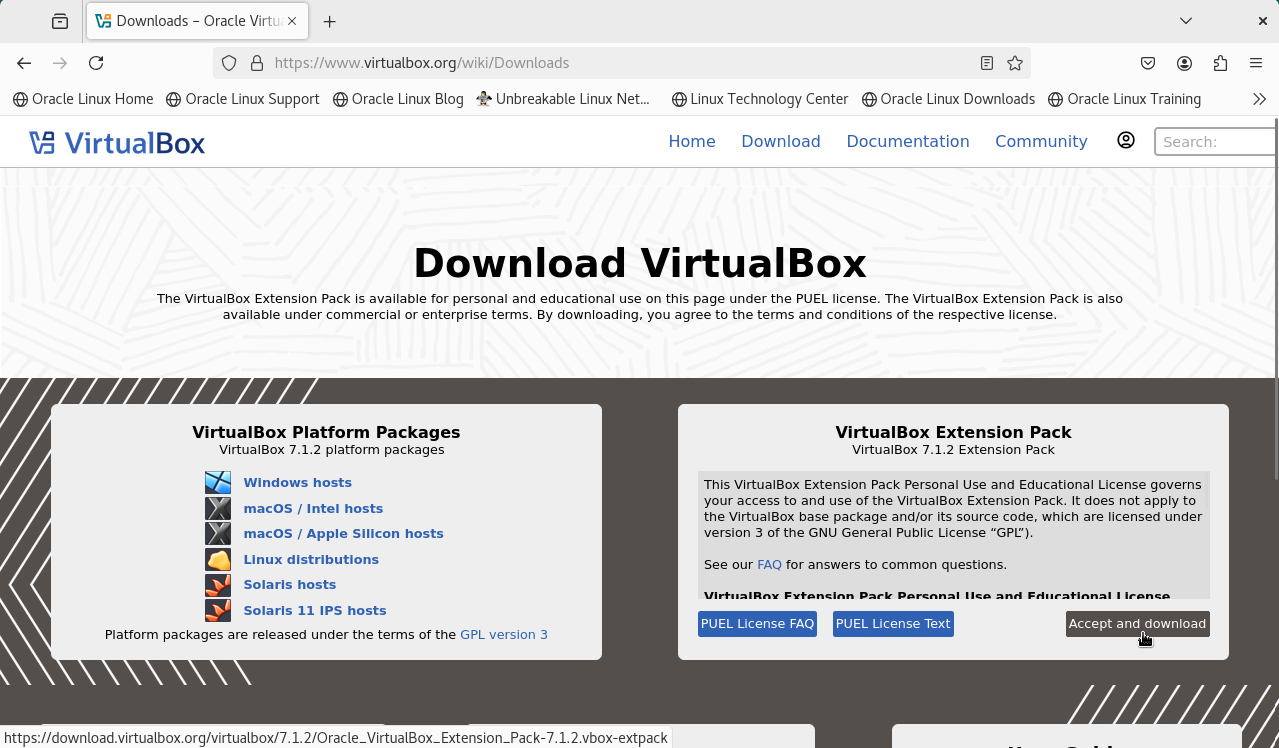
the extension pack download begins and saves the file to the host's Downloads directory.
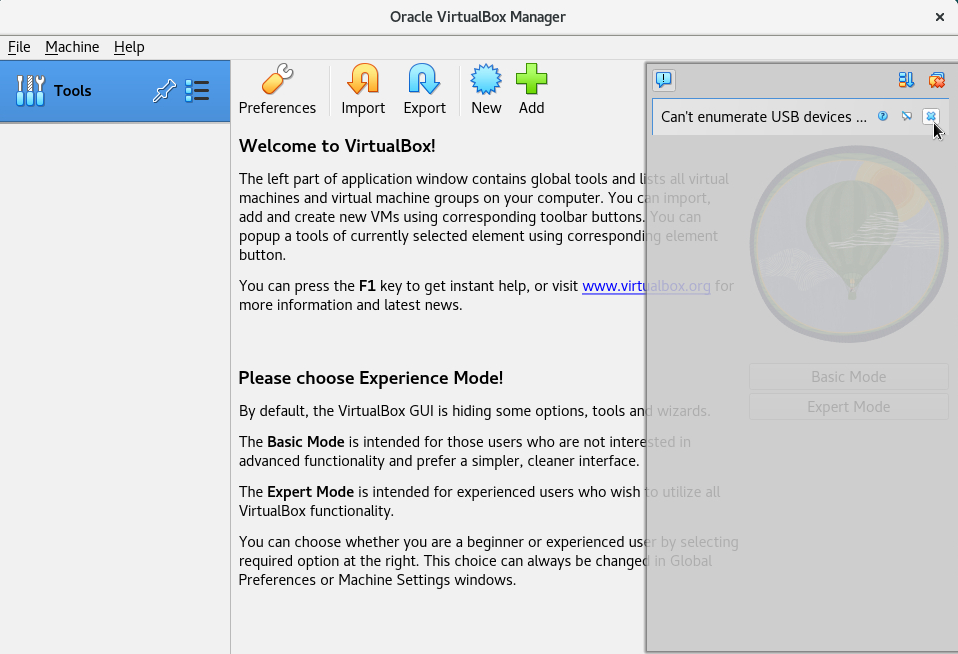
Return to the VirtualBox application.
Close the notifications window showing Can't enumerate USB devices... in the VirtualBox window.
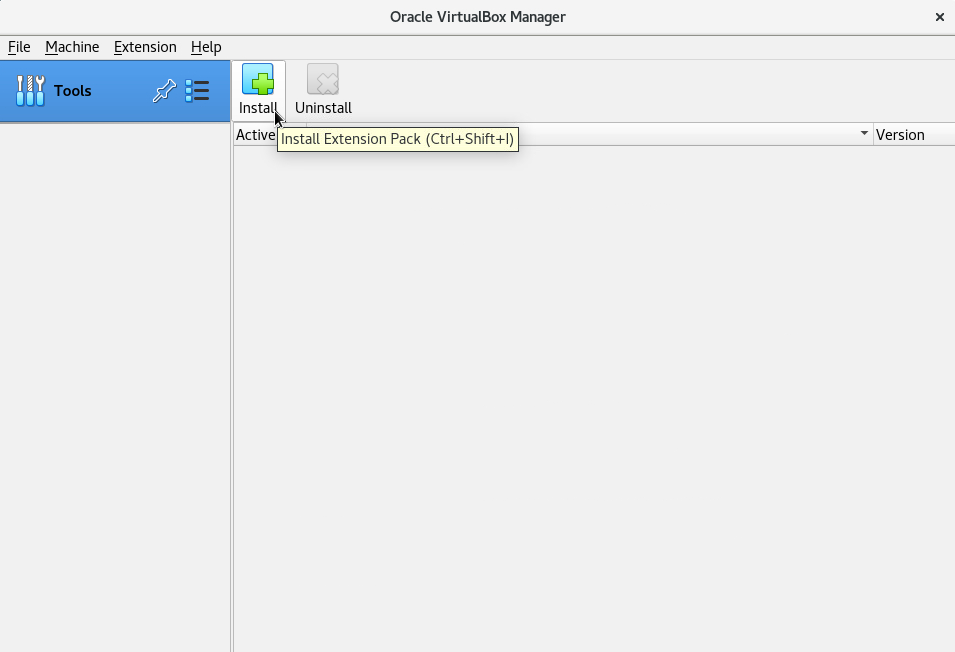
Click the three dots icon in the Tools menu and select Extensions.
Click the Install button to install the Extension Pack.
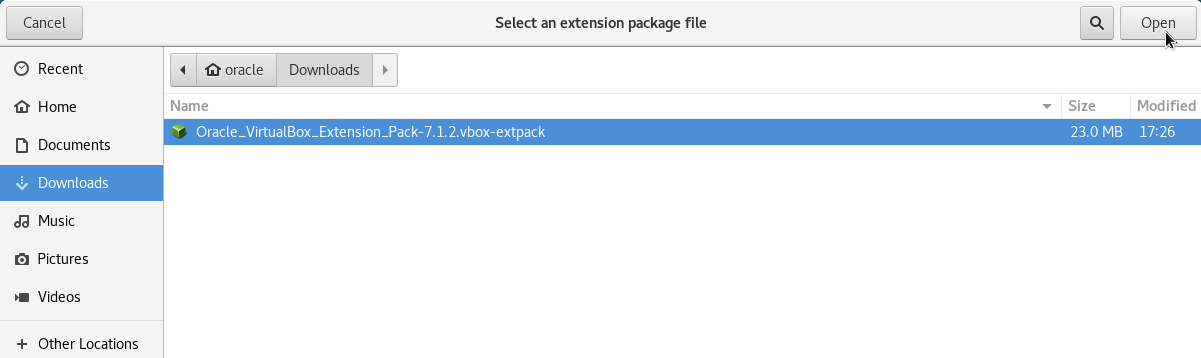
If not already selected, select the Extension Pack file and click Open.
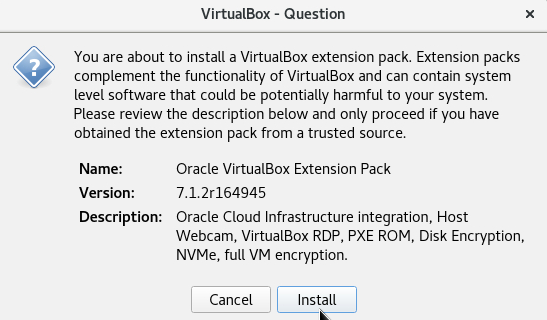
Click Install in the confirmation dialog.
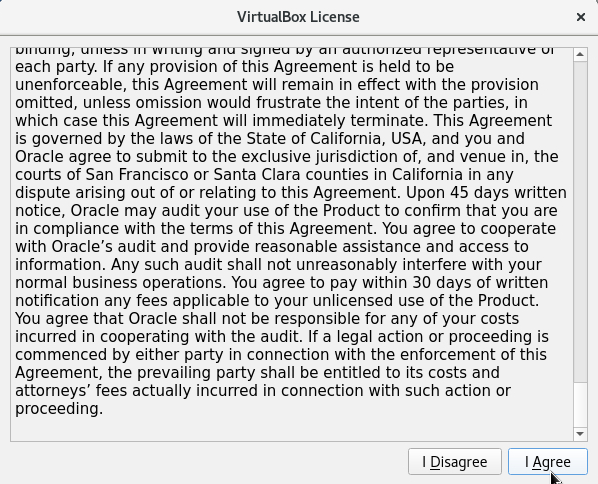
Scroll down to the bottom of the text and click I Agree.
In the Authentication Required dialog, input the password
oracleto give elevated permissions to perform the installation and click Authenticate.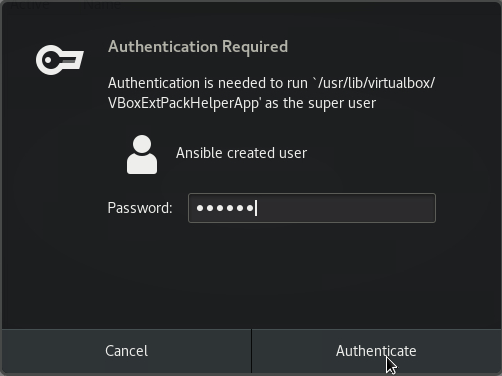
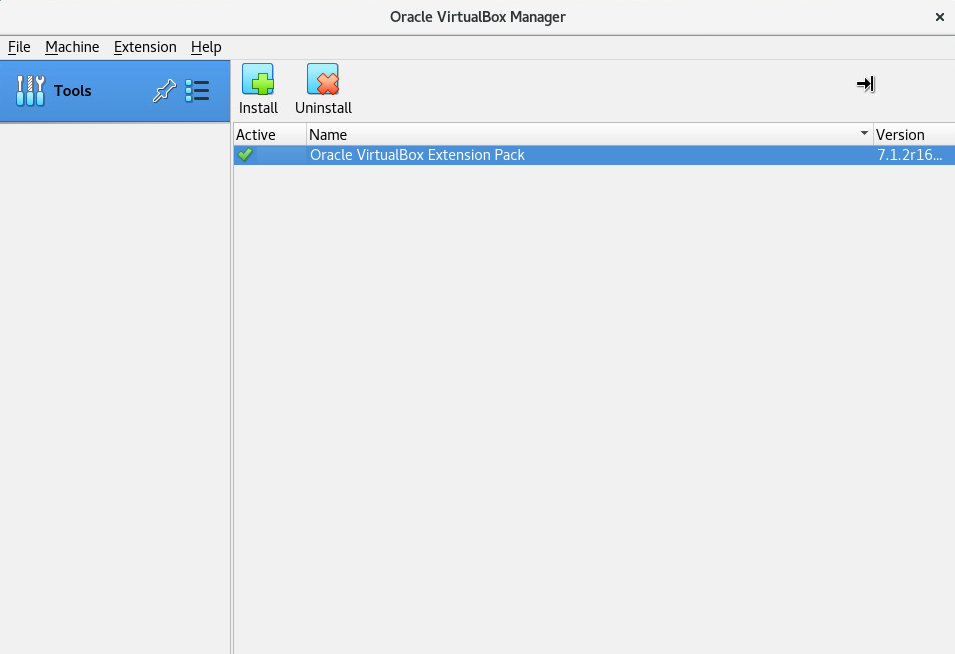
The Extension Pack is now installed.
Use VirtualBox to Create a New Oracle Linux Virtual Machine
Create the Virtual Machine
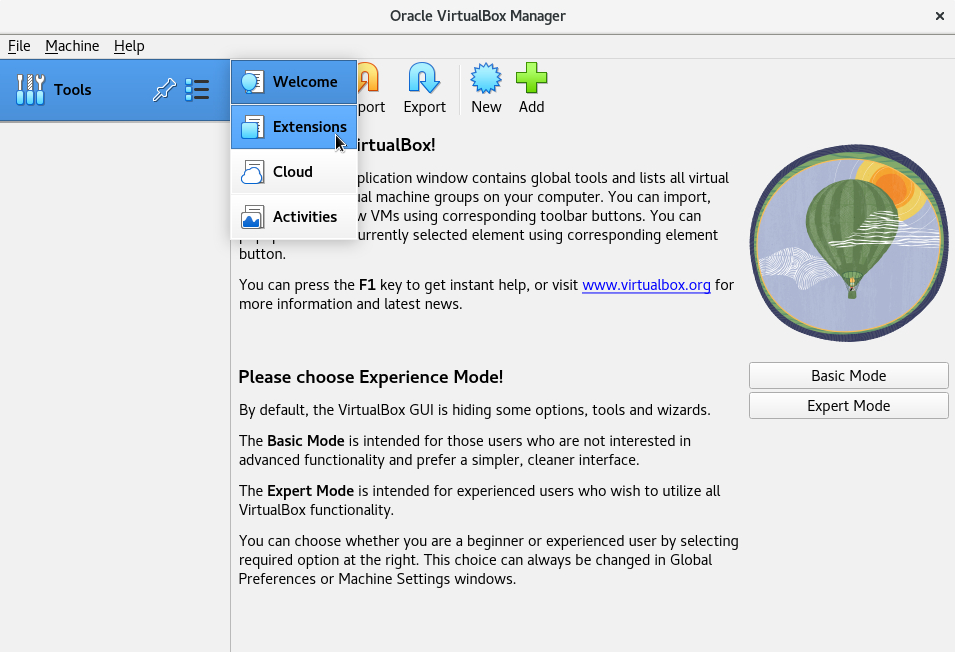
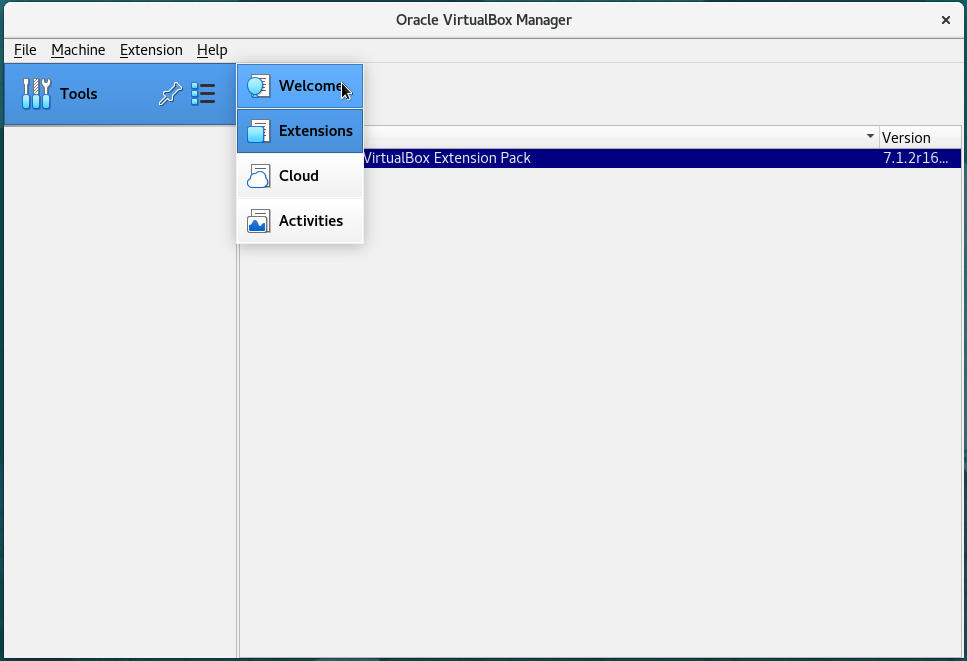
In the open VirtualBox application, click the Tools menu and select Welcome.
Click the Expert Mode button.
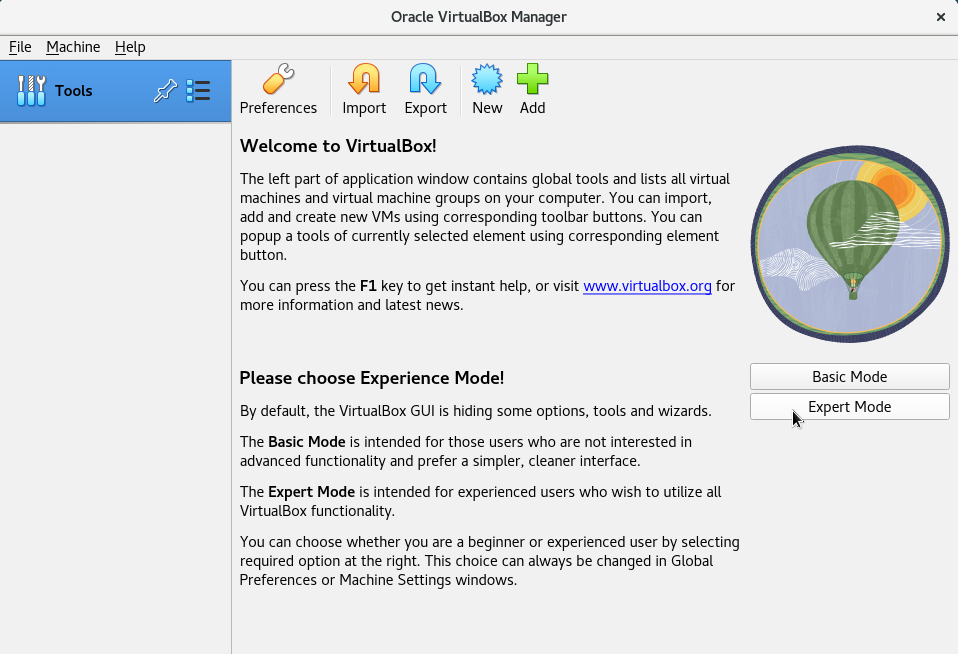
Note: For convenience, Expert Mode allows for the initial configuration of the new VM in a single-page multi-section dialog. It also provides additional configuration options unavailable in the Basic Mode. However, after creating the VM, all parameter options are available for editing.
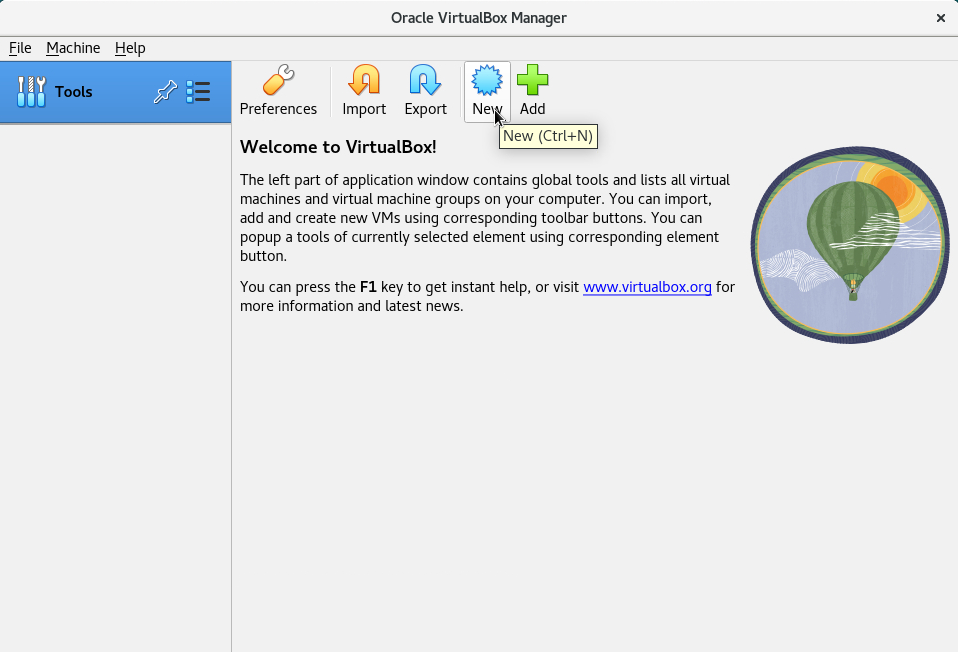
Click New to create a new VM.
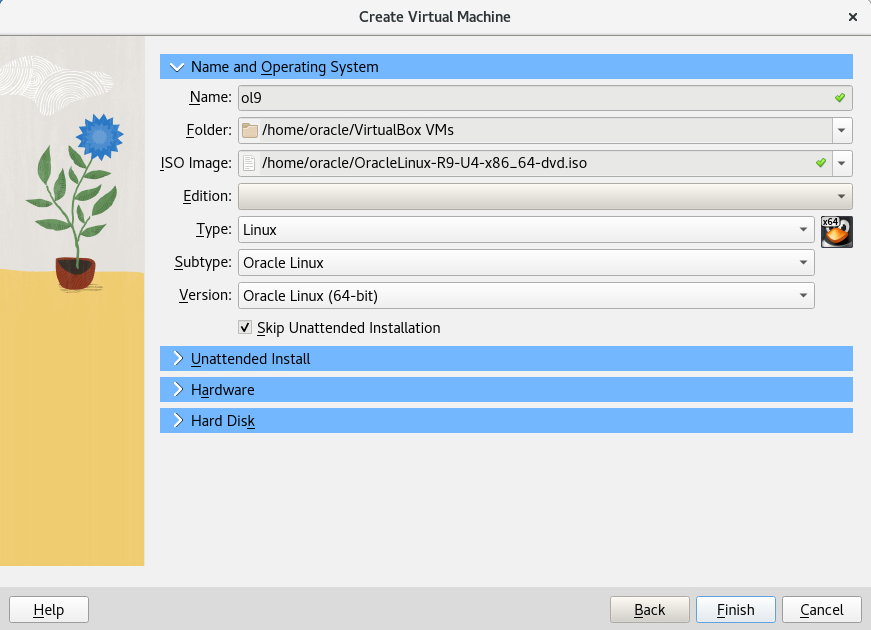
Under Name and Operating System, insert the name
ol9name for the new VM.You can choose a different name if you prefer.
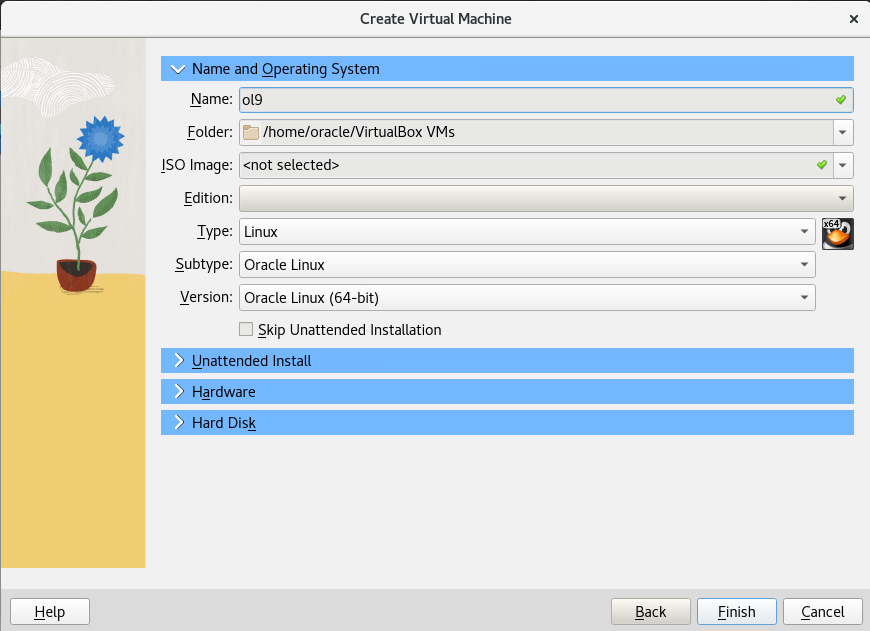
Click the ISO Image dropdown, select Other.
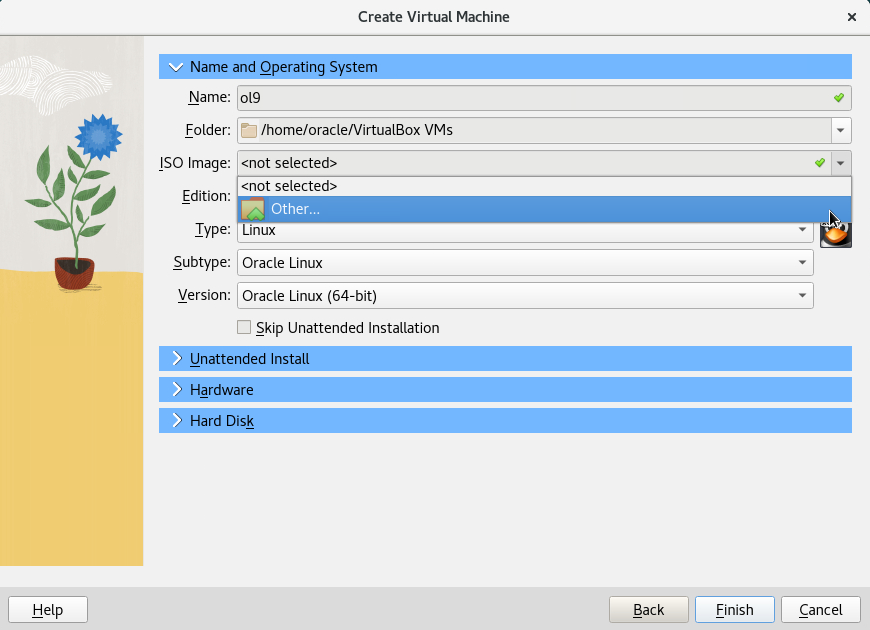
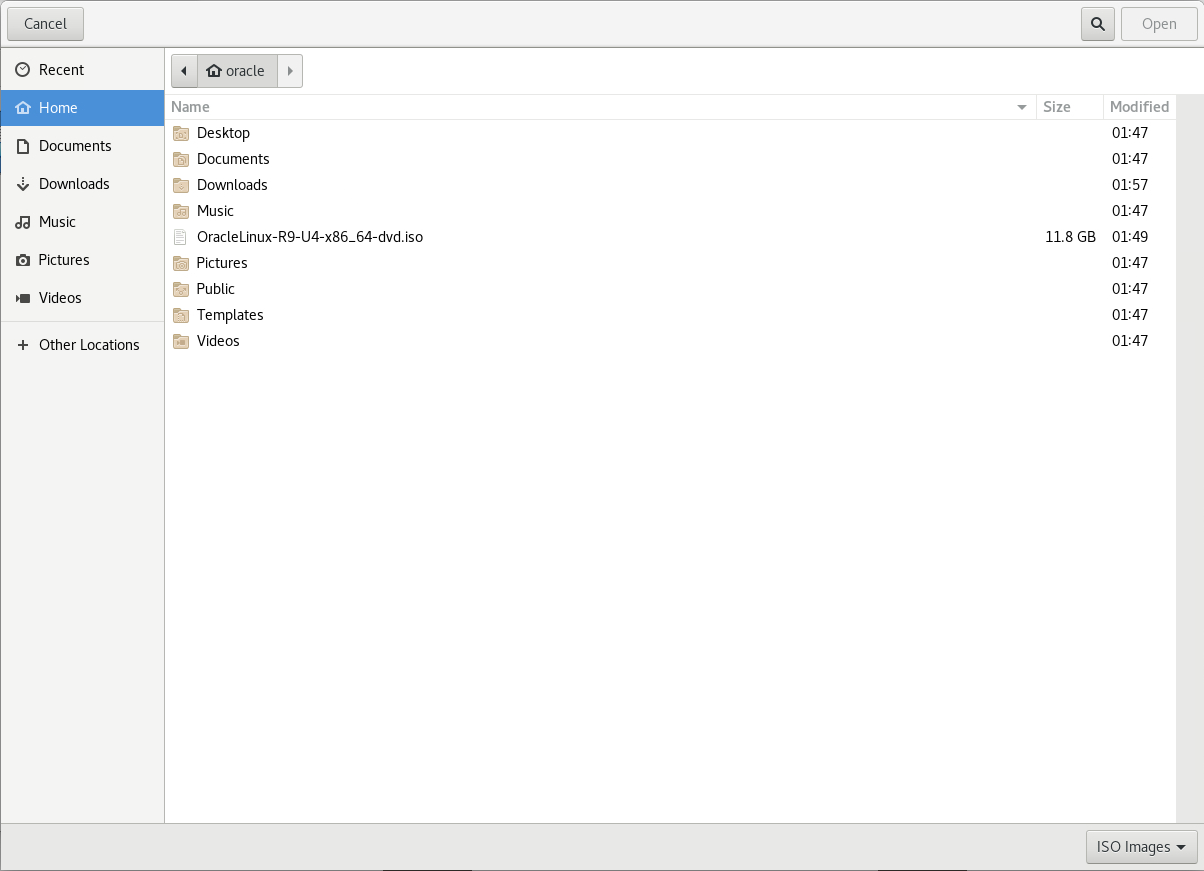
Select the preloaded ISO file in the /home/oracle directory.
Click the Open button to select it for use.
Note: You can also download Oracle linux ISO files from yum.oracle.com and the Oracle Software Delivery Cloud edelivery.oracle.com.
Tick the box for Skip Unattended Installation. This option prevents VirtualBox from automatically performing the full installation of the operating system.
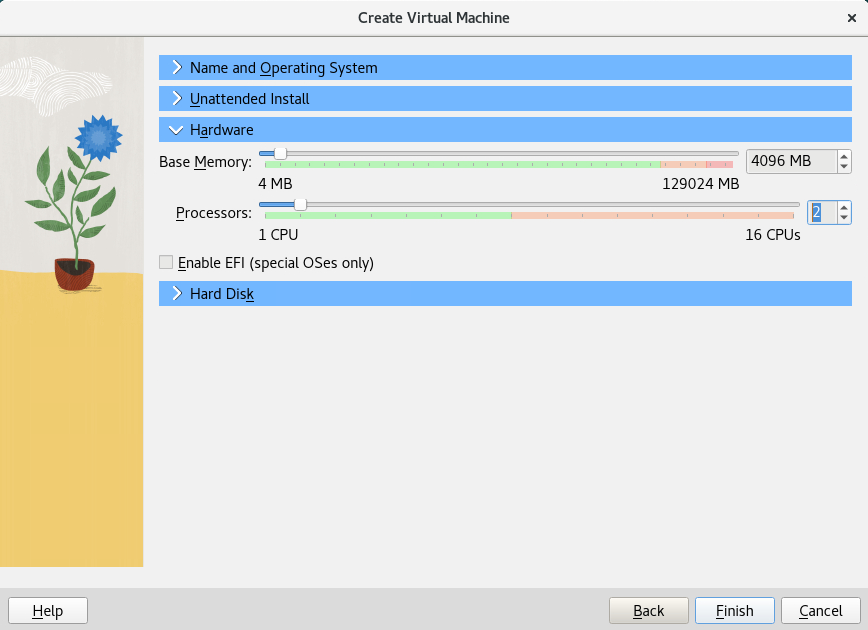
Expand the Hardware section by clicking the arrow beside the title.
Set the Base Memory to a minimum of 4096 MB, use the slider, or input the value into the field to make the change. Set Processors to 2 with the slider or input field. These are the minimum values recommended for a new Oracle Linux VM.
Expand the Hard Disk section.
Set the hard drive size for the new VM, which defaults to 20GB. If you want to use a different value, select a minimum to support the type of Oracle Linux installation you will pick later.
Leave the Pre-allocate Full Size check box unselected. This option will allow the VM to use only the space it needs, up to the 20GB configured size.
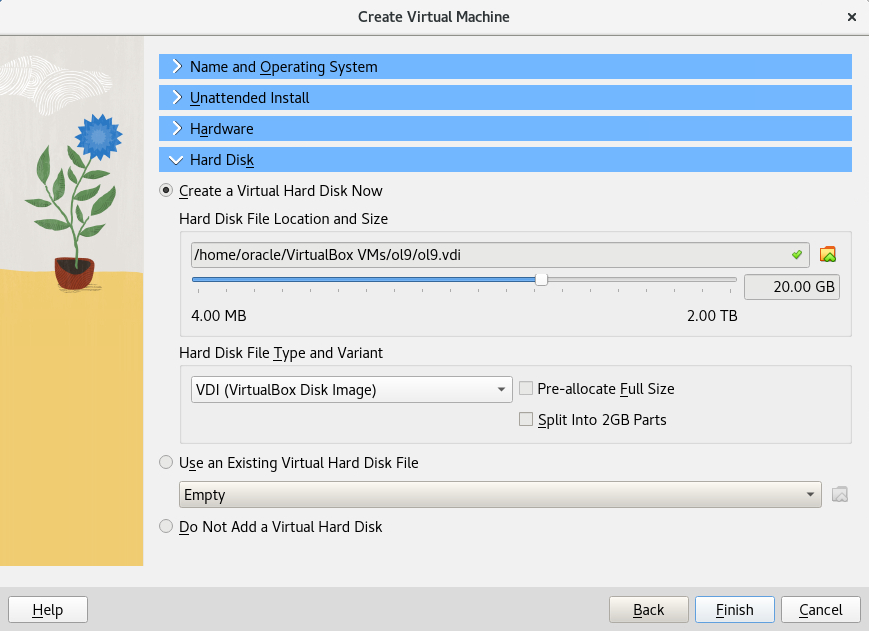
If you want to select a different hard disk type to be created, for example, VMDK or QCOW type, click on the dropdown in the Hard Disk File Type and Variant section.
Click Finish to create the VM configuration.
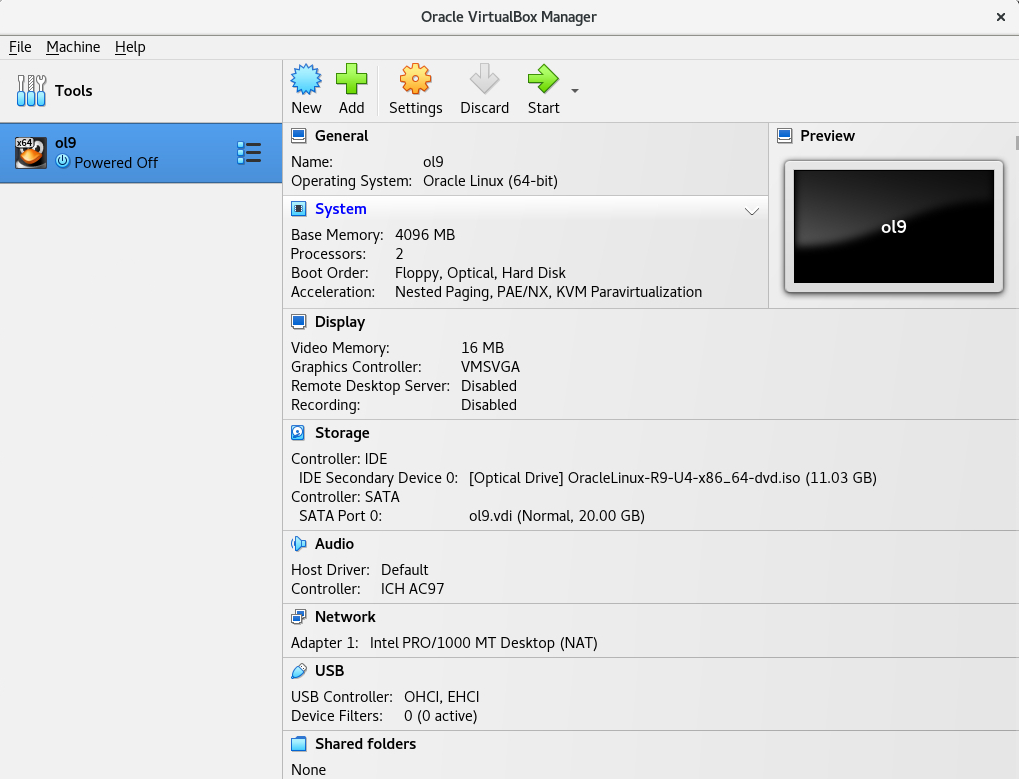
You'll return to the VM parameters screen.
Enable Nested Virtualization
Before starting the VM, you should enable nested virtualization for the new VM.
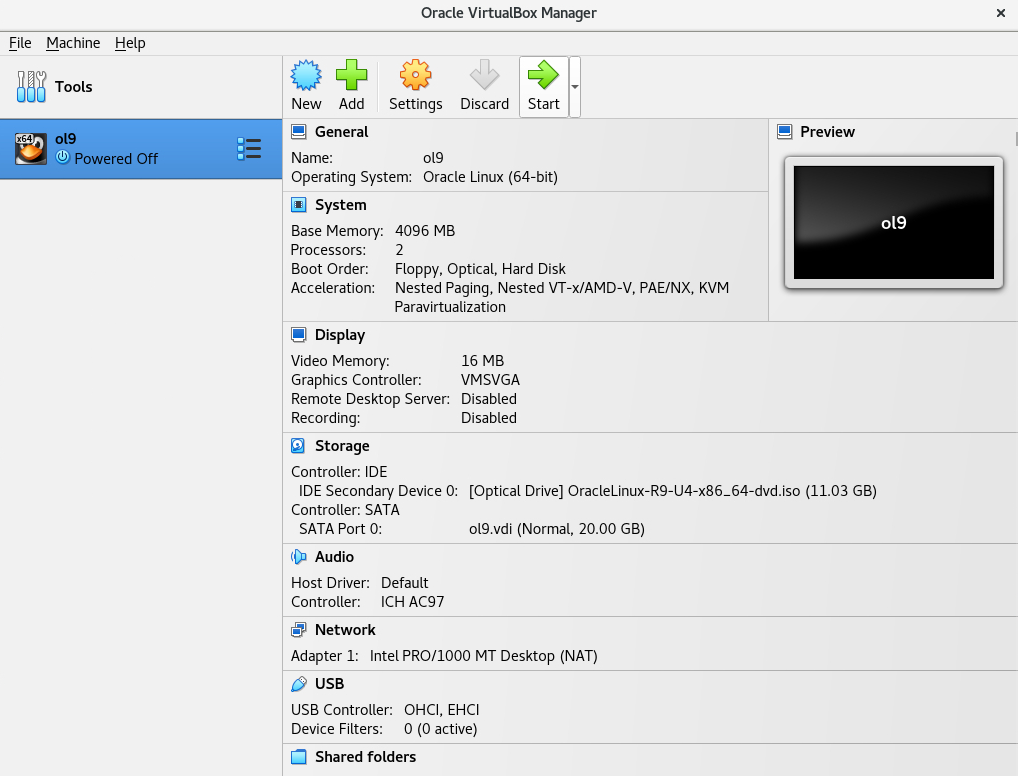
In the VM parameters, click on System to open the system settings for the VM.
Select the Processor tab. Tick the box for Enable Nested VT-x/AMD-V. Click the OK button to accept the setting.

Launch the Virtual Machine and Install the Guest OS
Important: On a macOS machine, reassigning the key to recover mouse control outside the VM window is recommended. You can set this in the main VirtualBox application window by going to File - Preferences - Input - Virtual Machine tab - Host Key Combination.
Click Start to launch the VM and install the operating system.
Click the Delete finished notifications button to close the notification slider window.
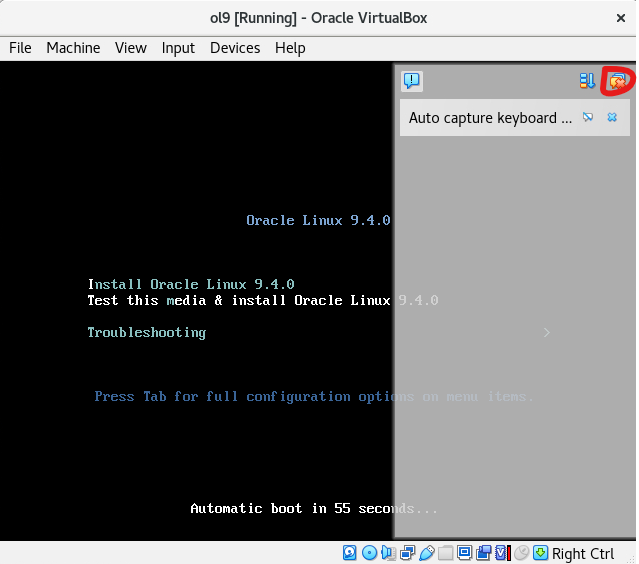
Press the up arrow to select Install Oracle Linux and press the Return key on the Linux launch menu.
Note: When you click into the new VM window, you are presented with a window informing you that VirtualBox will capture the mouse. Tick the box Do not show this message again and click Capture. Any time in the future, when VirtualBox captures the mouse pointer, you will not be reminded of this. Press your keyboard's Right Ctrl button to get mouse control back outside the VM window.
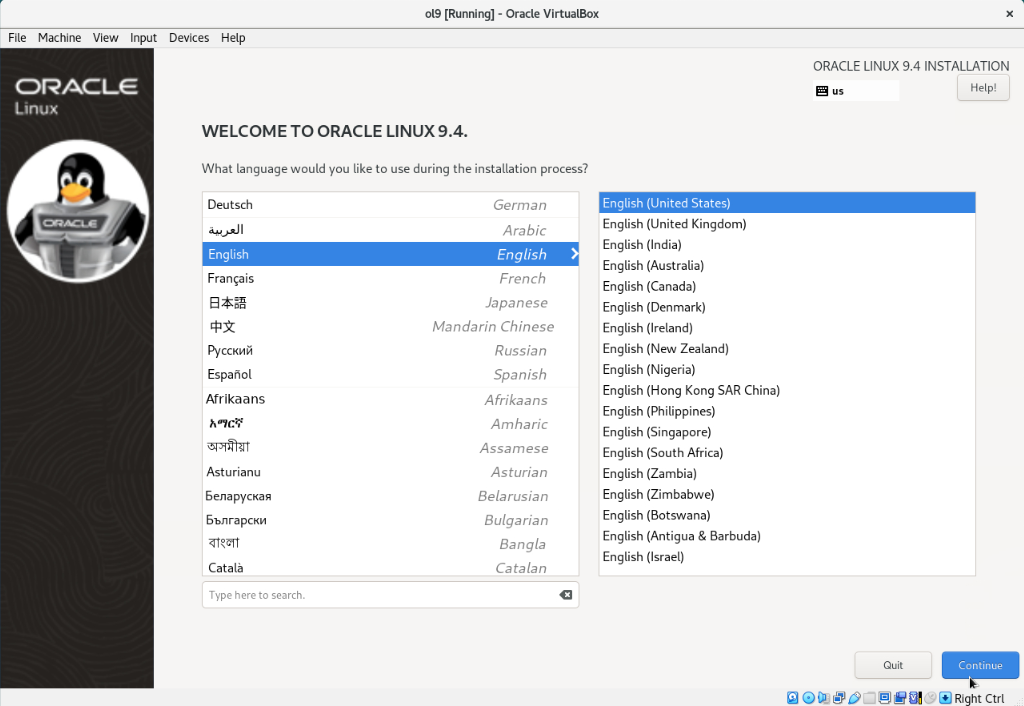
Take the default language setting and select Continue.
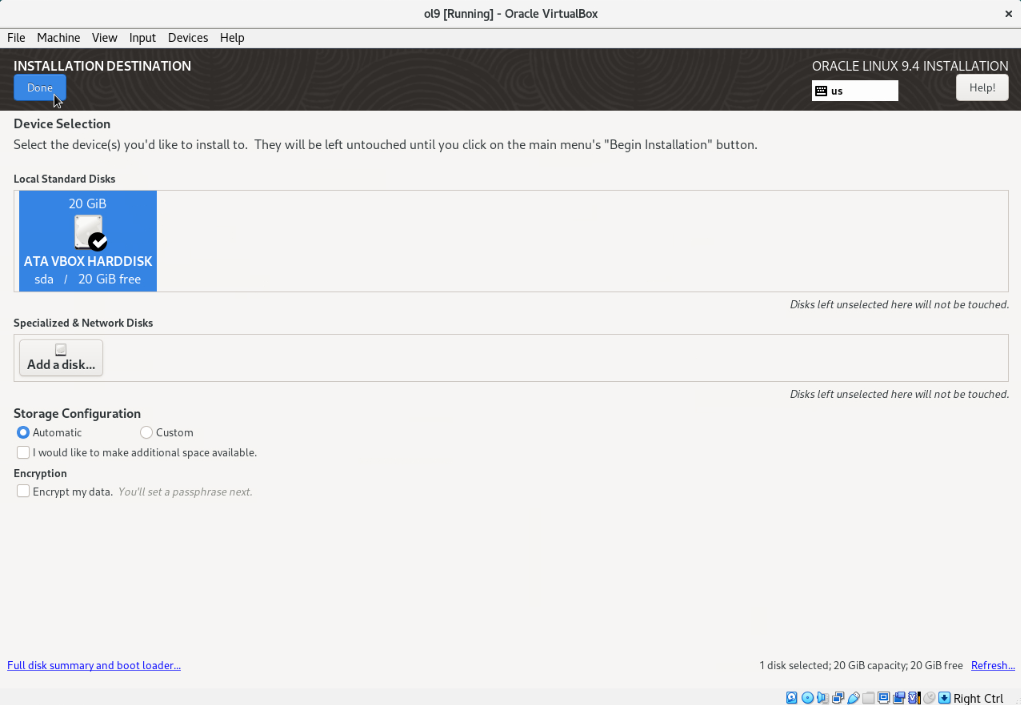
Click Installation Destination under the SYSTEM section.
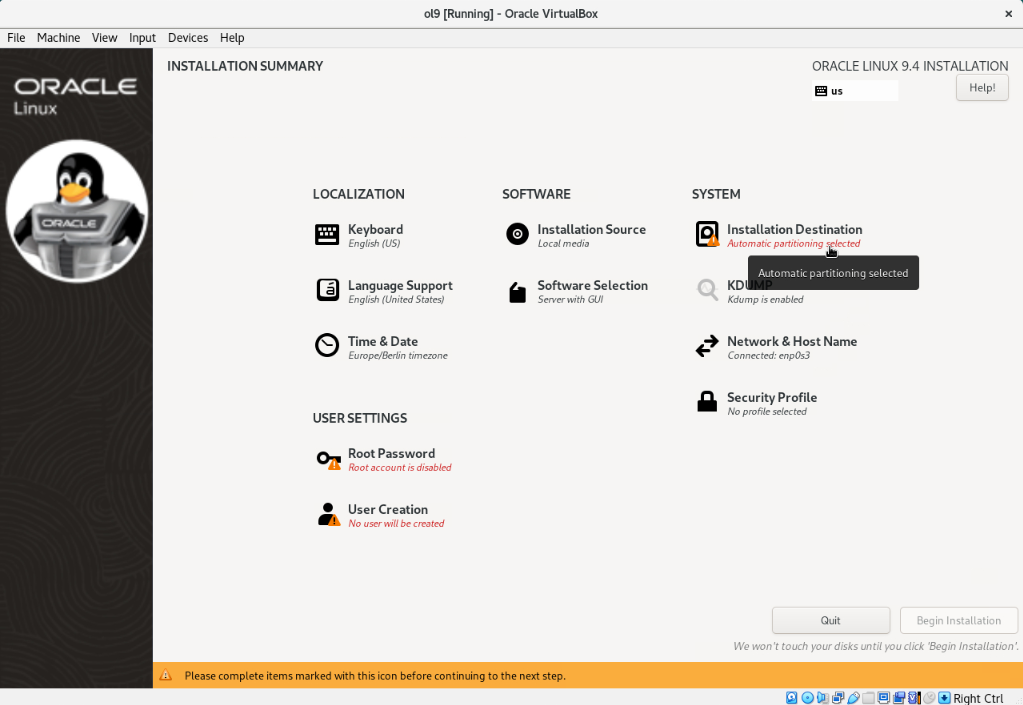
Click the ATA VBOX HARDDISK entry two times, then click Done for Device Selection.
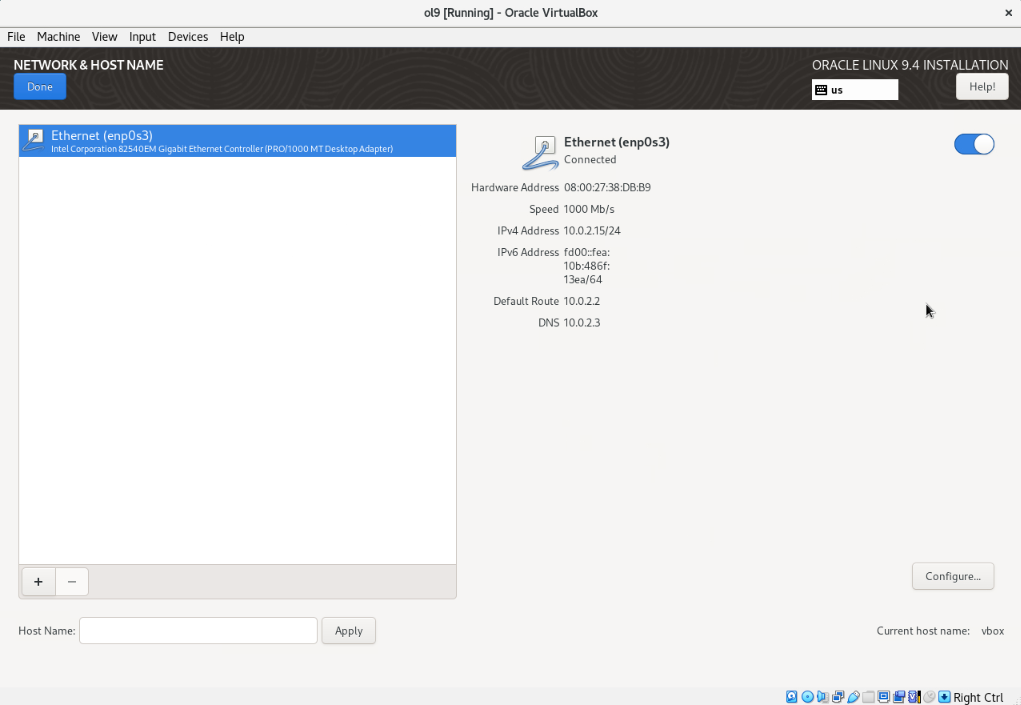
Select Network & Host Name under the SYSTEM section.
Click the slider button to enable the Ethernet (enp0s3) connection to ON, and click Done.
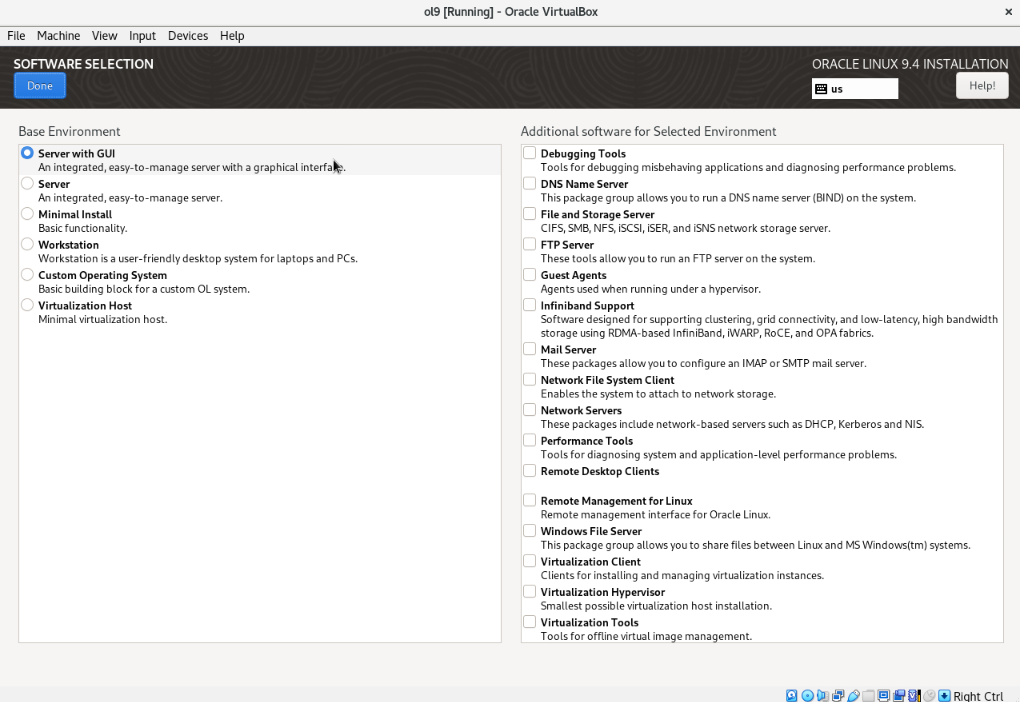
Select Software Selection under the SOFTWARE section.
Select Server with GUI for this installation if the UI does not show it selected as a default, and then click Done.
Select Root Password under the USER SETTINGS section.
Input the password
oracleinto the Root Password and Confirm fields. Or choose your own password for the root account.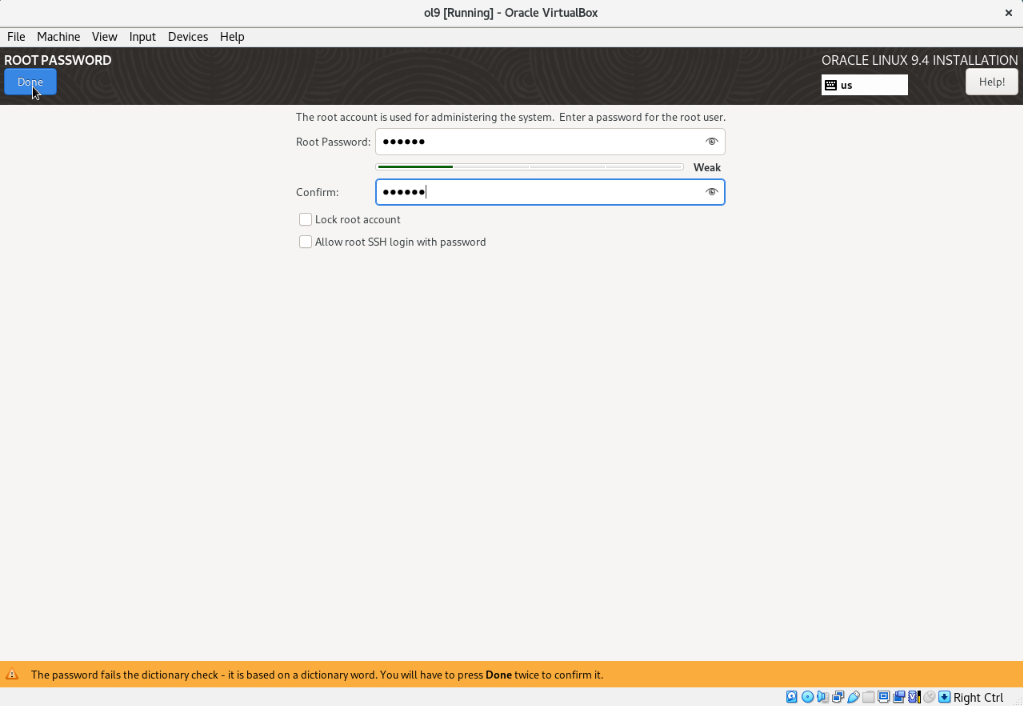
Note: Since using the password of
oracleis considered a weak password, you'll need to click Done two times to have it accepted.Click Begin Installation to install the guest operating system to the VM.
The installation will take a few minutes.

Click Reboot System to restart the VM and launch the new operating system when the installation is complete.
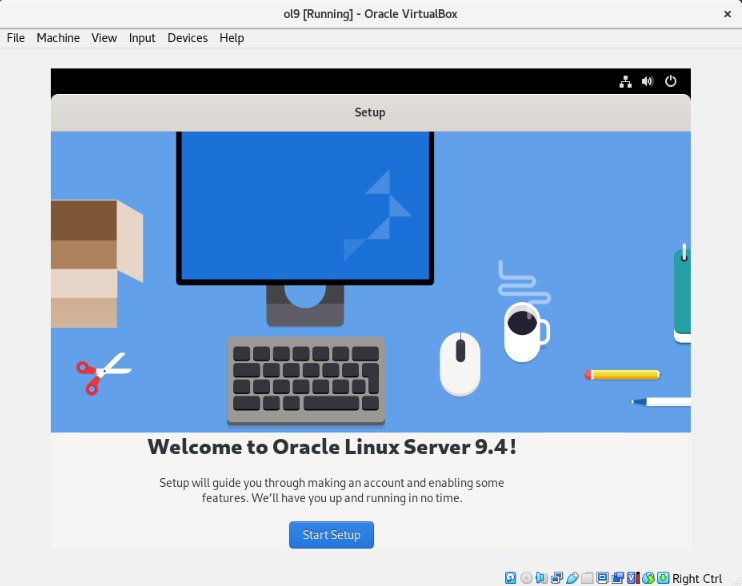
The operating system now displays the graphical desktop and the initial welcome screen.
Click Start Setup to begin the guest OS setup configuration and complete the steps.
Follow the prompts and skip the step requesting you to connect your online accounts. Create and set your VM user's full name and username, then click next. You can use the password
oracleor create your own password. Just make sure to remember it.Complete the initial OS setup.
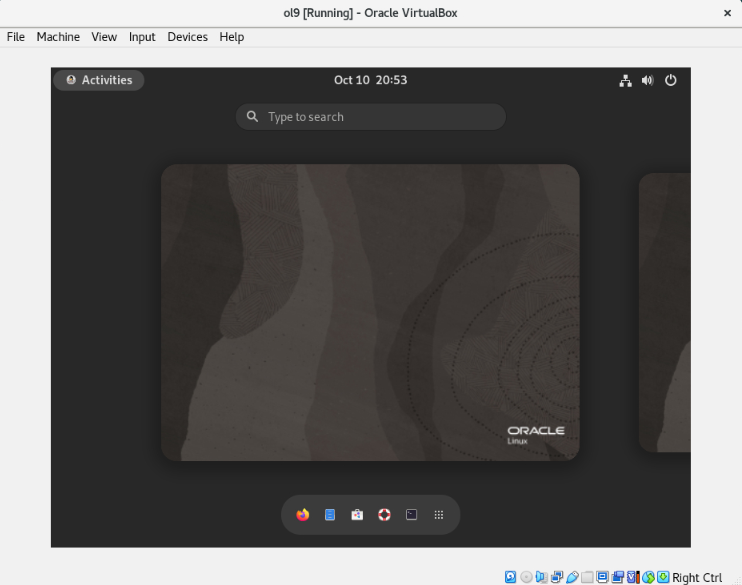
Click Start Using Oracle Linux Server to finish the initial setup once you have completed the setup steps.
Install VirtualBox Guest Additions to the New Virtual Machine
Prepare VM for Guest Additions
You have installed Oracle Linux Server with a graphical desktop in this new virtual machine. Next, install the optional VirtualBox Guest Additions to support additional useful VirtualBox features.
The copy and paste function does not work with the new virtual machine until you install the Guest Additions and enable that function from the Devices menu. Therefore, you'll need to type in the following commands manually. Take care to type the commands accurately.
Click on Activities menu then click the Terminal icon to open a terminal on your VM.
Update to the latest software packages.
sudo dnf update -yAt the prompt, enter the user's password that you selected for your VM user account. Updating the packages before applying the Guest Additions is not required but is highly recommended to ensure you keep your systems current.
Reboot the VM when the update completes.
sudo rebootWhen the reboot is complete, log back into the graphical desktop of the VM by clicking on your username and entering your password.
Install the required packages for the installation of Guest Addition features.
On your VM desktop, click the Activities menu and then the Terminal icon to open a terminal.
Install the packages.
sudo dnf install -y kernel-uek-devel-$(uname -r) gcc make perl
Install Guest Additions
VirtualBox designed the Guest Additions for installation inside a virtual machine after you install the VM guest operating system. They consist of device drivers and system applications that optimize the specific guest operating system for better performance and usability.
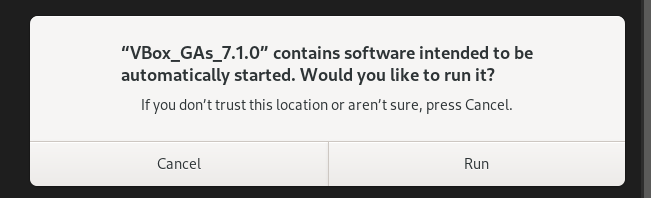
Press Right Crtl on your keyboard to get mouse control outside the VM window once you install the supporting packages. Click on the Devices menu at the top, then Insert Guest Additions CD image....

Note: Use the key combination you previously selected for macOS computers.
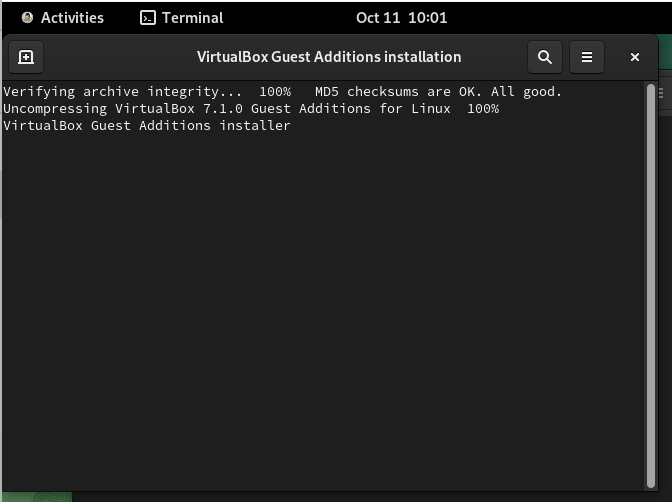
Click Run after the install dialog opens, then enter your user password and click Authenticate to start the Guest Additions installation for your VM.
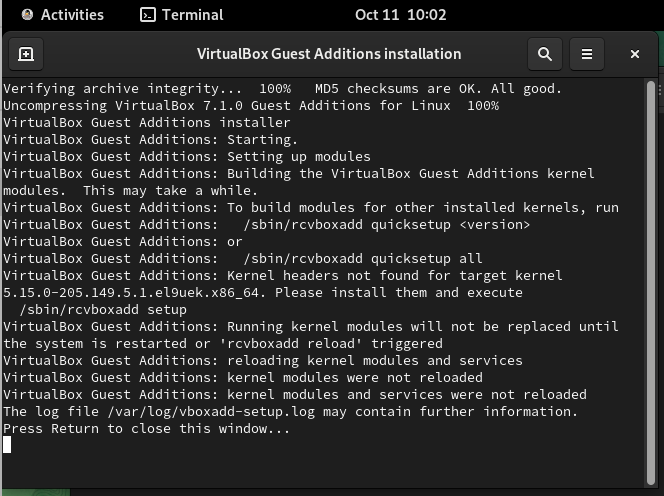
This opens a terminal on your desktop and displays the installation stages.
Press Return to close the installation dialog after the installation completes.
With the Guest Additions installed, mouse integration is now more straightforward, and you do not need to use the Right Ctrl key to exit the VM window. You can also drag the border of your VM, and the VM desktop will automatically resize to the new window size.
From the VM Devices menu, you can enable and use shared folders or the shared clipboard feature with your VM. After enabling these features, restart the VM to start using them.
Next Steps
You have successfully completed this tutorial by installing VirtualBox and creating a new virtual machine. Experiment further by creating different deployments to help you learn more about VirtualBox and Oracle Linux.