Get Started with GraalVM Native Image
Introduction
This lab takes you step by step through the process of building a cloud native Java application with GraalVM Native Image . It is aimed at developers with a knowledge of Java.
GraalVM Native Image compiles Java code ahead of time into a self-contained native executable. Only the code that is required by the application at run time is packaged into the executable. A native executable produced by Native Image has several important advantages, in that it:
- Uses a fraction of the resources required by the JVM, so is cheaper to run
- Starts in milliseconds
- Delivers peak performance immediately, with no warmup
- Can be packaged into a lightweight container image for faster and more efficient deployment
- Presents a reduced attack surface
In addition, there are Maven and Gradle plugins for Native Image so you can easily build, test, and run Java applications as executable files.
Note: Oracle Cloud Infrastructure (OCI) provides Oracle GraalVM at no cost.
Estimated lab time: 45 minutes
Lab Objectives
In this lab you will perform the following tasks:
- Connect to a remote host in Oracle Cloud - you will develop your application on an Oracle Cloud virtual machine
- Build and run a Java application, using GraalVM JDK
- Build a Java application into a native executable, using GraalVM Native Image
- Build a native executable that works with the dynamic features of Java
- Use Maven plugin for GraalVM Native Image to generate a native executable
NOTE: If you see the laptop icon in the lab, you need to do something such as enter a command. Keep an eye out for it.

# This is where we you will need to do somethingSTEP 1: Connect to a Virtual Host
Your development environment is provided by a remote host: an OCI Compute Instance with Oracle Linux 9, 4 cores, and 48GB of memory.
Start by connecting to your remote host.
Double-click the Luna Lab icon on the desktop to open the browser:

Check if the host is ready under the Resources tab. The cog shown next to the Resources title spins while the compute host is being provisioned in the cloud. When the host is provisioned (this may take up to 2 minutes), you will see a checkmark:

A Visual Studio (VS) Code window will open and automatically connect to your remote host that has been provisioned for you. Click Continue to accept the machine fingerprint.
The VS Code window opens, connected to your remote host, with the source code for this lab.
If you don't hit
ContinueVS Code will show you a dialogue, shown below. HitRetryand VS Code will ask you to accept the machine fingerprint. Hit Continue, as in the above step.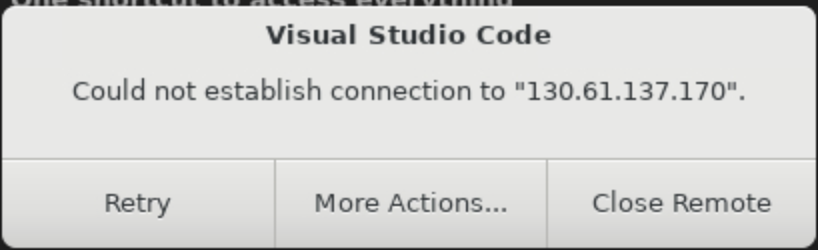
You are now successfully connected to your remote host in Oracle Cloud!
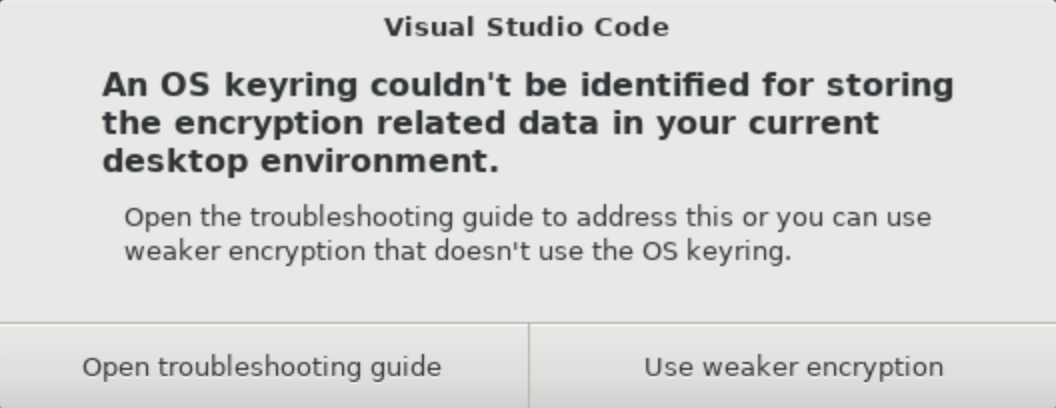
When you see the OS Keyring message for storing the encryption related data not being identified, choose "Use weaker encryption":
Next, open a terminal within VS Code.
You will interact with the remote host using this terminal. A terminal can be opened in VS Code through the menu: Terminal > New Terminal. Use this terminal in the rest of the lab.
VS Code may prompt you to install plugins and extensions. Ignore/close the notification prompts as this lab doesn't need any plugins and extensions.
Issues With Connecting to the Remote Development Environment
If you encounter any issues with connecting to the remote development environment in VS Code, that are not covered above, we suggest that you try the following:
- Close VS Code
- Copy the Configure Script from the Resources tab and paste it into the Luna Desktop Terminal again
- Repeat the above instructions to connect to the Remote Development environment
Note on the Development Environment
Your Java runtime environment comes preconfigured with Oracle GraalVM 25 . Docker is also installed and running.
You can easily check that by running these commands in the terminal:
java -version
native-image --versionSTEP 2: Build and Run a Demo Application
For the demo, you will use a command-line Java application that counts the number of files in the current directory and its subdirectories. As a nice extra, the application also calculates the total size of the files. The source code for the application is available in your remote host.
Notes on the Demo Application
The application consists of two Java files that can be found in the src/main/java/oracle directory:
App.java: a wrapper for theListDirclass.ListDir.java: this does all the work. It counts the files, summarizes the output, and prints it to the console.
The application can be built by hand, or by using Maven profiles. The Maven build configuration is provided in the pom.xml file.
Maven profiles are a great way to have different build configurations within a single pom.xml
file.
Several profiles will be used in this lab, each of which has a particular purpose:
native: This profile builds an executable file using GraalVM Native Image.java_agent: This profile builds the application with a Java agent that tracks all usages of the dynamic code in your application and captures this information into configuration files. More on this later.
You use a particular Maven profile name by passing it as a parameter to the mvn command.
The name of the profile is appended to the -P flag. More on this later.
Action
Now that you have a basic understanding of what the application does, build and run it, from within the VS Code terminal:
mvn clean package exec:execThe command above does the following:
- Creates a runnable JAR file containing the application. This JAR file will be later used by Native Image.
- Runs the application by running the
execplugin.
STEP 3: Turn a Java Application into a Native Image
Next, you are going to build a native executable version of the application using GraalVM Native Image .
Action
Generate a native image using the JAR file with all dependencies. You do not need to use the Maven plugin for this run. Run the following from the root directory of the project,
demo:native-image -jar ./target/graalvmnidemos-1.0-SNAPSHOT-jar-with-dependencies.jar -o file-countThis will generate an executable file called
file-countwithin the current directory.Run this executable as follows:
./file-countNow time the application: first by running it from the executable, and then by using the regular
javacommand:time ./file-counttime java -cp ./target/graalvmnidemos-1.0-SNAPSHOT-jar-with-dependencies.jar oracle.AppThe executable, generated by
native-image, is so much faster than the corresponding Java application!
Notes on Native Image Building
What do the parameters you passed to the native-image command in step 1 specify?
-jar: Specifies the location of the JAR file containing the Java application. (You can also specify the classpath with-cp.)-o: Specifies the name of the output executable file.
The full documentation can be found here .
You can also run the native-image tool using the Maven plugin for GraalVM Native Image .
The project pom.xml file contains the following snippet that enables the plugin:
<plugin>
   <groupId>org.graalvm.buildtools</groupId>
   <artifactId>native-maven-plugin</artifactId>
   <version>${native.maven.plugin.version}</version>
   <extensions>true</extensions>
   <executions>
         <execution>
         <id>build-native</id>
         <goals>
            <goal>compile-no-fork</goal>
         </goals>
         <phase>package</phase>
         </execution>
   </executions>
   <configuration>
         <imageName>${exe.file.name}</imageName>
         <mainClass>${app.main.class}</mainClass>
   </configuration>
</plugin>
The Native Image Maven plugin performs the heavy lifting of building the executable file.
Note that you can pass any command line option to native-image through the <buildArgs> tag.
To build the executable file using the Maven profile, run:
mvn clean package -PnativeThe Maven build places the executable,
file-count, into thetargetdirectory.You can run it as follows:
./target/file-count
STEP 4: Use Dynamic Features - Serialization with Jackson
In this step, you will build a native image that that works with the dynamic features of Java.
Say you want to add a library, or some code, to your application that relies upon reflection. A good candidate is serialization and deserialization. Java serialization, as an example, uses reflection to extract the non-transient fields of an object, using its privileged status to access otherwise inacessible fields.
You can find the second version of the same application under src/main/java/serialization. It integrates the Jackson library to serialize the output into JSON.
It is already added as a dependency in the project pom.xml file:
<dependency>
   <groupId>com.fasterxml.jackson.core</groupId>
   <artifactId>jackson-databind</artifactId>
   <version>2.17.0</version>
</dependency>
Unlike the previous, simpler version of the application, this one serializes the FileCount object to a file, file-stats.json, instead of just printing the results to standard output, using Jackson’s ObjectMapper.writeValue(File, Object) method.
Action
To build and run the second application version, you need to point Maven to the corresponding main class.
Go to pom.xml and, at line 12, change the path to the main class from
oracle.Apptoserialization.App.<app.main.class>serialization.App</app.main.class>Rebuild and run on a JVM:
mvn clean package exec:execYou should see the same kind of output, but written to a file, file-stats.json, in the root of the project.
Next, build a native image again using Maven:
mvn clean package -PnativeRun the new executable file:
./target/file-countYou are expected to see this exception:
Exception in thread "main" com.fasterxml.jackson.databind.exc.InvalidDefinitionException: No serializer found for class serialization.FileCount and no properties discovered to create BeanSerializer (to avoid exception, disable SerializationFeature.FAIL_ON_EMPTY_BEANS). This appears to be a native image, in which case you may need to configure reflection for the class that is to be serialized
   at com.fasterxml.jackson.databind.SerializerProvider.reportBadDefinition(SerializerProvider.java:1330)
   at com.fasterxml.jackson.databind.DatabindContext.reportBadDefinition(DatabindContext.java:414)
What just happened here?
Notes on Working with Reflection
This exception is caused by the addition of the Jackson serializer because it relies on reflection.
The native-image tool performs an aggressive static analysis to see which classes are used within the application.
For any classes not used, the tool will assume that they are not needed.
This is called the "closed-world assumption" - everything that needs to be loaded must be known when building an executable file.
If it is not findable by static analysis, then it will not be included in the executable file.
Reflection is a core feature of Java, so how can you use reflection and still take advantage of GraalVM Native Image?
You need a way to let native-image know about any uses of reflection.
Luckily, the native-image tool is able to read in the configuration file that specify all classes that are referenced through reflection.
You can write the configuration manually, or, we recommend using the Tracing agent that comes with GraalVM. The Tracing agent collects all instances of reflection, JNI, proxies, and resources access that it can locate while your application is running, and generates the JSON file, reachability-metadata.json in the resources/META-INF/native-image/ directory.
Note: It is important to exercise all the code paths in your application when running the agent in order to ensure that all cases of reflection are identified.
The complete documentation for providing configuration can be found here .
STEP 5: Use the Tracing Agent
Now use the Tracing agent to generate the configuration while you run your application.
Run the application with the agent on the JVM:
java -agentlib:native-image-agent=config-output-dir=./src/main/resources/META-INF/native-image -cp ./target/graalvmnidemos-1.0-SNAPSHOT-jar-with-dependencies.jar serialization.AppHave a look at the configuration file that the agent created:
cat src/main/resources/META-INF/native-image/reachability-metadata.jsonYou should see the following contents:
{
"reflection": [
   {
      "type": "com.fasterxml.jackson.databind.ext.Java7SupportImpl",
      "methods": [
      {
         "name": "<init>",
         "parameterTypes": []
      }
      ]
   },
   {
      "type": "serialization.FileCount",
      "allDeclaredFields": true,
      "methods": [
      {
         "name": "getCount",
         "parameterTypes": []
      },
      {
         "name": "getSize",
         "parameterTypes": []
      }
      ]
   }
]
Now re-build the executable file again. This time the configuration produced by the agent will be applied:
mvn package -PnativeThe
native-imagetool searches for the file reachability-metadata.json in the META-INF/native-image/ directory on the class path, and automatically includes it in the build process. When multiple files with the same name are found, all of them are considered.Finally, execute the generated file:
./target/file-countThe executable file works as expected!
Note on the position of the -agentlib param
Note that the agent parameters must come before any -jar or -classpath parameters. You should also specify a
directory into which to write the files. The recommended location is under src/main/resources/META-INF/native-image.
Files placed in this location are picked up automatically by the native-image tool.
Conclusions
In this lab, you have tried out several GraalVM Native Image features:
- How to build a native executable for a Java application.
- How to use Maven to build a native executable.
- How to use the Tracing agent to automate the process of tracking and recording reflection.
Write efficient, more secure, and instantly-scalable cloud native Java applications with GraalVM Native Image!