Migrate Oracle Linux Automation Manager to a Clustered Deployment
Introduction
Whether upgrading from a previous release or starting with a single-host installation, you can migrate both environments to a clustered deployment. Administrators need to plan their topology before migrating, as the cluster may consist of a combination of Control Plane, Execution, and Hop nodes, along with a remote database.
After following this tutorial, you'll know how to migrate a single host installation to a clustered deployment with a remote database.
Objectives
In this tutorial, you'll learn how to:
- Setup a remote database
- Migrate to a clustered deployment
Prerequisites
A system with Oracle Linux Automation Manager installed.
For details on installing Oracle Linux Automation Manager, see the Oracle Linux Automation Manager Installation Guide .
Deploy Oracle Linux Automation Manager
Note: If running in your own tenancy, read the linux-virt-labs GitHub project README.md and complete the prerequisites before deploying the lab environment.
Open a terminal on the Luna Desktop.
Clone the
linux-virt-labsGitHub project.git clone https://github.com/oracle-devrel/linux-virt-labs.gitChange into the working directory.
cd linux-virt-labs/olamInstall the required collections.
ansible-galaxy collection install -r requirements.ymlUpdate the Oracle Linux instance configuration.
cat << EOF | tee instances.yml > /dev/null
compute_instances:
  1:
    instance_name: "olam-node"
    type: "control"
  2:
    instance_name: "exe-node"
    type: "execution"
  3:
    instance_name: "db-node"
    type: "db"
passwordless_ssh: true
add_cluster_ports: true
olam_type: single
EOF
Create an inventory file.
cat << EOF | tee hosts > /dev/null
localhost ansible_connection=local ansible_connection=local ansible_python_interpreter=/usr/bin/python3.6
EOF
Deploy the lab environment.
ansible-playbook create_instance.yml -i hosts -e "@instances.yml"The free lab environment requires the extra variable
ansible_python_interpreterfor localhost because it installs the RPM package for the Oracle Cloud Infrastructure SDK for Python. The location for installing this package is under the system's default Python modules based on your version of Oracle Linux. Using an inventory variable avoids impacting the plays running on hosts other than localhost.The default deployment shape uses the AMD CPU. You can change the shape of the instances by passing a new shape variable definition on the command line.
For example:
-e instance_shape="VM.Standard3.Flex"Similarly, the default version of the Oracle Linux image uses the variable
os_versiondefined in the `default_vars.yml file. You can modify this value by passing the Oracle Linux major version on the command line.For example:
-e os_version="9"Important: Wait for the playbook to run successfully and reach the pause task. At this stage of the playbook, the installation of Oracle Linux is complete, and the instances are ready. Note the previous play, which prints the public and private IP addresses of the nodes it deploys.
Log into the WebUI
Open a terminal and configure an SSH tunnel to Oracle Linux Automation Manager.
ssh -L 8444:localhost:443 oracle@<hostname_or_ip_address>In the free lab environment, use the external IP address of the olam-node instance.
Open a web browser and enter the URL.
https://localhost:8444Note: Approve the security warning based on the browser used. For Chrome, click the **Advanced button and then the Proceed to localhost (unsafe) link.
Log in to Oracle Linux Automation Manager with the Username of
adminand the Password ofadmincreated during the automated deployment.
After logging in, the WebUI displays.
Migrate to a Cluster Deployment
While Oracle Linux Automation Manager runs as a single host deployment, it also supports running as a cluster with a remote database and separate control plane and execution nodes. The installation configures the single-host instance as a hybrid node. The first step in migrating to a cluster deployment is converting this instance to a control plane node.
For more information on different installation topologies, see the Planning the Installation chapter of the Oracle Linux Automation Manager Installation Guide documentation .
Prepare the Control Plane Node
Switch to the terminal connected to the olam-node instance running Oracle Linux Automation Manager.
Note: From now on, we'll refer to this instance as the control plane node.
Stop the Oracle Linux Automation Manager service.
sudo systemctl stop ol-automation-managerCreate a backup of the database.
sudo su - postgres -c 'pg_dumpall > /tmp/olamv2_db_dump'
Install the Remote Database
Copy the database backup from the control plane node to the new remote database host.
scp /tmp/olamv2_db_dump oracle@db-node:/tmp/The
scpcommand communicates using an SSH connection between the nodes. This connection is possible due to the free lab environment's configuration of passwordless SSH logins between instances.Connect via ssh to the db-node instance.
ssh oracle@db-nodeEnable the database module stream.
Oracle Linux Automation Manager allows the use of PostgreSQL 16 when migrating to the latest release.
sudo dnf -y module reset postgresql
sudo dnf -y module enable postgresql:16
Install the database server.
sudo dnf -y install postgresql-serverAdd the database firewall rule.
sudo firewall-cmd --add-port=5432/tcp --permanent
sudo firewall-cmd --reload
Initialize the database.
sudo postgresql-setup --initdbSet the database default storage algorithm.
sudo sed -i "s/#password_encryption.*/password_encryption = scram-sha-256/" /var/lib/pgsql/data/postgresql.confFor more details regarding this database functionality, see Password Authentication in the upstream documentation.
Update the database host-based authentication file.
echo "host all all 0.0.0.0/0 scram-sha-256" | sudo tee -a /var/lib/pgsql/data/pg_hba.conf > /dev/nullThis additional line performs SCRAM-SHA-256 authentication to verify a user's password when connecting from any IP address.
Update the listen_address value on which the database listens for connections.
sudo sed -i "/^#port = 5432/i listen_addresses = '"$(hostname -s)"'" /var/lib/pgsql/data/postgresql.confYou can choose either the IP address or hostname for this value. The tutorial uses
hostname -sto select the hostname.Update database tuning parameters.
These calculations leverage the system's total memory in megabytes and replace the default values in the PostgreSQL configuration file.
export TOTAL_MEMORY="$(free --mega | awk 'FNR == 2 {print $2}')"
sudo sed -i 's/max_connections = 100/max_connections = 1024/g' /var/lib/pgsql/data/postgresql.conf
sudo sed -i "/^shared_buffers =/c\shared_buffers = $( echo "($TOTAL_MEMORY*0.3)/1" | bc )" /var/lib/pgsql/data/postgresql.conf
sudo sed -i "/^#work_mem =/c\work_mem = $( echo "($TOTAL_MEMORY*0.03)/1" | bc )" /var/lib/pgsql/data/postgresql.conf
sudo sed -i "/^#maintenance_work_mem =/c\maintenance_work_mem = $( echo "($TOTAL_MEMORY*0.04)/1" | bc )MB" /var/lib/pgsql/data/postgresql.conf
Start and enable the database service.
sudo systemctl enable --now postgresqlImport the database dump file.
sudo su - postgres -c 'psql -d postgres -f /tmp/olamv2_db_dump'Set the Oracle Linux Automation Manager database user account password.
sudo su - postgres -c "psql -U postgres -d postgres -c \"alter user awx with password 'password';\""This command sets the
awxpassword topassword. Choose a more secure password if running this command outside the free lab environment.Close the SSH session connected to the db-node instance, as that completes the necessary steps to set up the remote database.
exit
Add the Remote Database Settings
Confirm your connection to the olam-node instance by checking the terminal prompt.
Verify the host can communicate with the remote database.
pg_isready -d awx -h db-node -p 5432 -U awxThe postgresql package includes the
pg_isreadycommand. That package is part of the original single-host installation. If this command does not work, you likely skipped a step above or are missing ingress access to port 5432 on the network.Add the remote database settings to a new custom configuration file.
cat << EOF | sudo tee /etc/tower/conf.d/db.py > /dev/null
DATABASES = {
    'default': {
        'ATOMIC_REQUESTS': True,
        'ENGINE': 'awx.main.db.profiled_pg',
        'NAME': 'awx',
        'USER': 'awx',
        'PASSWORD': 'password',
        'HOST': 'db-node',
        'PORT': '5432',
    }
}
EOF
Use the same password set previously for the
awxdatabase user account.Stop and disable the local database on the control plane node.
sudo systemctl stop postgresql
sudo systemctl disable postgresql
Mask the local database service.
sudo systemctl mask postgresqlThis step prevents the local database service from starting when you start the Oracle Linux Automation Manager service.
Start Oracle Linux Automation Manager.
sudo systemctl start ol-automation-managerVerify Oracle Linux Automation Manager connects to the remote database.
sudo su -l awx -s /bin/bash -c "awx-manage check_db"The output returns the remote database version details if a connection is successful.
Remove the Local Database Instance
Removing the original local database is safe after confirming the connection to the remote database is working.
Remove the database packages.
sudo dnf -y remove postgresqlRemove the
pgsqldirectory containing the old database data files.sudo rm -rf /var/lib/pgsql
Change the Node Type of the Control Plane Node
When converting to a clustered deployment, switch the single-host instance node_type from hybrid to control.
Confirm the current node type of the control plane node.
sudo su -l awx -s /bin/bash -c "awx-manage list_instances"The output shows the
node_typeset to a value ofhybrid.Remove the default instance group.
sudo su -l awx -s /bin/bash -c "awx-manage remove_from_queue --queuename default --hostname $(hostname -i)"Define the new instance and queue.
sudo su -l awx -s /bin/bash -c "awx-manage provision_instance --hostname=$(hostname -i) --node_type=control"
sudo su -l awx -s /bin/bash -c "awx-manage register_queue --queuename=controlplane --hostnames=$(hostname -i)"
Add the default queue name values in the custom settings file.
cat << EOF | sudo tee -a /etc/tower/conf.d/olam.py > /dev/null
DEFAULT_EXECUTION_QUEUE_NAME = 'execution'
DEFAULT_CONTROL_PLANE_QUEUE_NAME = 'controlplane'
EOF
Update Receptor settings.
cat << EOF | sudo tee /etc/receptor/receptor.conf > /dev/null
---
- node:
    id: $(hostname -i)

- log-level: info

- tcp-listener:
    port: 27199

- control-service:
    service: control
    filename: /var/run/receptor/receptor.sock

- work-command:
    worktype: local
    command: /var/lib/ol-automation-manager/venv/awx/bin/ansible-runner
    params: worker
    allowruntimeparams: true
    verifysignature: false
EOF
Restart Oracle Linux Automation Manager
sudo systemctl restart ol-automation-manager
The conversion of the single-host hybrid node to a control plane node with a remote database is complete. Now, we'll add an execution plane node to make this cluster fully functional.
Add an Execution Plane Node to the Cluster
Before the cluster is fully functional, add one or more execution nodes. Execution nodes run standard jobs using ansible-runner, which runs playbooks within an OLAM EE Podman container-based execution environment.
Prepare the Execution Plane Node
Connect via ssh to the *exe-node instance.
ssh exe-nodeInstall the Oracle Linux Automation Manager repository package.
Oracle Linux 8:
sudo dnf -y install oraclelinux-automation-manager-release-el8Oracle Linux 9:
sudo dnf -y install oraclelinux-automation-manager-release-el9Disable the repository for the older release.
Oracle Linux 8:
sudo dnf config-manager --disable ol8_automation ol8_automation2 ol8_automation2.2Enable the current release's repository.
Oracle Linux 8:
sudo dnf config-manager --enable ol8_automation2.3Oracle Linux 9:
sudo dnf config-manager --enable ol9_automation2.3Install the Oracle Linux Automation Manager package.
sudo dnf -y install ol-automation-managerAdd the Receptor firewall rule.
sudo firewall-cmd --add-port=27199/tcp --permanent
sudo firewall-cmd --reload
Edit the Redis socket configuration.
Oracle Linux 8:
sudo sed -i '/^# unixsocketperm/a unixsocket /var/run/redis/redis.sock\nunixsocketperm 775' /etc/redis.confOracle Linux 9:
sudo sed -i '/^# unixsocketperm/a unixsocket /var/run/redis/redis.sock\nunixsocketperm 775' /etc/redis/redis.confCopy the secret key from the control plane node.
ssh oracle@olam-node "sudo cat /etc/tower/SECRET_KEY" | sudo tee /etc/tower/SECRET_KEY > /dev/nullImportant: Every cluster node requires the same secret key.
Create a custom settings file containing the required settings.
cat << EOF | sudo tee /etc/tower/conf.d/olamv2.py > /dev/null
CLUSTER_HOST_ID = '$(hostname -i)'
DEFAULT_EXECUTION_QUEUE_NAME = 'execution'
DEFAULT_CONTROL_PLANE_QUEUE_NAME = 'controlplane'
EOF
The
CLUSTER_HOST_IDis a unique identifier of the host within the cluster.Create a custom settings file containing the remote database configuration.
cat << EOF | sudo tee /etc/tower/conf.d/db.py > /dev/null
DATABASES = {
    'default': {
        'ATOMIC_REQUESTS': True,
        'ENGINE': 'awx.main.db.profiled_pg',
        'NAME': 'awx',
        'USER': 'awx',
        'PASSWORD': 'password',
        'HOST': 'db-node',
        'PORT': '5432',
    }
}
EOF
Enable lingering.
Oracle Linux 9:
sudo loginctl enable-linger awxDeploy the ansible-runner execution environment.
Open a shell as the
awxuser.sudo su -l awx -s /bin/bashMigrate any existing containers to the latest podman version while keeping the unprivileged namespaces alive.
podman system migratePull the Oracle Linux Automation Engine execution environment for Oracle Linux Automation Manager.
Oracle Linux 8:
podman pull container-registry.oracle.com/oracle_linux_automation_manager/olam-ee:2.3-ol8Oracle Linux 9:
podman pull container-registry.oracle.com/oracle_linux_automation_manager/olam-ee:2.3-ol9Exit out of the
awxuser shell.exit
Generate the SSL certificates for NGINX.
sudo openssl req -x509 -nodes -days 365 -newkey rsa:2048 -keyout /etc/tower/tower.key -out /etc/tower/tower.crtEnter the requested information or just hit the
ENTERkey.Replace the default NGINX configuration with the configuration below.
cat << 'EOF' | sudo tee /etc/nginx/nginx.conf > /dev/null
user nginx;
worker_processes auto;
error_log /var/log/nginx/error.log;
pid /run/nginx.pid;

# Load dynamic modules. See /usr/share/doc/nginx/README.dynamic.
include /usr/share/nginx/modules/*.conf;

events {
    worker_connections 1024;
}

http {
    log_format  main  '$remote_addr - $remote_user [$time_local] "$request" '
                      '$status $body_bytes_sent "$http_referer" '
                      '"$http_user_agent" "$http_x_forwarded_for"';

    access_log  /var/log/nginx/access.log  main;

    sendfile            on;
    tcp_nopush          on;
    tcp_nodelay         on;
    keepalive_timeout   65;
    types_hash_max_size 2048;

    include             /etc/nginx/mime.types;
    default_type        application/octet-stream;

    # Load modular configuration files from the /etc/nginx/conf.d directory.
    # See http://nginx.org/en/docs/ngx_core_module.html#include
    # for more information.
    include /etc/nginx/conf.d/*.conf;
}
EOF
Update the Receptor configuration file.
cat << EOF | sudo tee /etc/receptor/receptor.conf > /dev/null --- - node: id: $(hostname -i) - log-level: debug - tcp-listener: port: 27199 - tcp-peer: address: $(ssh olam-node hostname -i):27199 redial: true - control-service: service: control filename: /var/run/receptor/receptor.sock - work-command: worktype: ansible-runner command: /var/lib/ol-automation-manager/venv/awx/bin/ansible-runner params: worker allowruntimeparams: true verifysignature: false EOFnode:idis the hostname or IP address of the current node.tcp-peer:addressis the Receptor mesh's hostname or IP address and port on the control plane node.
Start and enable the Oracle Linux Automation Manager service.
sudo systemctl enable --now ol-automation-manager.serviceClose the SSH session connected to the exe-node instance, as that completes the necessary steps to set up the execution node.
exit
Provision the Execution Plane Node
Confirm your connection to the olam-node instance by checking the terminal prompt.
You must run the provisioning step on one of the cluster's control plane nodes and apply it to all clustered instances of Oracle Linux Automation Manager.
Define the execution instance and queue.
sudo su -l awx -s /bin/bash -c "awx-manage provision_instance --hostname=$(ssh exe-node hostname -i) --node_type=execution" sudo su -l awx -s /bin/bash -c "awx-manage register_default_execution_environments" sudo su -l awx -s /bin/bash -c "awx-manage register_queue --queuename=execution --hostnames=$(ssh exe-node hostname -i)"register_queuetakes aqueuenameto create/update and a list of comma-delimitedhostnameswhere jobs run.
Add the receptor address for each node.
awx-manage add_receptor_address --instance=$(hostname -i) --address=$(hostname -i) --port=27199 --canonical
awx-manage add_receptor_address --instance=$(ssh exe-node hostname -i) --address=$(ssh exe-node hostname -i) --port=27199 --canonical
Register the service mesh peer relationship.
sudo su -l awx -s /bin/bash -c "awx-manage register_peers $(ssh exe-node hostname -i) --peers $(hostname -i)"
Verify the Execution Plane Node Registration
Connect via ssh to the *exe-node instance.
ssh exe-nodeVerify the Oracle Linux Automation Manager mesh service is running.
sudo systemctl status receptor-awxCheck the status of the service mesh.
sudo receptorctl --socket /var/run/receptor/receptor.sock statusExample Output:
[oracle@execution-node ~]$ sudo receptorctl  --socket /var/run/receptor/receptor.sock status
Node ID: 10.0.0.62
Version: +g
System CPU Count: 2
System Memory MiB: 15713

Connection   Cost
10.0.0.55   1

Known Node   Known Connections
10.0.0.55    10.0.0.62: 1
10.0.0.62    10.0.0.55: 1

Route        Via
10.0.0.55   10.0.0.55

Node         Service   Type       Last Seen             Tags
10.0.0.62   control   Stream     2022-11-06 19:46:53   {'type': 'Control Service'}
10.0.0.55   control   Stream     2022-11-06 19:46:06   {'type': 'Control Service'}

Node         Work Types
10.0.0.62   ansible-runner
10.0.0.55   local
For more details about Receptor, see the upstream documentation .
Verify the running cluster instances and show the available capacity.
sudo su -l awx -s /bin/bash -c "awx-manage list_instances"The output appears
greenonce the cluster establishes communication across all instances. If the results appearred, wait 20-30 seconds and try rerunning the command.Example Output:
[oracle@control-node ~]$ sudo su -l awx -s /bin/bash -c "awx-manage list_instances"
[controlplane capacity=136]
	10.0.0.55 capacity=136 node_type=control version=19.5.1 heartbeat="2022-11-08 16:24:03"

[default capacity=0]

[execution capacity=136]
	10.0.0.62 capacity=136 node_type=execution version=19.5.1 heartbeat="2022-11-08 17:16:45"
That completes the migration of Oracle Linux Automation Manager to a clustered deployment.
(Optional) Verify the Cluster is Working
Refresh the web browser window used to display the previous WebUI, or open a new web browser window and enter the URL.
https://localhost:8444The port used in the URL needs to match the local port of the SSH tunnel.
Note: Approve the security warning based on the browser used. For Chrome, click the Advanced button and then the Proceed to localhost (unsafe) link.
Log in to Oracle Linux Automation Manager again with the USERNAME
adminand the passwordadmin.After logging in, the WebUI displays.
Using the navigation menu on the left, click Instance Groups under the Administration section.
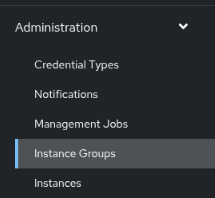
Verify the execution group exists in the list of Instance Groups.
If the group does not exist, you can create it using the following steps.
In the main window, click the Add button and then select Add instance group.

Enter the required information on the Create new instance group page.
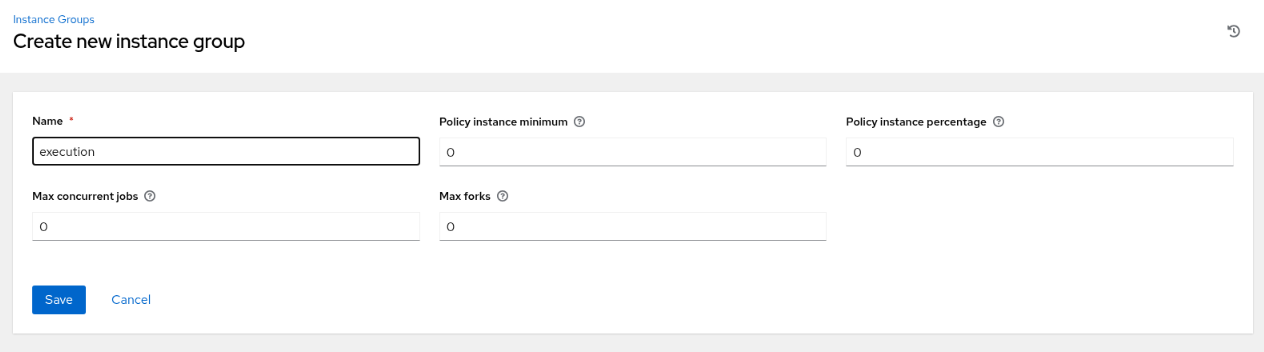
Click the Save button.
From the Details summary page, click the Instances tab.
From the Instances page, click the Associate button.
On the Select Instances page, click the checkbox next to the execution node.
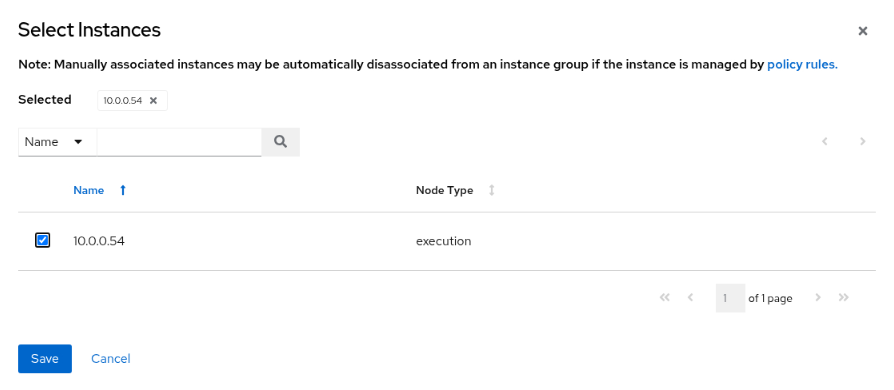
Click the Save button.
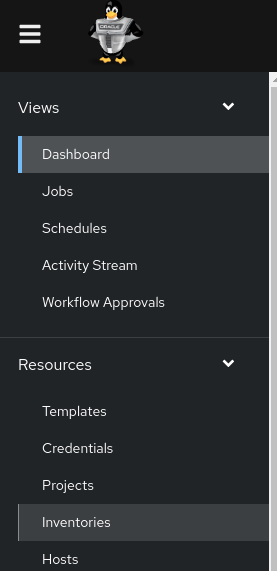
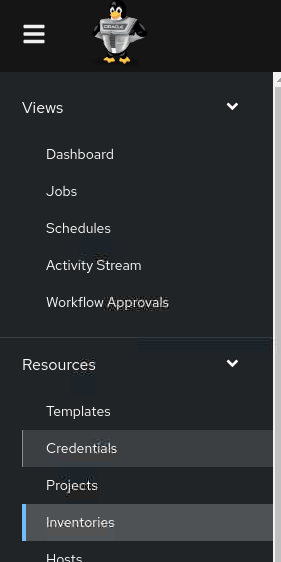
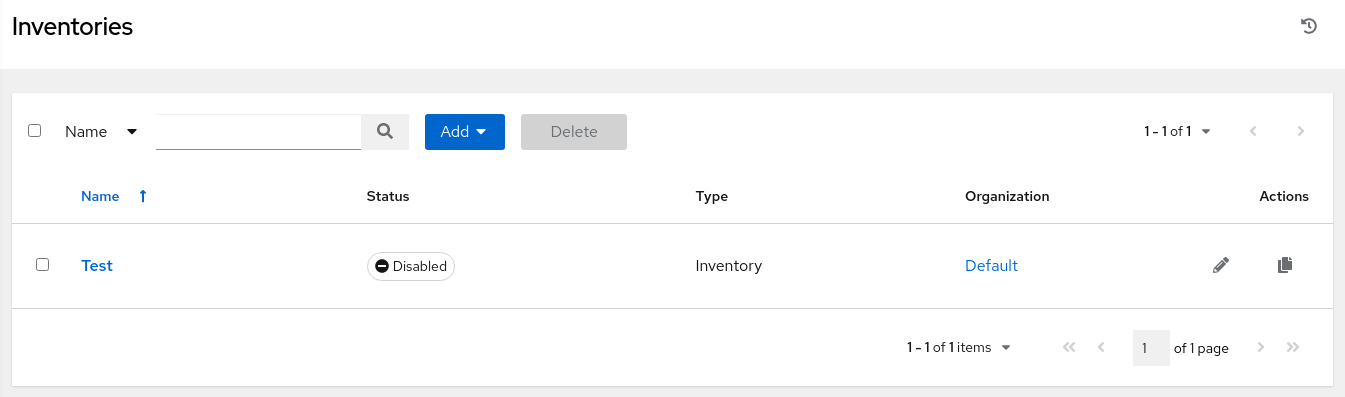
Using the navigation menu on the left, click Inventories under the Resources section.
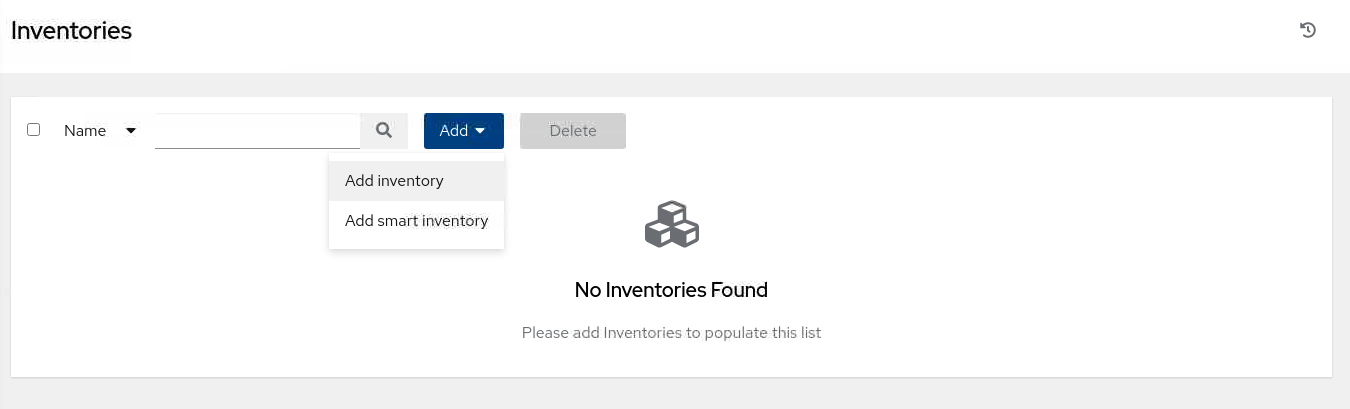
In the main window, click the Add button and then select Add inventory.
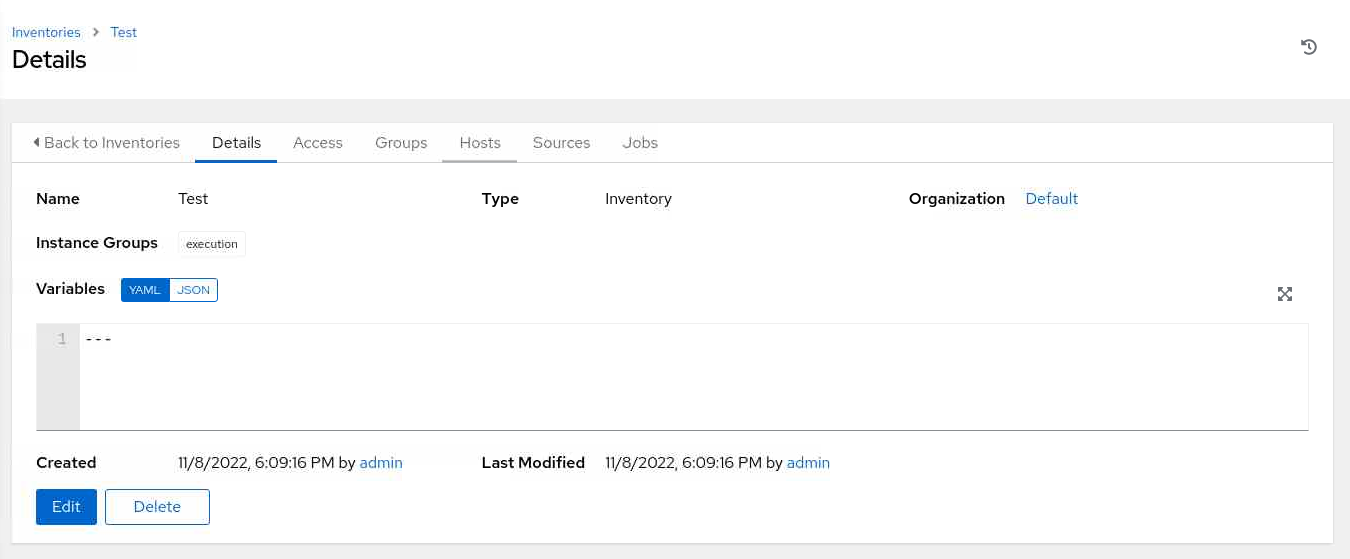
Enter the required information on the Create new inventory page.
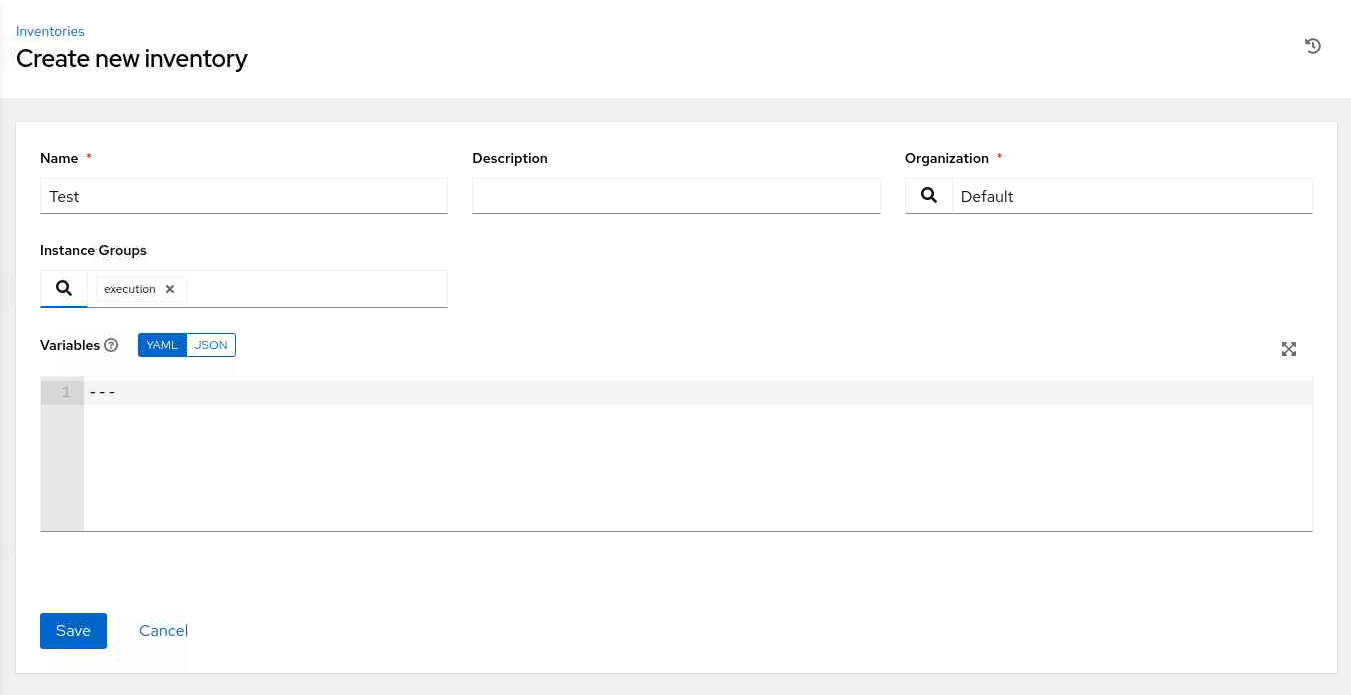
For Instance Groups, select the search icon to display the Select Instance Groups pop-up dialog. Click the checkbox next to the execution group and then click the Select button.
Click the Save button.
From the Details summary page, click the Hosts tab.
From the Hosts page, click the Add button.
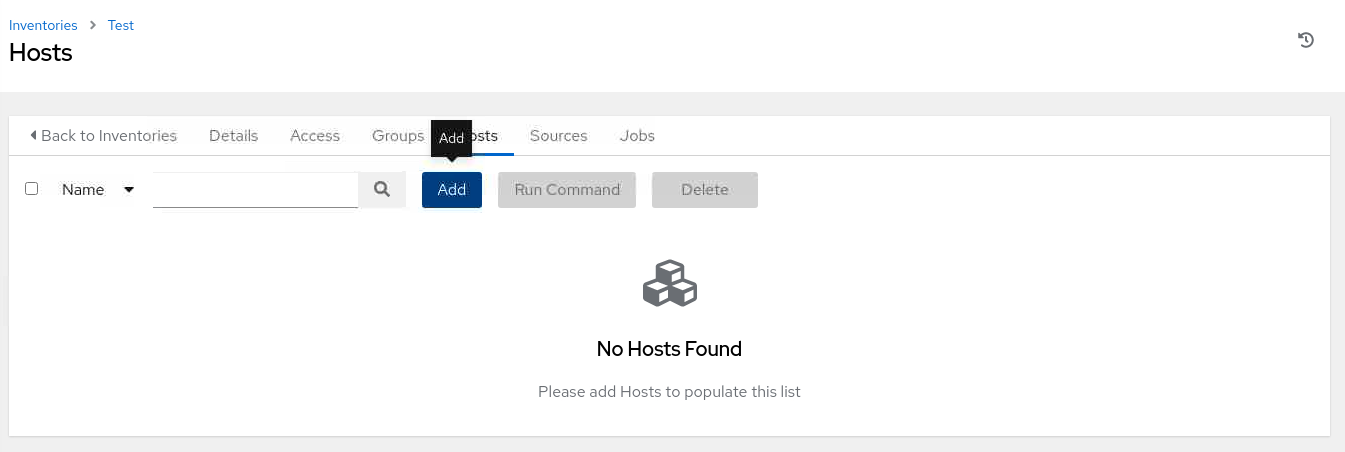
On the Create new host page, enter the IP address or hostname of an available instance.

In the free lab environment, we'll use db-node, which is the hostname of the remote database instance.
Click the Save button.
Navigate to the menu on the left, and click on **Credentials`.
On the Credentials page, click the Add button.
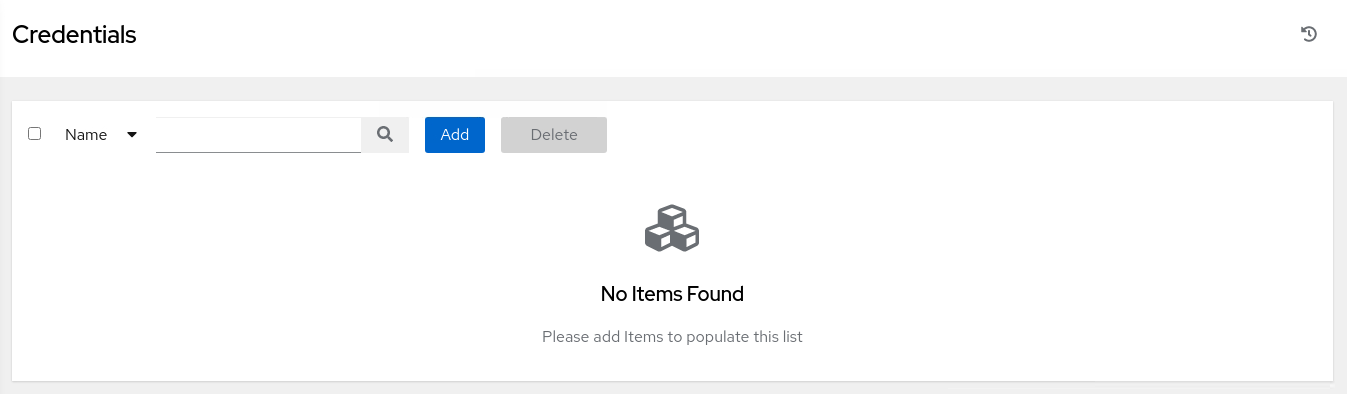
Enter the required information on the Create New Credential page.
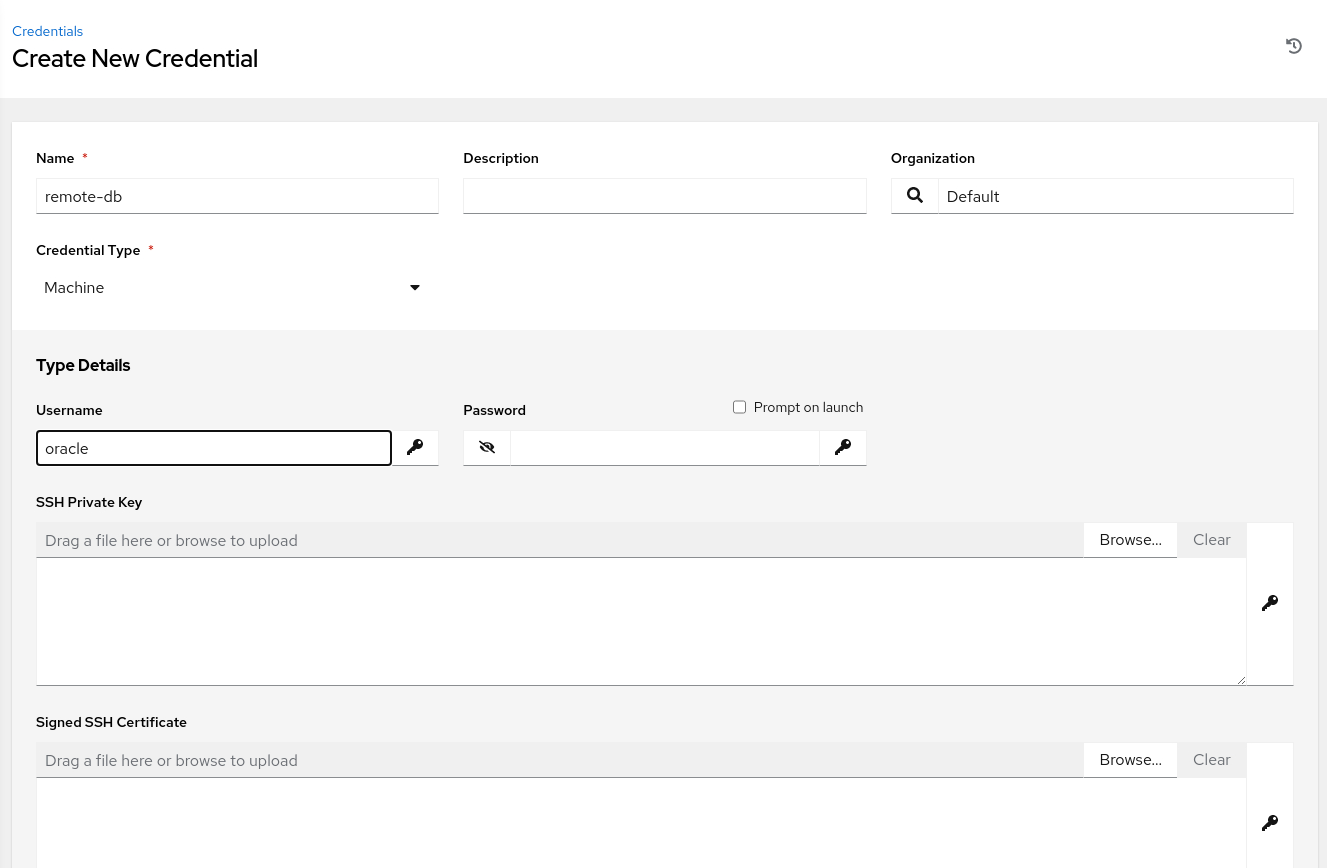
For the Credential Type, click the drop-down menu and select Machine. That displays the credentials Type Details.
Enter a Username of
oracleand browse for the SSH Private Key. Clicking the Browse... button displays an Open File dialog window.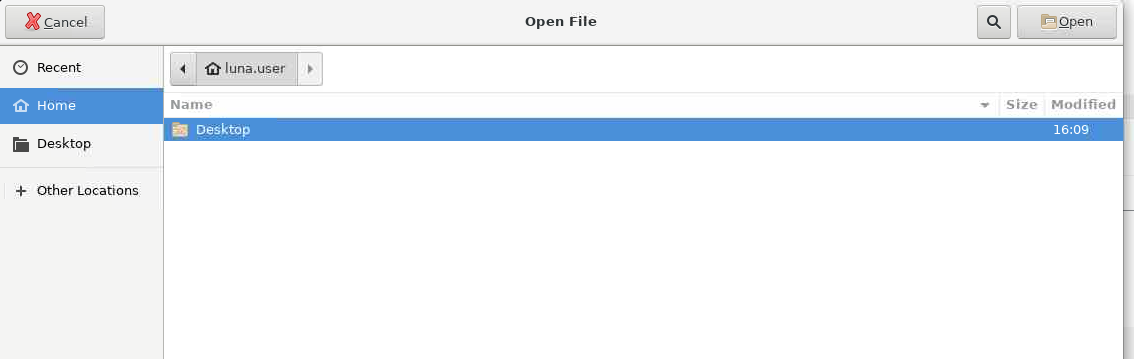
Right-click on the main window of that dialog and then select Show Hidden Files.
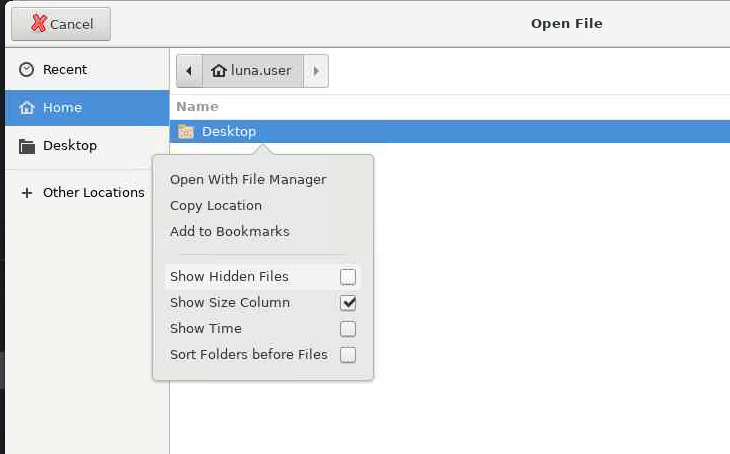
Then select the
.sshfolder and theid_rsafile. Clicking the Open button copies the contents of the private key file into the SSH Private Key dialog box. Scroll down and click the Save button.Navigate to the menu on the left and click on Inventories.

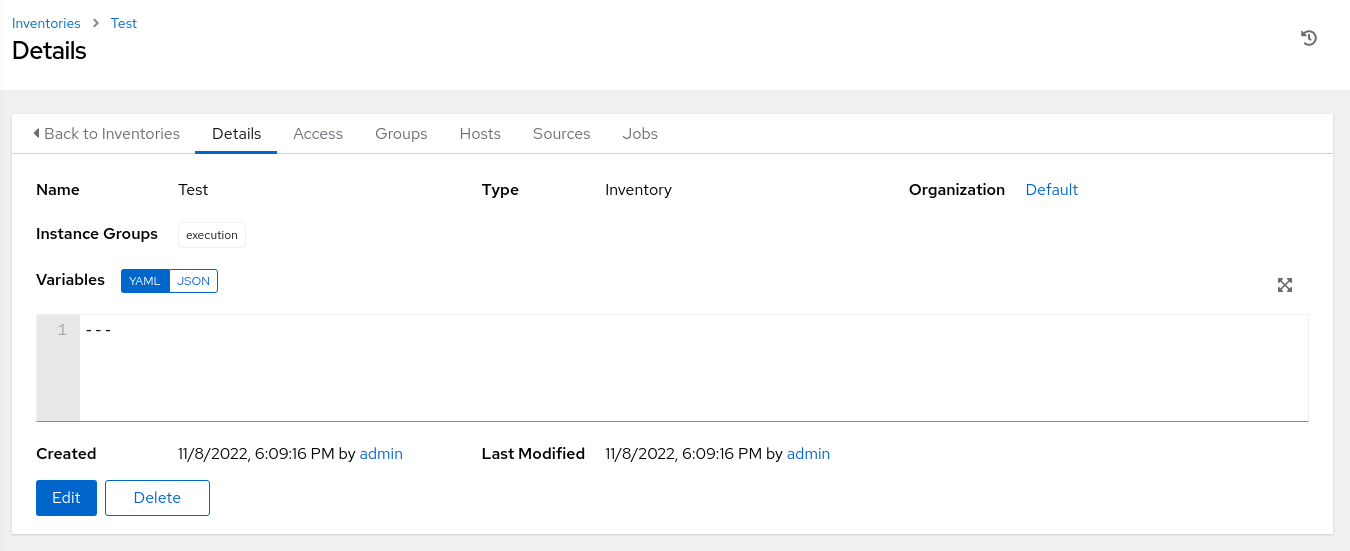
From the Inventories page, click on the Test inventory.
From the Details summary page, click the Hosts tab.
On the Hosts page, click the checkbox next to the
db-nodehost.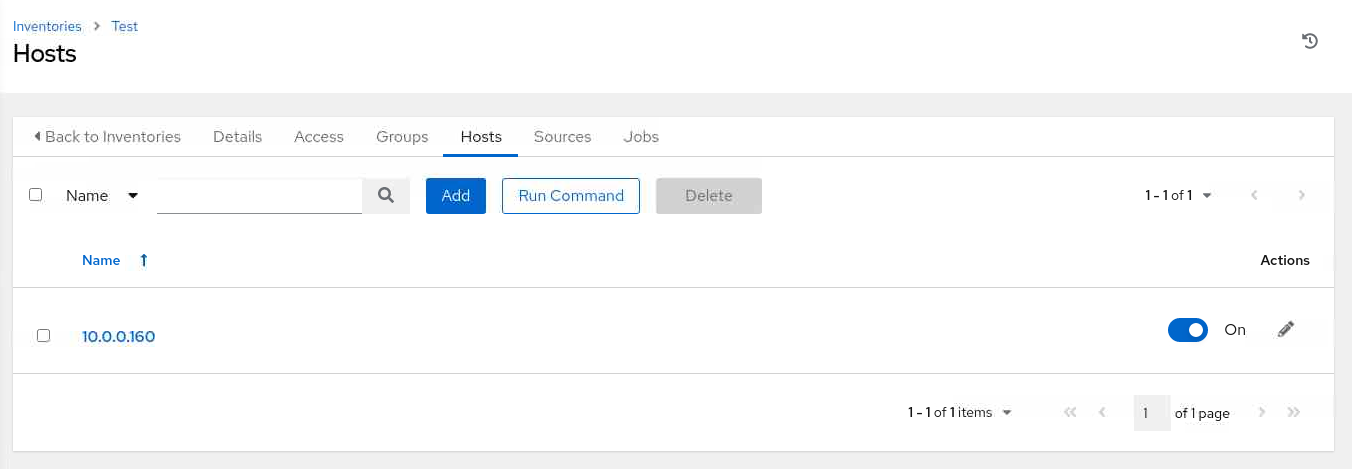
Then click the Run Command button.
From the Run command dialog, select the
pingmodule from the Modules list-of-values and click the Next button.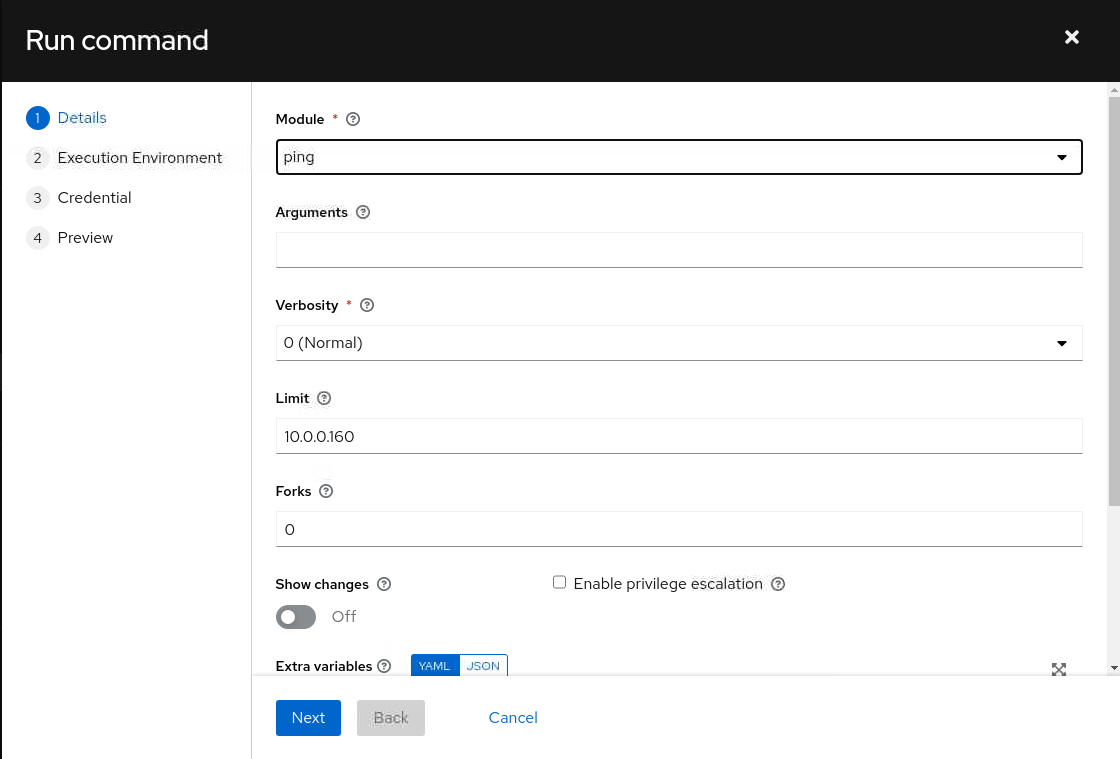
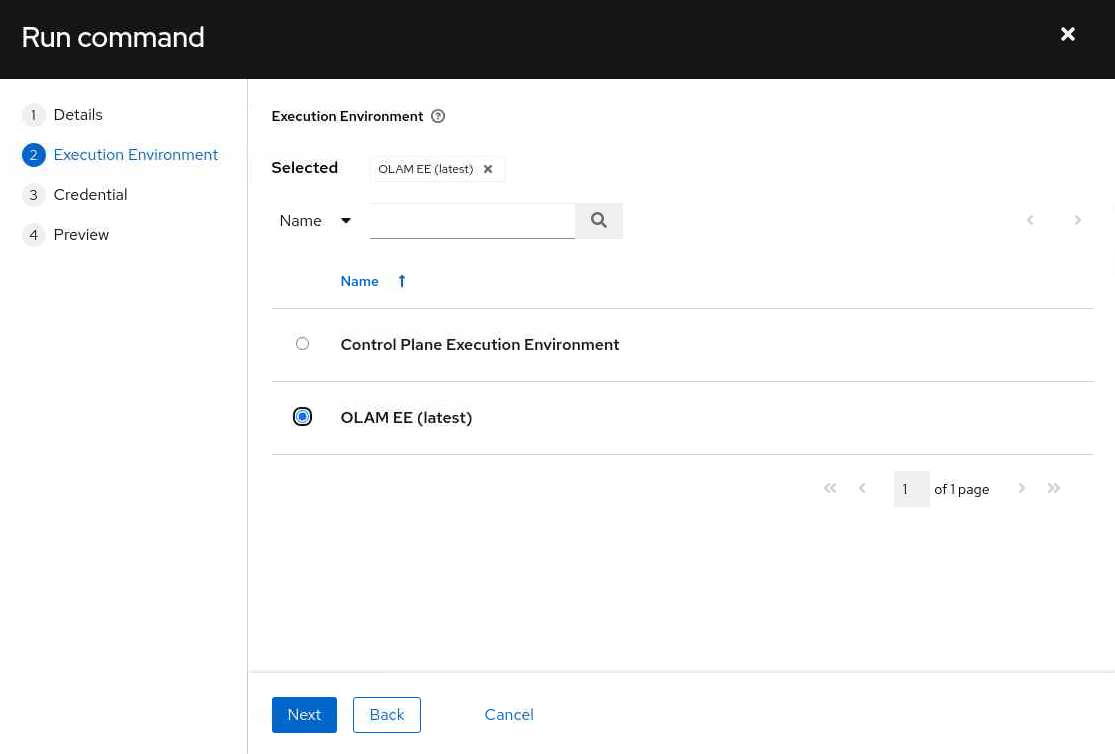
Select the OLAM EE (2.3) execution environment and click the Next button.
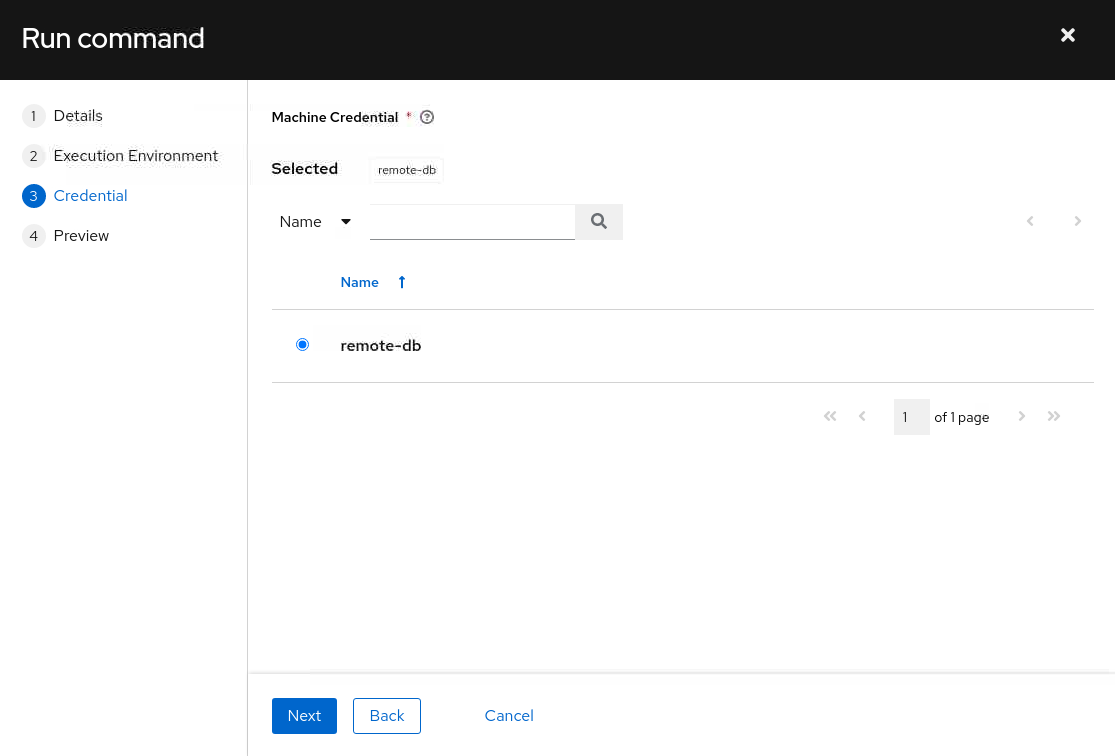
Select the db-node machine credential and click the Next button.
The panel refreshes and displays a preview of the command.
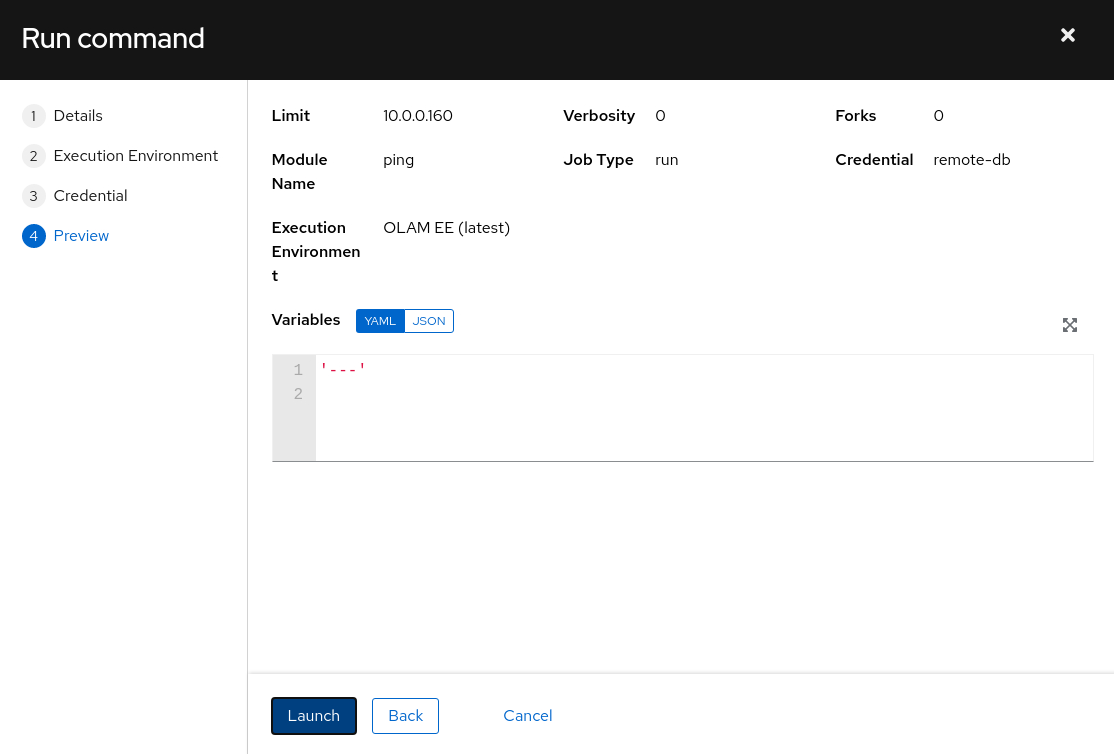
After reviewing the details, click the Launch button.
The job will launch and display the job Output page.
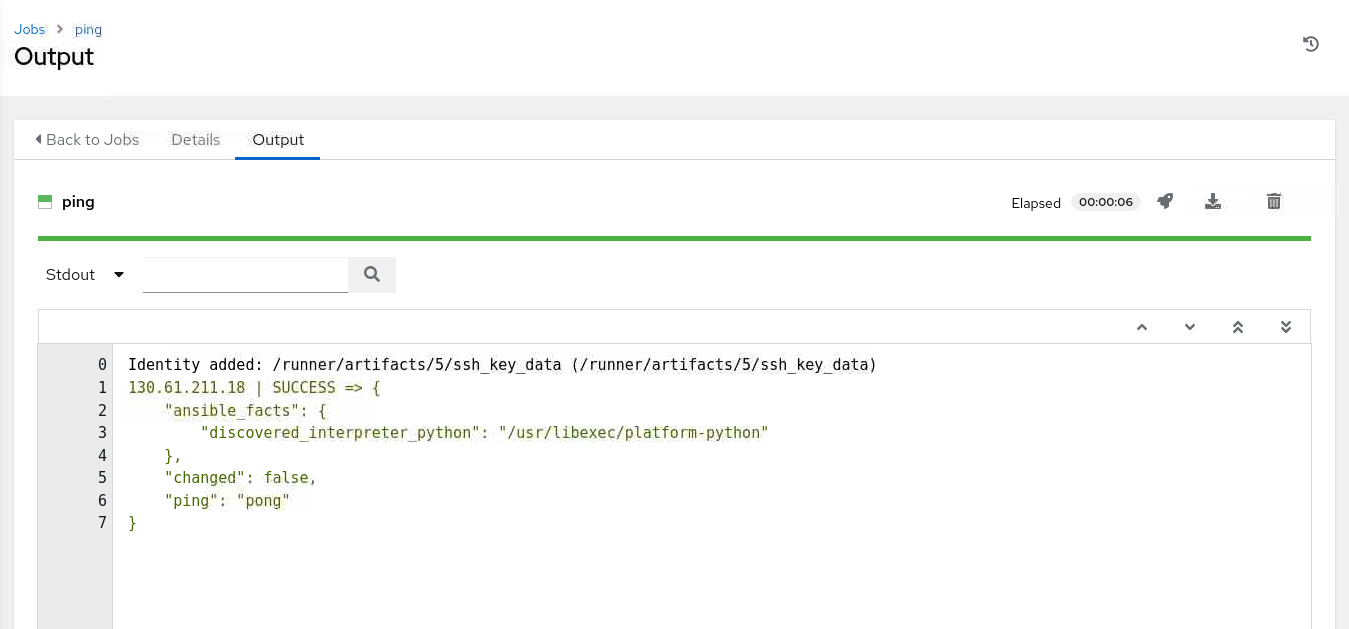
If everything runs successfully, the output displays a
SUCCESSmessage indicating that the execution node has contacted thedb-nodeinstance using the Ansiblepingmodule. If you do not see the output, refresh the page by clicking the Details tab and returning to the Output tab.
Next Steps
The output within the Web UI confirms that you have a working cluster environment for Oracle Linux Automation Manager. Continue to build your skills, and check out our other Oracle Linux Automation Manager training on Oracle Linux Training Station.
Related Links
Oracle Linux Automation Manager Documentation
Oracle Linux Automation Manager Training
Oracle Linux Training Station