Deploy Oracle Cloud Native Environment User Interface
Introduction
This tutorial introduces you to the new user interface features of Oracle Cloud Native Environment. The UI builds on the upstream Headlamp project that provides a fully functional Kubernetes UI.
Objectives
In this tutorial, you will learn:
- How to configure the Oracle Cloud Native Environment Application Catalog
- How to install and access the Oracle Cloud Native Environment UI
Prerequisites
Minimum of a 3-node Oracle Cloud Native Environment cluster:
- Operator node
- Kubernetes control plane node
- Kubernetes worker node
Each system should have Oracle Linux installed and configured with:
- An Oracle user account (used during the installation) with sudo access
- Key-based SSH, also known as password-less SSH, between the hosts
- Installation of Oracle Cloud Native Environment
Deploy Oracle Cloud Native Environment
Note: If running in your own tenancy, read the linux-virt-labs GitHub project README.md and complete the prerequisites before deploying the lab environment.
Open a terminal on the Luna Desktop.
Clone the
linux-virt-labsGitHub project.git clone https://github.com/oracle-devrel/linux-virt-labs.gitChange into the working directory.
cd linux-virt-labs/ocneInstall the required collections.
ansible-galaxy collection install -r requirements.ymlUpdate the Oracle Cloud Native Environment repository versions.
cat << EOF | tee repos.yml > /dev/null
ol8_enable_repo: "ol8_olcne19"
ol8_disable_repo: "ol8_olcne12 ol8_olcne13 ol8_olcne14 ol8_olcne15 ol8_olcne16 ol8_olcne17 ol8_olcne18"
ol9_enable_repo: "ol9_olcne19"
ol9_disable_repo: "ol9_olcne17 ol9_olcne18"
EOF
Deploy the lab environment.
ansible-playbook create_instance.yml -e localhost_python_interpreter="/usr/bin/python3.6" -e "@repos.yml"The free lab environment requires the extra variable
local_python_interpreter, which setsansible_python_interpreterfor plays running on localhost. This variable is needed because the environment installs the RPM package for the Oracle Cloud Infrastructure SDK for Python, located under the python3.6 modules.Important: Wait for the playbook to run successfully and reach the pause task. At this stage of the playbook, the installation of Oracle Cloud Native Environment is complete, and the instances are ready. Take note of the previous play, which prints the public and private IP addresses of the nodes it deploys and any other deployment information needed while running the lab.
Install Oracle Cloud Native Environment Runtime
Install the Oracle Cloud Native Environment Command Line Interface (CLI) onto an Oracle host. The CLI provides the ocne executable that we'll use to install the user interface.
Open a terminal and connect via SSH to the ocne-operator node.
ssh oracle@<ip_address_of_node>Install the repository package.
Oracle Linux 8
sudo dnf install -y oracle-ocne-release-el8Oracle Linux 9
sudo dnf install -y oracle-ocne-release-el9Enable the repository.
Oracle Linux 8
sudo dnf config-manager --enable ol8_ocneOracle Linux 9
sudo dnf config-manager --enable ol9_ocne ol9_olcne19Install the CLI package.
sudo dnf install -y ocne
Configure Access to the Kubernetes Cluster
The kubeconfig file is a YAML configuration file that stores information on accessing the Kubernetes cluster. We'll use this to access the existing cluster and install the user interface.
Set up the
kubectlcommand on the operator node.mkdir -p $HOME/.kube; \ ssh ocne-control-01 "sudo cat /etc/kubernetes/admin.conf" > $HOME/.kube/kubeconfig.ocne.v19; \ sudo chown $(id -u):$(id -g) $HOME/.kube/kubeconfig.ocne.v19; \ export KUBECONFIG=$HOME/.kube/kubeconfig.ocne.v19List the nodes in the cluster.
kubectl get nodesThe output shows the control plane and worker nodes in a
Readystate along with their current Kubernetes version.
Add the UI and Application Catalogs into a Cluster
The Oracle Cloud Native Environment Command Line Interface (CLI) allows installing the UI and application catalogs into an existing Oracle Cloud Native Environment Release 1.x Kubernetes cluster.
The target cluster must be healthy. You must provide the kubeconfig file for the target cluster.
Install the UI and catalogs.
ocne cluster start --provider none --kubeconfig $HOME/.kube/kubeconfig.ocne.v19 -u falseCreate an Access Token.
The UI uses token-based authentication, which you'll create in this step and later paste into the login page.
kubectl -n ocne-system create token uiPort Forward the UI Service.
The UI deploys as a ClusterIP Service, which allows minimal clusters to host it. Accessing it with this configuration forwards the service ports to your host.
kubectl port-forward -n ocne-system service/ui 8443:443This command opens port
8443listening on localhost-only of the ocne-operator node where runningkubectl. To stop the port forward, usectrl-c.
Accessing the UI
Open a new terminal window and configure an SSH tunnel to the ocne-operator node.
The ocne-operator node contains the port forward to the UI service, as that is the node where we ran the
kubectlcommand.ssh -L 8444:localhost:8443 oracle@<ip_address_of_node>Open a web browser and enter the URL.
https://localhost:8444Note: Approve the security warning based on the browser used. For Chrome, click the
Advancedbutton and then theProceed to localhost (unsafe)link.
Log into the UI
Switch to the previous terminal window containing the generated access token.
Copy the access token.
Switch to the browser containing the UI Authentication.
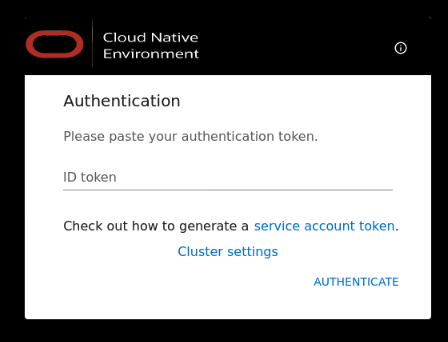
Paste the access token into the
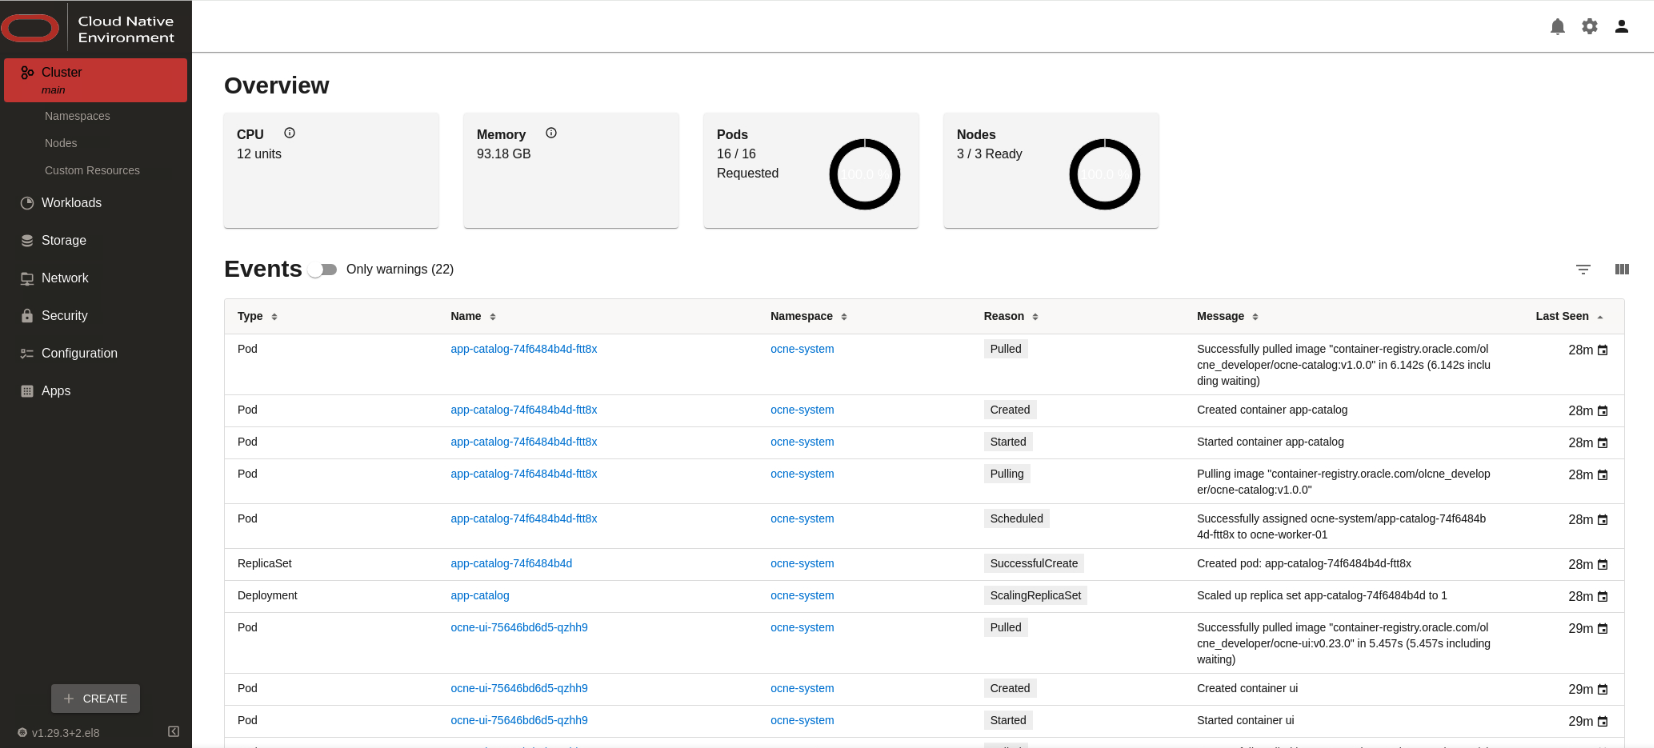
ID tokenfield and clickAUTHENTICATE.After login, the UI displays.
Next Steps
You've completed the installation of the Oracle Cloud Native Environment UI. Now, you can explore the UI interface and its features.