Use Custom Execution Environments with Oracle Linux Automation Manager
Introduction
Using a custom execution environment (ee), Oracle Linux Automation Manager can leverage playbooks containing collections and other resources not available with the default olam-ee image. You build it using the Builder utility, store it on Private Automation Hub, and then pull it into Oracle Linux Automation Manager.
How does that all work together?
This tutorial shows how to upload a pre-built image to Private Automation Hub and then pull it into Oracle Linux Automation Manager to run playbooks. For details on creating customized execution environments, see our tutorial on the Builder utility, and this tutorial on Private Automation Hub.
Objectives
In this tutorial, you'll learn how to:
- Push a custom ee to Private Automation Hub using a playbook
- Add a custom ee to Oracle Linux Automation Manager
- Use the custom ee to run a Job
Prerequisites
- Three systems running Oracle Linux
- A development environment using the Builder utility
- One for Private Automation Hub
- Another for running Oracle Linux Automation Manager
Deploy Oracle Linux Automation Manager
Note: If running in your own tenancy, read the linux-virt-labs GitHub project README.md and complete the prerequisites before deploying the lab environment.
Open a terminal on the Luna Desktop.
Clone the
linux-virt-labsGitHub project.git clone https://github.com/oracle-devrel/linux-virt-labs.gitChange into the working directory.
cd linux-virt-labs/olamInstall the required collections.
ansible-galaxy collection install -r requirements.ymlUpdate the Oracle Linux instance configuration.
cat << EOF | tee instances.yml > /dev/null
compute_instances:
  1:
    instance_name: "devops-node"
    type: "server"
  2:
    instance_name: "ol-pah"
    type: "server"
  3:
    instance_name: "olam-node"
    type: "control"
passwordless_ssh: true
use_devops_vnc: true
use_olam_builder: true
use_olam_pah: true
olam_type: single
EOF
Create an inventory file.
cat << EOF | tee hosts > /dev/null
localhost ansible_connection=local ansible_connection=local ansible_python_interpreter=/usr/bin/python3.6
EOF
Deploy the lab environment.
ansible-playbook create_instance.yml -i hosts -e "@instances.yml"The free lab environment requires the extra variable
ansible_python_interpreterfor localhost because it installs the RPM package for the Oracle Cloud Infrastructure SDK for Python. The location for installing this package is under the system's default Python modules based on your version of Oracle Linux. Using an inventory variable avoids impacting the plays running on hosts other than localhost.The default deployment shape uses the AMD CPU. You can change the shape of the instances by passing a new shape variable definition on the command line.
For example:
-e instance_shape="VM.Standard3.Flex"Similarly, the default version of the Oracle Linux image uses the variable
os_versiondefined in the `default_vars.yml file. You can modify this value by passing the Oracle Linux major version on the command line.For example:
-e os_version="9"Important: Wait for the playbook to run successfully and reach the pause task. At this stage of the playbook, the installation of Oracle Linux is complete, and the instances are ready. Note the previous play, which prints the public and private IP addresses of the nodes it deploys.
Push a Custom Execution Environment to Private Automation Hub
One method to push a custom ee to the Private Automation Hub is using podman from the command line, as shown in the Private Automation Hub tutorial. It is also possible to perform this task using a playbook and the containers.podman collection.
Open a terminal and connect via SSH to the devops-node instance.
ssh oracle@<ip_address_of_instance>Install Oracle Linux Automation Engine.
sudo dnf install ansible-core -yInstall the required collections.
ansible-galaxy collection install containers.podmanCreate the playbook to tag and push the custom ee image.
tee push-image.yml > /dev/null <<EOF
---
- hosts: localhost
  collections:
    - containers.podman

  tasks:

  - name: get domain_name
    command: hostname -d
    register: domain_name

  - name: output domain_name var
    debug:
      msg: "{{domain_name.stdout}}"

  - name: push image to pah
    containers.podman.podman_image:
      name: my_custom_ee
      push: true
      push_args:
        dest: ol-pah.{{domain_name.stdout}}/my_first_olam_ee_image:latest
      username: admin
      password: password
      validate_certs: false
EOF
Run the playbook.
ansible-playbook push-image.ymlThe playbook runs on
localhostand, therefore, does not need a defined inventory file.
Open a VNC Session to the DevOps Instance
The VNC Session allows you to connect to the Private Automation Hub Web UI using the hostname or fully qualified domain name (FQDN) within the free lab environment. Using the hostname or FQDN is required as Django's built-in protection protects the Web UI against Cross-Site Request Forgery (CSRF) attacks.
Open a new terminal and connect to the devops-node instance via SSH.
The
-Loption enables local forwarding, which opens a local port to connect through an SSH tunnel to the remote VNC server.ssh -L 5914:localhost:5901 oracle@<ip_address_of_instance>Switch to the Luna Desktop.
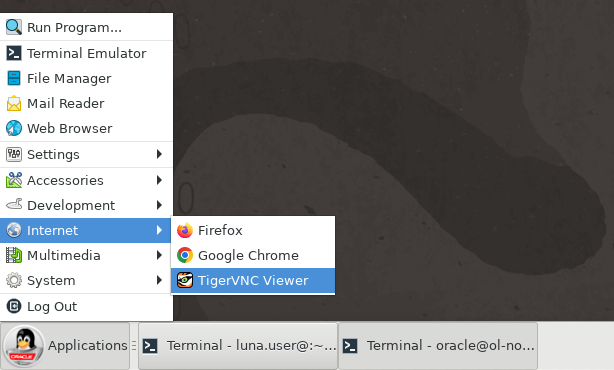
Open the TigerVNC Viewer by clicking the Applications menu, Internet, and then TigerVNC Viewer.
Log on to the deployed server's GUI environment by entering
localhost:5914into the VNC Server text box and pressing the Connect button.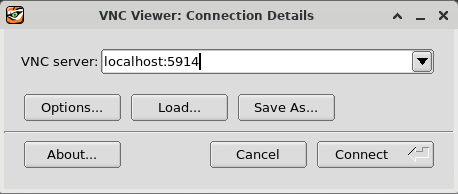
Enter the
oracleuser's password of oracle and press the OK button.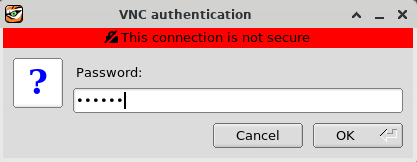
The Server's GUI desktop is displayed with a first-time login setup.
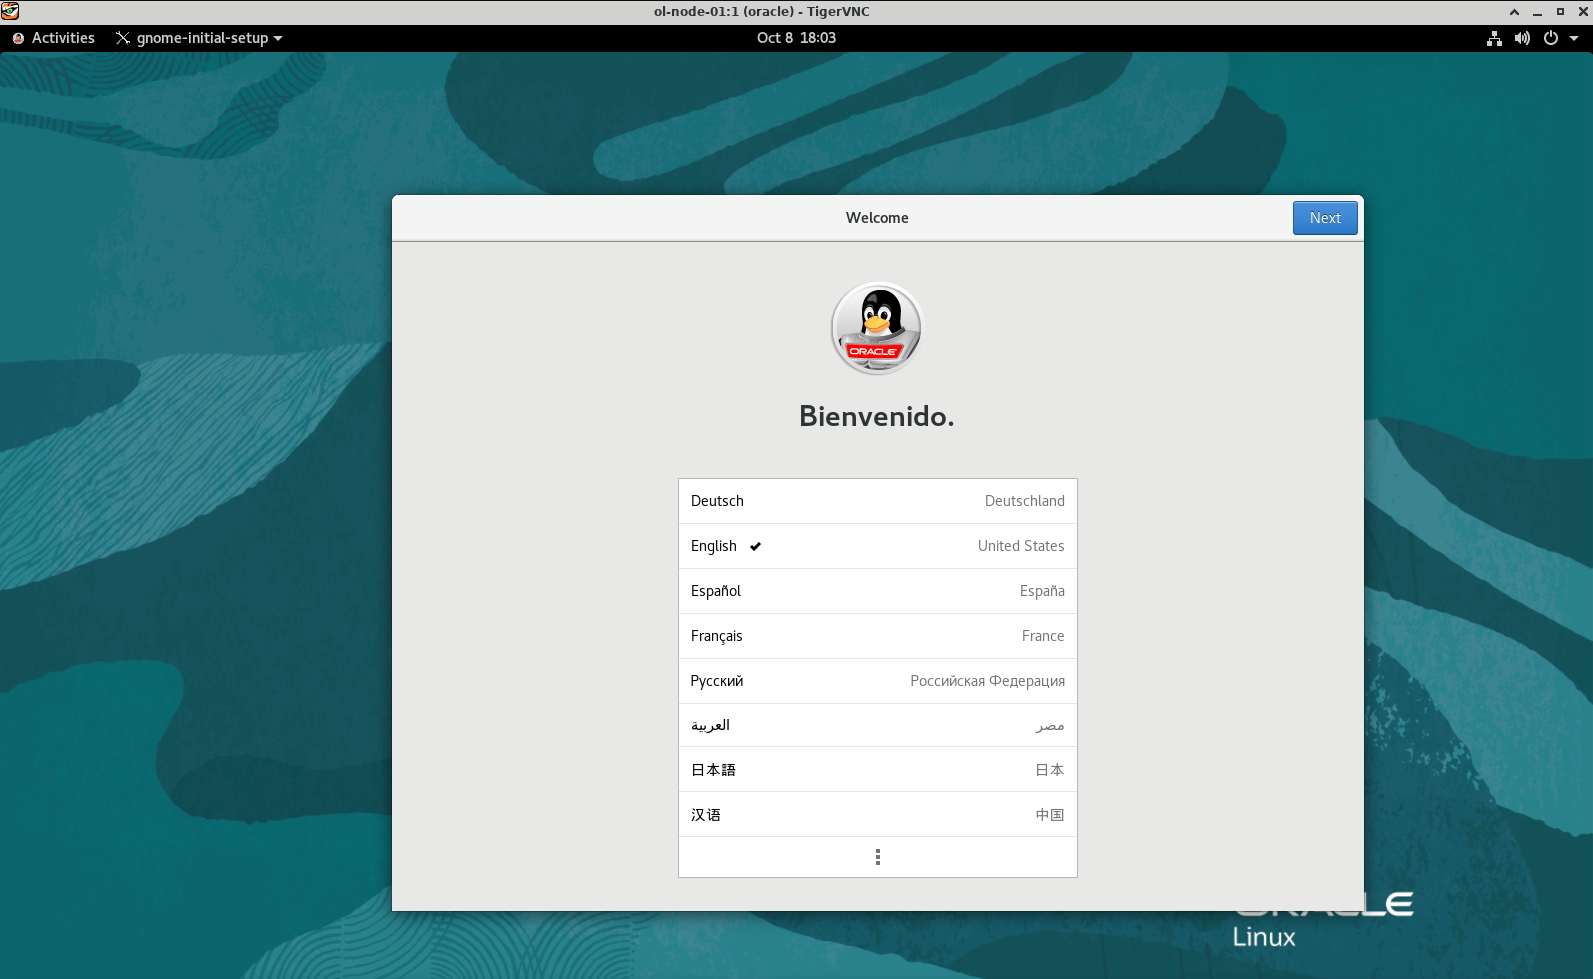
Press the Next button three times, then the Skip button, followed by the Start Using Oracle Linux Server button. Finally, close or minimize the Getting Started window.
Verify Image Exists in Private Automation Hub
Open a web browser within the VNC session and enter the URL.
https://ol-pahNote: Approve the security warning based on the browser used. For Chrome, click the
Advancedbutton and then theProceed to localhost (unsafe)link.Log in to the Private Automation Hub WebUI.
Use the Username
adminand the Passwordpassword. The free lab environment sets this password value during the lab deployment.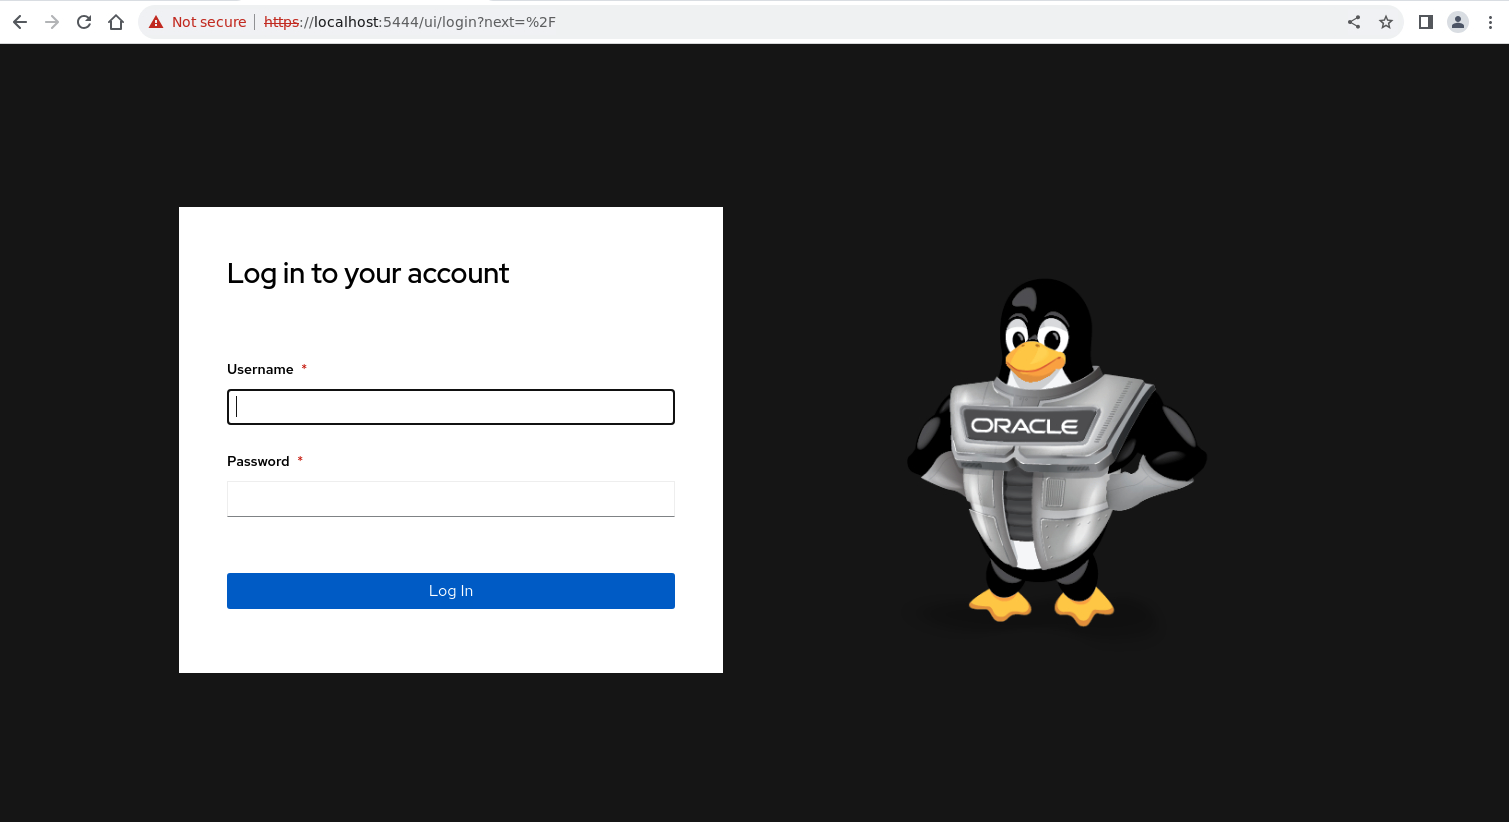
The WebUI displays after a successful login.
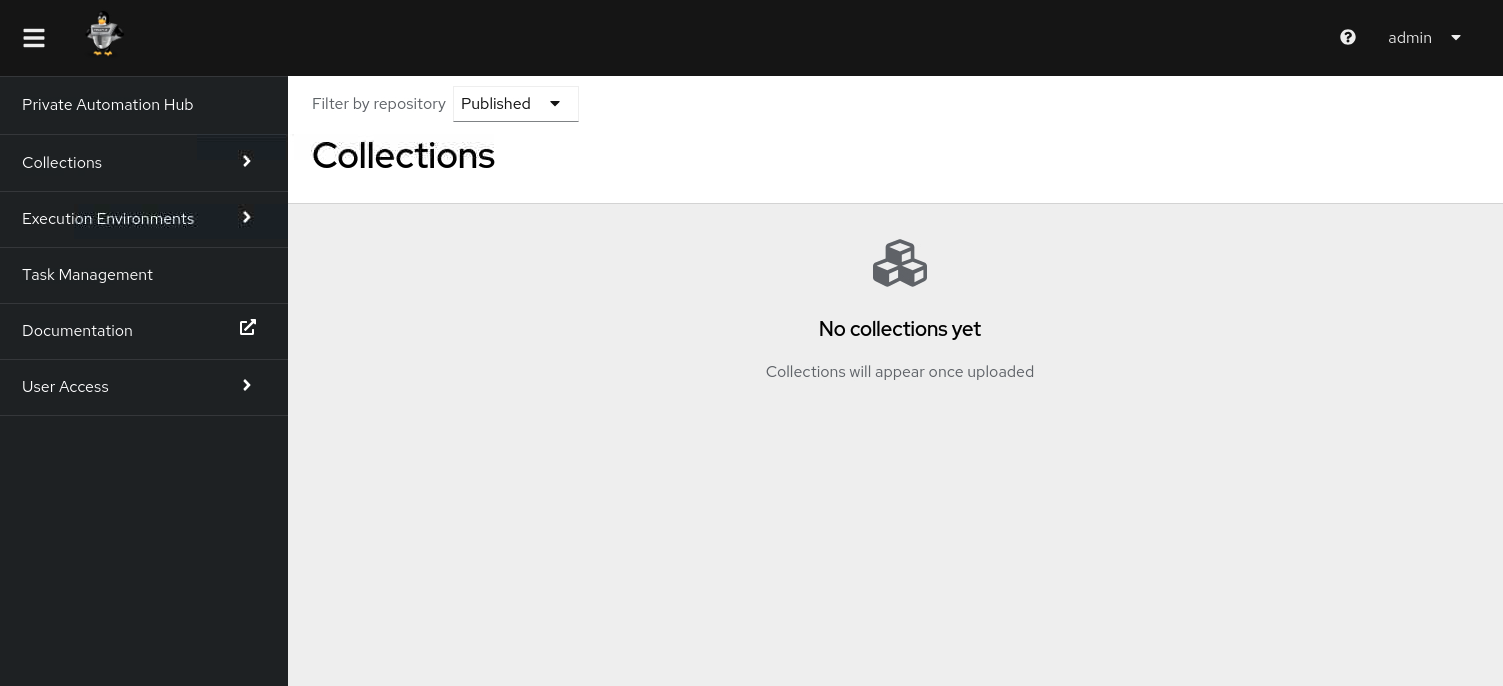
Click the navigation menu in the upper left corner of the Private Automation Hub WebUI.
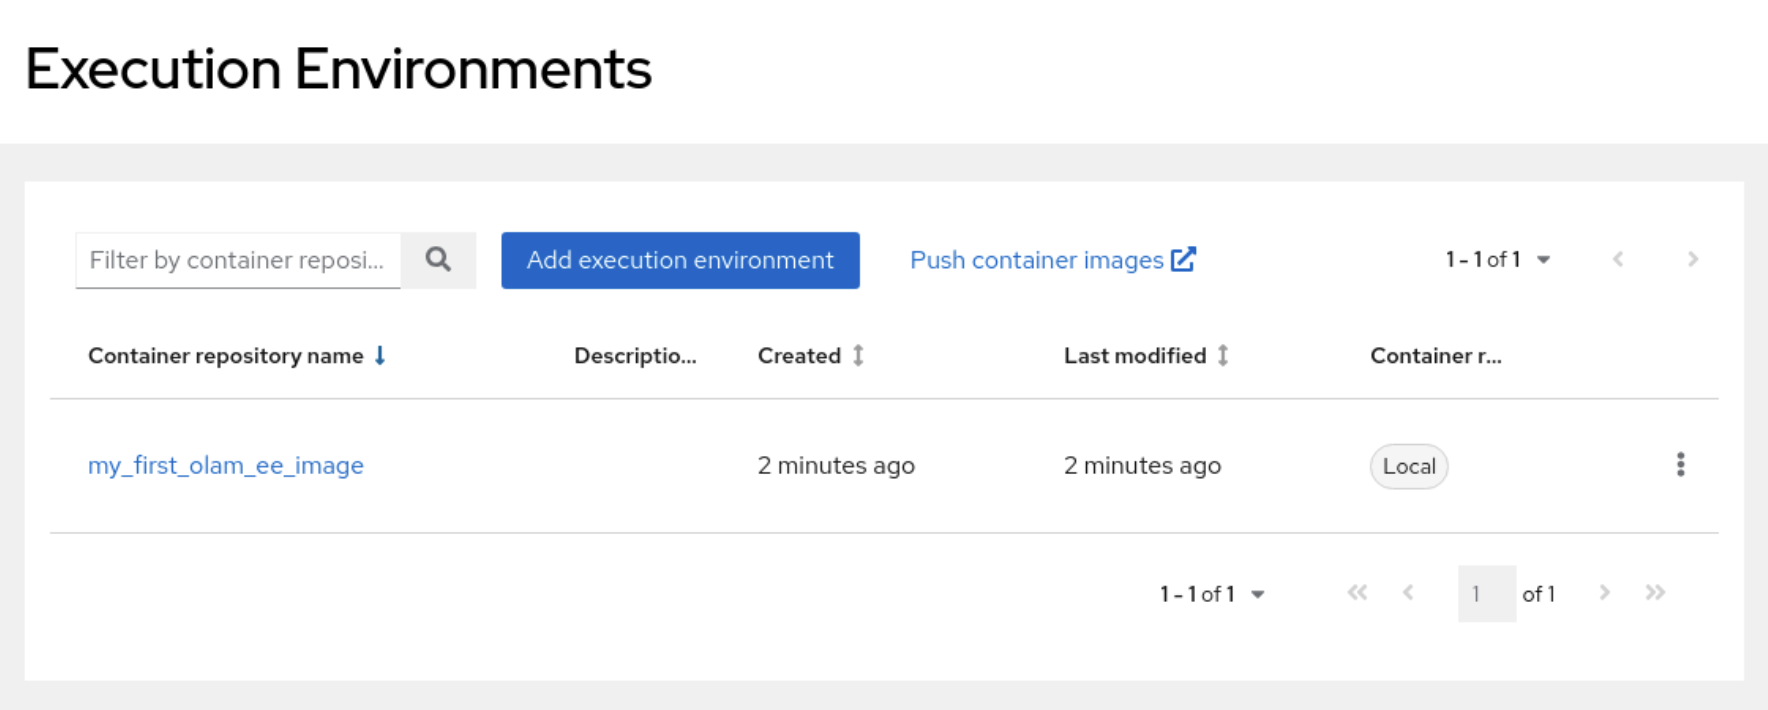
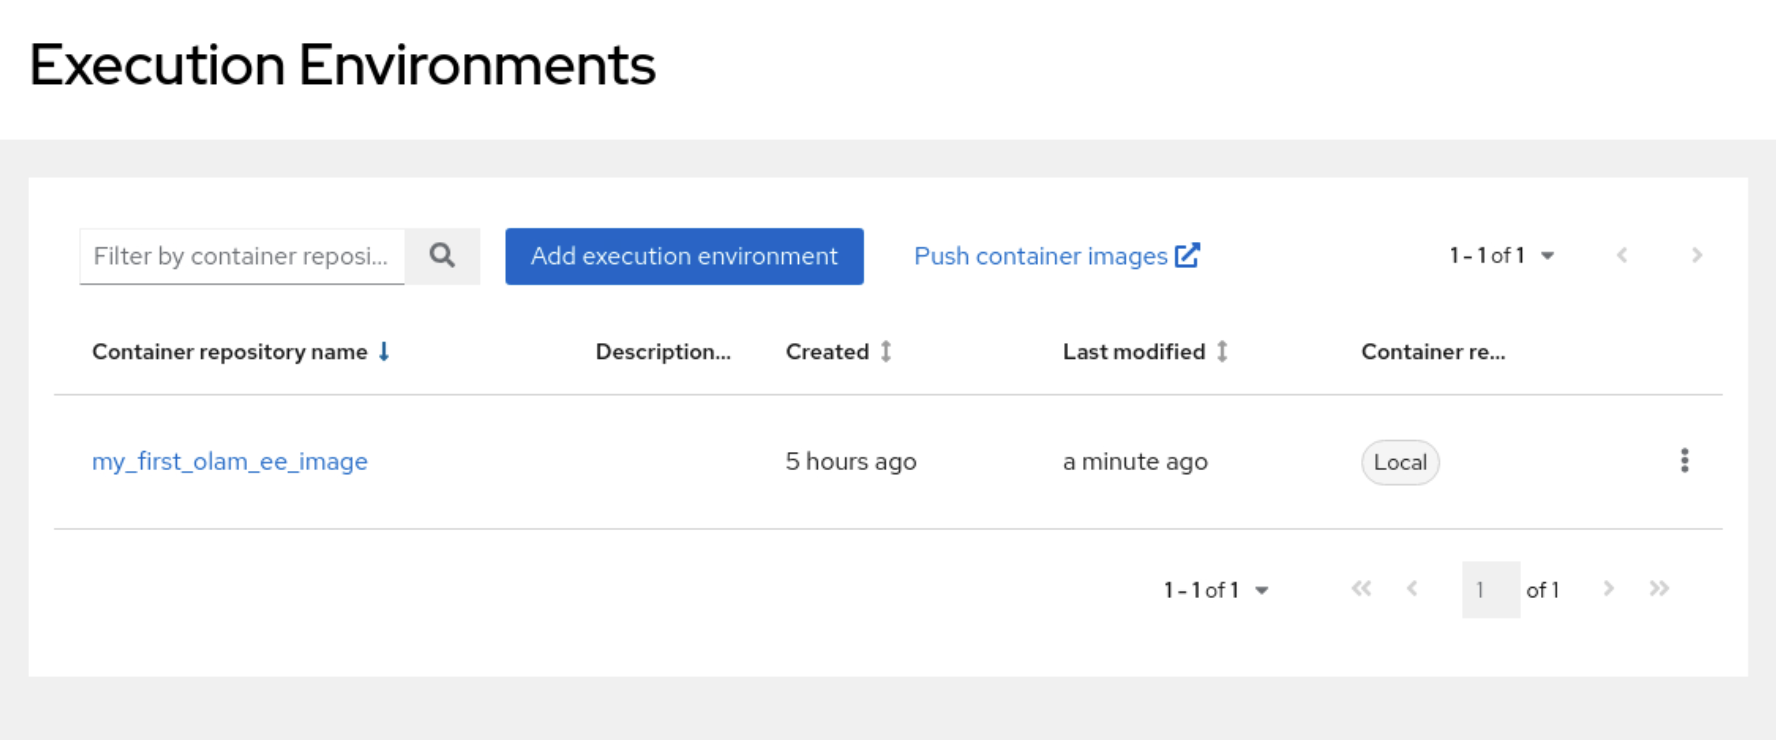
Navigate to Execution Environments and Execution Environments.
Notice the new my_first_olam_ee_image displays in the main panel.
Create a Playbook
Oracle Linux Automation Manager administrators can create playbooks locally on the file system, which a Project using Manual Source Control can leverage. We'll use the devops-node to write a playbook that pushes our Project playbook to Oracle Linux Automation Manager using Oracle Linux Automation Engine. This configuration only works on a single-host installation of Oracle Linux Automation Manager, as the playbooks only exist on that instance.
Switch to or open a terminal and connect via SSH to the devops-node instance.
Create a project directory and change the working directory to it.
mkdir ~/project1
cd ~/project1
Create a template.
This template is the playbook file we'll write to the file system on the Oracle Linux Automation Manager server to retrieve the list of container images on a host.
mkdir templates
tee templates/list-images.yml.j2 > /dev/null <<EOF
---
- hosts: all
  collections:
    - containers.podman
  become: yes

  tasks:

  - name: gather info on images
    containers.podman.podman_image_info:
    register: podman_list
    become_user: oracle

  - name: list images
    debug:
      msg: "{{'{{'}} podman_list.images | selectattr('RepoTags') {{'}}'}}"
EOF
Create a playbook to push this project to Oracle Linux Automation Manager.
tee push-project.yml > /dev/null <<EOF
---
- hosts: olam-node
  become: yes

  tasks:

  - name: create project directory
    ansible.builtin.file:
      path: /var/lib/awx/projects/podman
      state: directory
    become_user: awx

  - name: create playbook
    ansible.builtin.template:
      src: templates/list-images.yml.j2
      dest: /var/lib/awx/projects/podman/list-images.yml
    become_user: awx
EOF
Create an inventory file.
tee hosts > /dev/null <<EOF
[olam]
olam-node
EOF
Copy the playbook to the Oracle Linux Automation Manager server.
ansible-playbook -i hosts push-project.yml
Add a Custom Execution Environment to Oracle Linux Automation Manager
Log into the WebUI
Open a new terminal from the Luna Desktop.
Configure an SSH tunnel to Oracle Linux Automation Manager.
ssh -L 8444:localhost:443 oracle@<ip_address_of_ol-node>In the free lab environment, use the IP address of the olam-node instance.
Open a web browser and enter the URL.
https://localhost:8444Note: Approve the security warning based on the browser used. For Chrome, click the Advanced button and then the Proceed to localhost (unsafe) link.
Log in to the Oracle Linux Automation Manager WebUI.
Use the Username
adminand the Passwordadmin. The free lab environment sets this password value during the lab deployment.
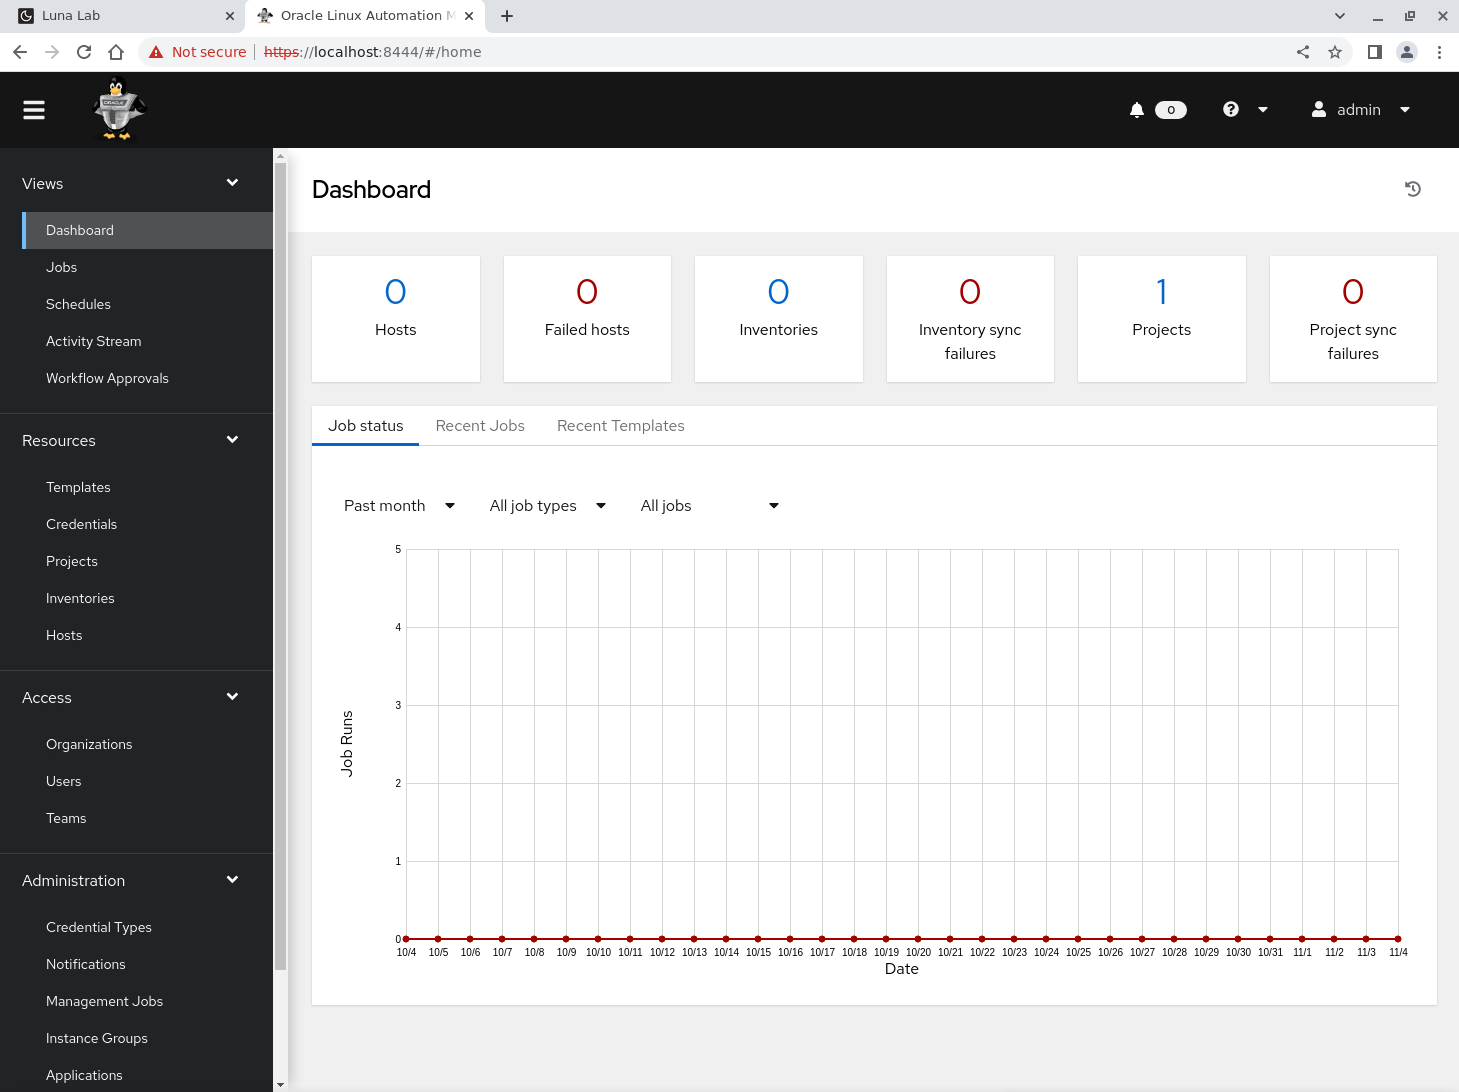
The WebUI displays after a successful login.
Add a Container Registry Credential
Click Credentials under Resources in the navigation menu.
Click the Add button in the main panel.
Enter or select the following values in the specific fields.
For fields with a search or list of values, we can start typing the requested value and then select it.
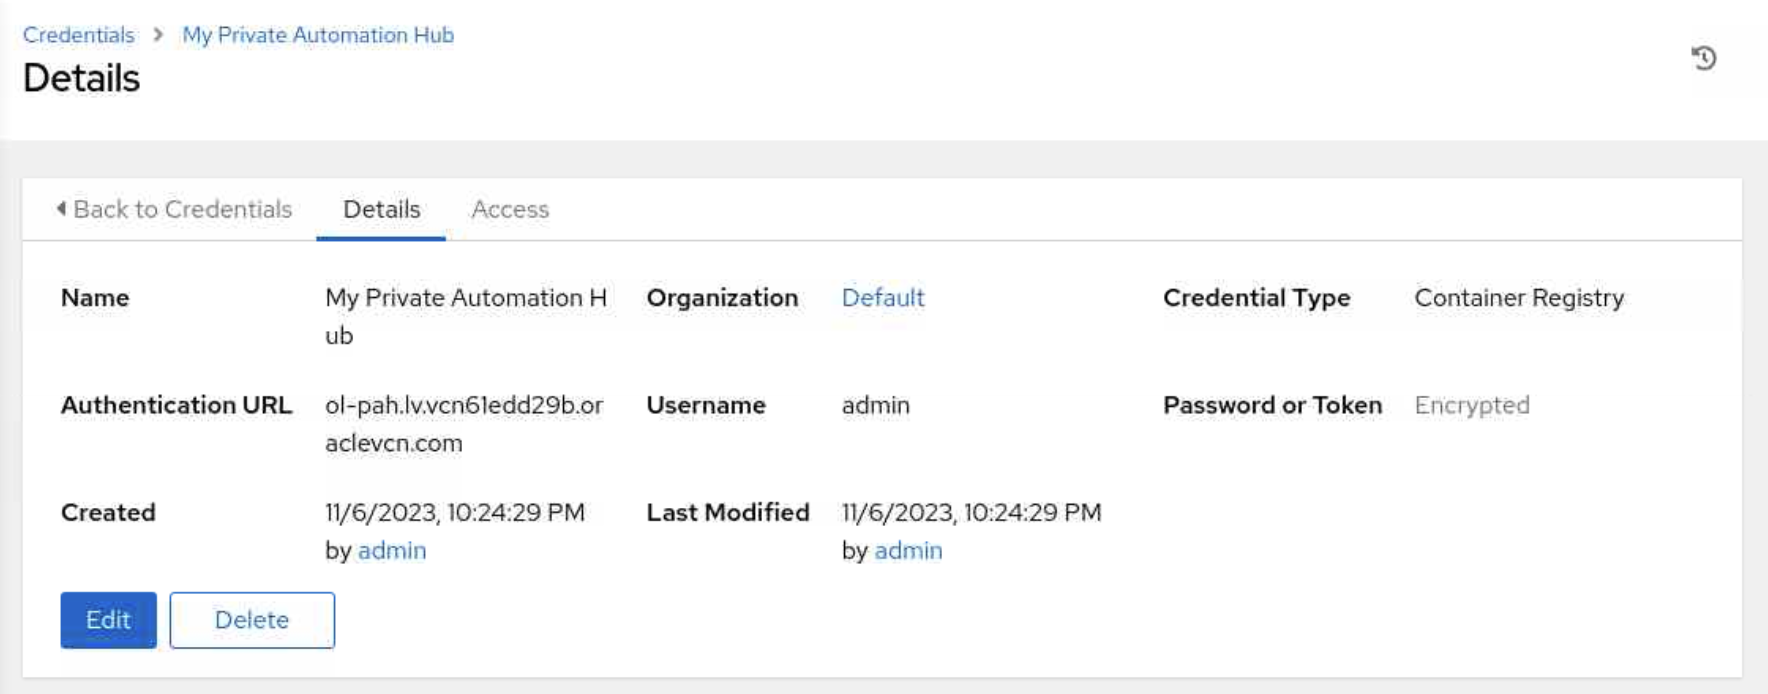
- Name:
My Private Automation Hub - Organization:
Default - Credential Type: Container Registry
- Authentication URL: the FQDN for the Private Automation Hub
- Username:
admin - Password or Token:
password - Options: uncheck Verify SSL
If you do not know the FQDN for the Private Automation Hub, use a terminal to connect to the ol-pah instance and then run
hostname -f.Oracle Linux Automation Manager uses the Container Registry credentials to access container images in Private Automation Hub. The free lab environment requires unchecking the Verify SSL setting due to its use of self-signed certificates.
- Name:
Review the entries and click the Save button.
Add an Execution Environment
Click Execution Environments under Administration in the navigation menu.
Click the Add button in the main panel.
Enter or select the following values in the specific fields.
For fields with a search or list of values, we can start typing the requested value and then select it.
- Name:
My Custom EE - Image:
<fqdn_of_the_private_automation_hub>/my_first_olam_ee_image:latest - Registry credential: My Private Automation Hub
- Name:
Review the entries and click the Save button.

Test the Execution Environment
When testing the custom execution environment, a Job Template is required, which includes an Inventory, Hosts, Machine Credentials, and a Project.
Add an Inventory
Click Inventories under Resources in the navigation menu.
Click the Add button in the main panel and select Add inventory from the list of values.
Enter the following value in the specific field.
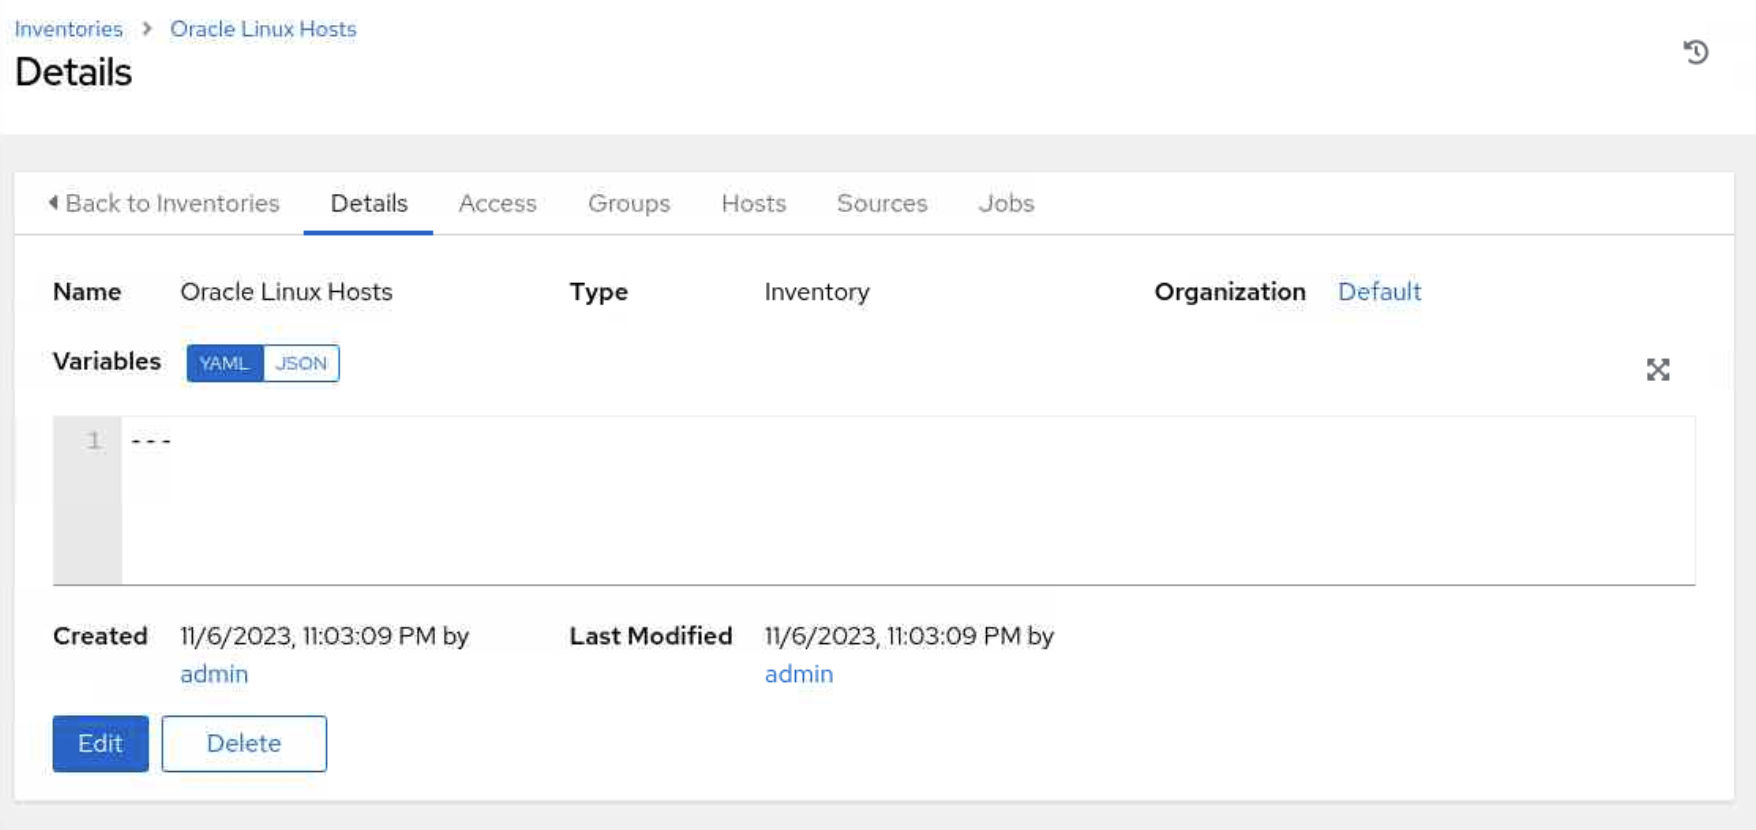
- Name:
Oracle Linux Hosts
- Name:
Review the entry and click the Save button.
Add a Host
Click the Hosts tab from the Oracle Linux Hosts Inventory Details panel.
Click the Add button.
Enter the hostname devops-node into the Name field
Review the entry and click the Save button.
Add a Machine Credential
Click Credentials under Resources in the navigation menu.
Click the Add button in the main panel.
Enter or select the following values in the specific fields.
For fields with a search or list of values, we can start typing the requested value and then select it.
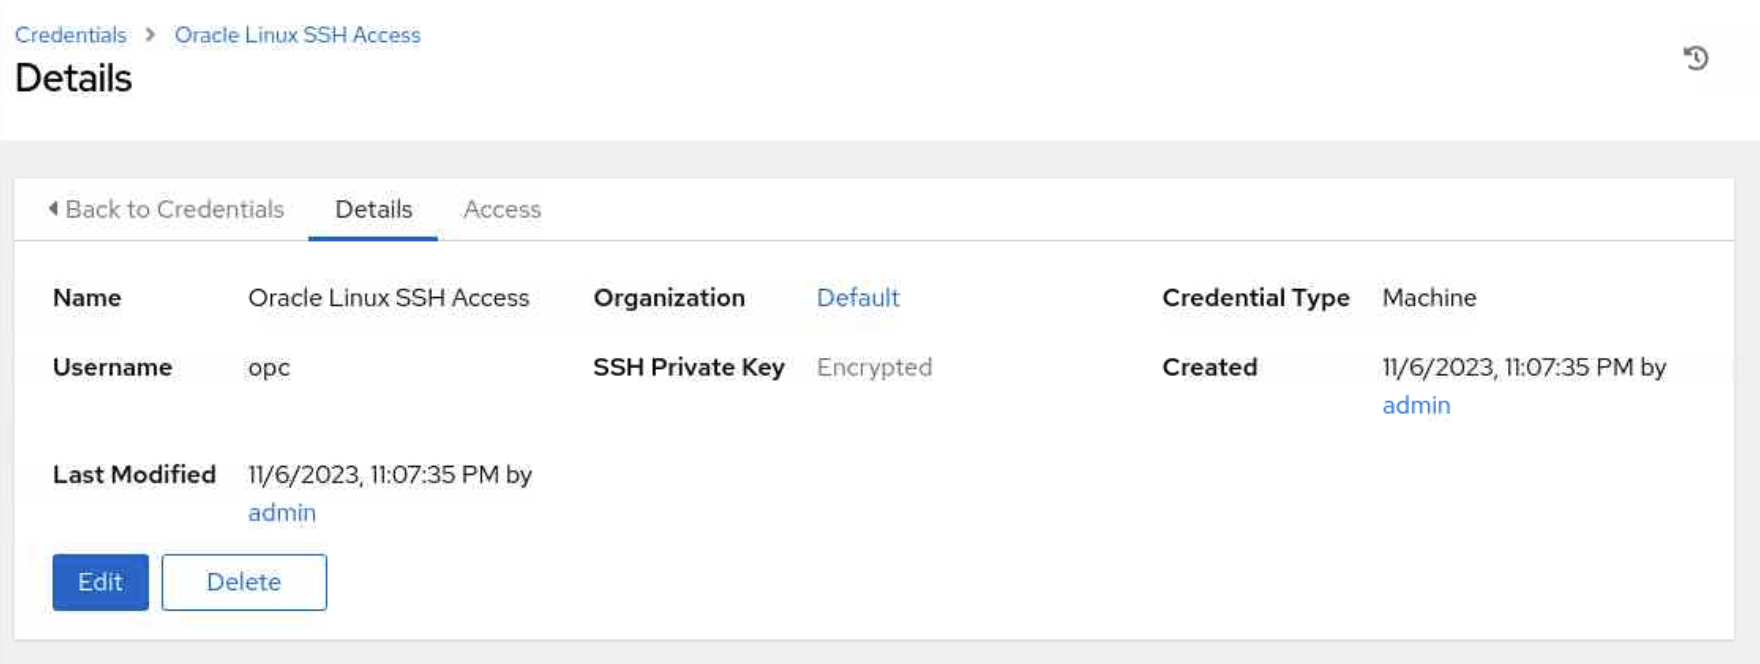
- Name:
Oracle Linux SSH Access - Organization:
Default - Credential Type: Machine
- Username:
oracle - SSH Private Key: select the id_rsa key from the ~/.ssh directory
One way to grab the SSH Private Key is to select the Browse option for that field. In the File Upload dialog, select Home and right-click on that dialog's main window. Select Show Hidden Files. Select the .ssh folder and the id_rsa file. Clicking the Open button causes the contents of the private key file to copy into the SSH Private Key dialog box.
- Name:
Review the entries, scroll to the bottom of the page, and click the Save button.
Create a New Project
Click Projects under Resources in the navigation menu.
Click the Add button in the main panel.
Enter or select the following values in the specific fields.
For fields with a search or list of values, we can start typing the requested value and then select it.
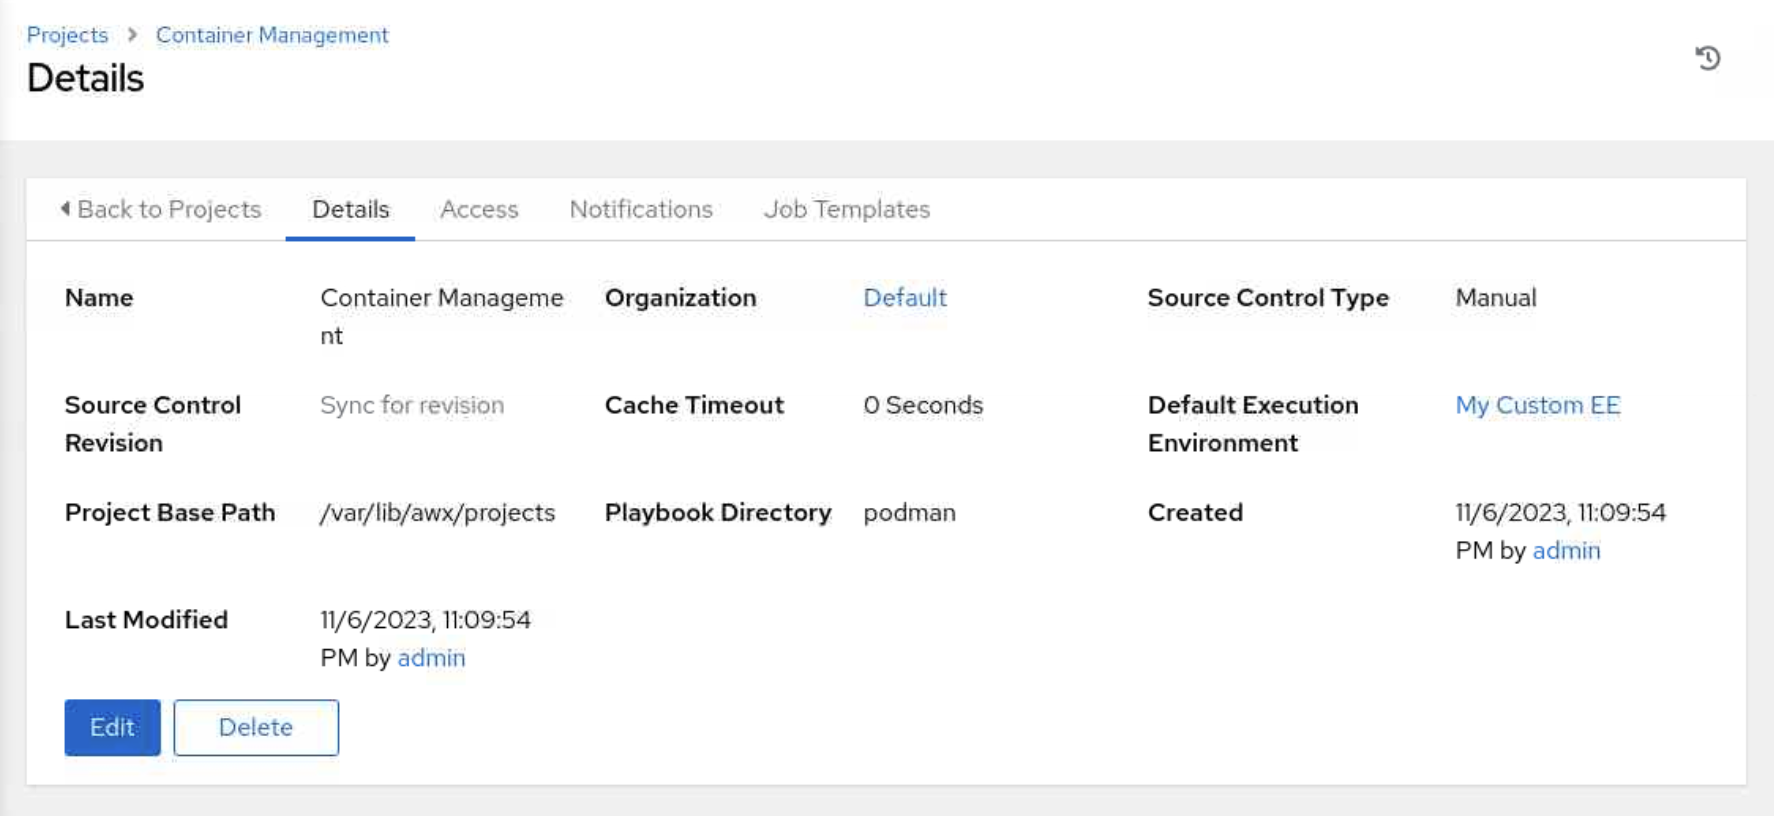
- Name:
Container Management - Execution Environment: My Custom EE
- Source Control Credential Type: Manual
- Playbook Directory: podman
- Name:
Review the entries and click the Save button.
Add a Job Template
Click Templates under Resources in the navigation menu.
Click the Add button in the main panel and select Add job template from the list of values.
Enter or select the following values in the specific fields.
For fields with a search or list of values, we can start typing the requested value and then select it.
- Name:
List Images - Job Type: Run
- Inventory: Oracle Linux Hosts
- Project: Container Management
- Execution Environment: My Custom EE
- Playbook: list-images.yml
- Credentials: Oracle Linux SSH Access
- Name:
Review the entries, scroll to the bottom of the page, and click the Save button.

Run the Template
Click Templates under Resources in the navigation menu.
Click the Launch Template icon in the Actions column next to the List Images Job Template.
The Job starts, and the panel switches to the Job Output summary. After a few minutes, the Job fails.
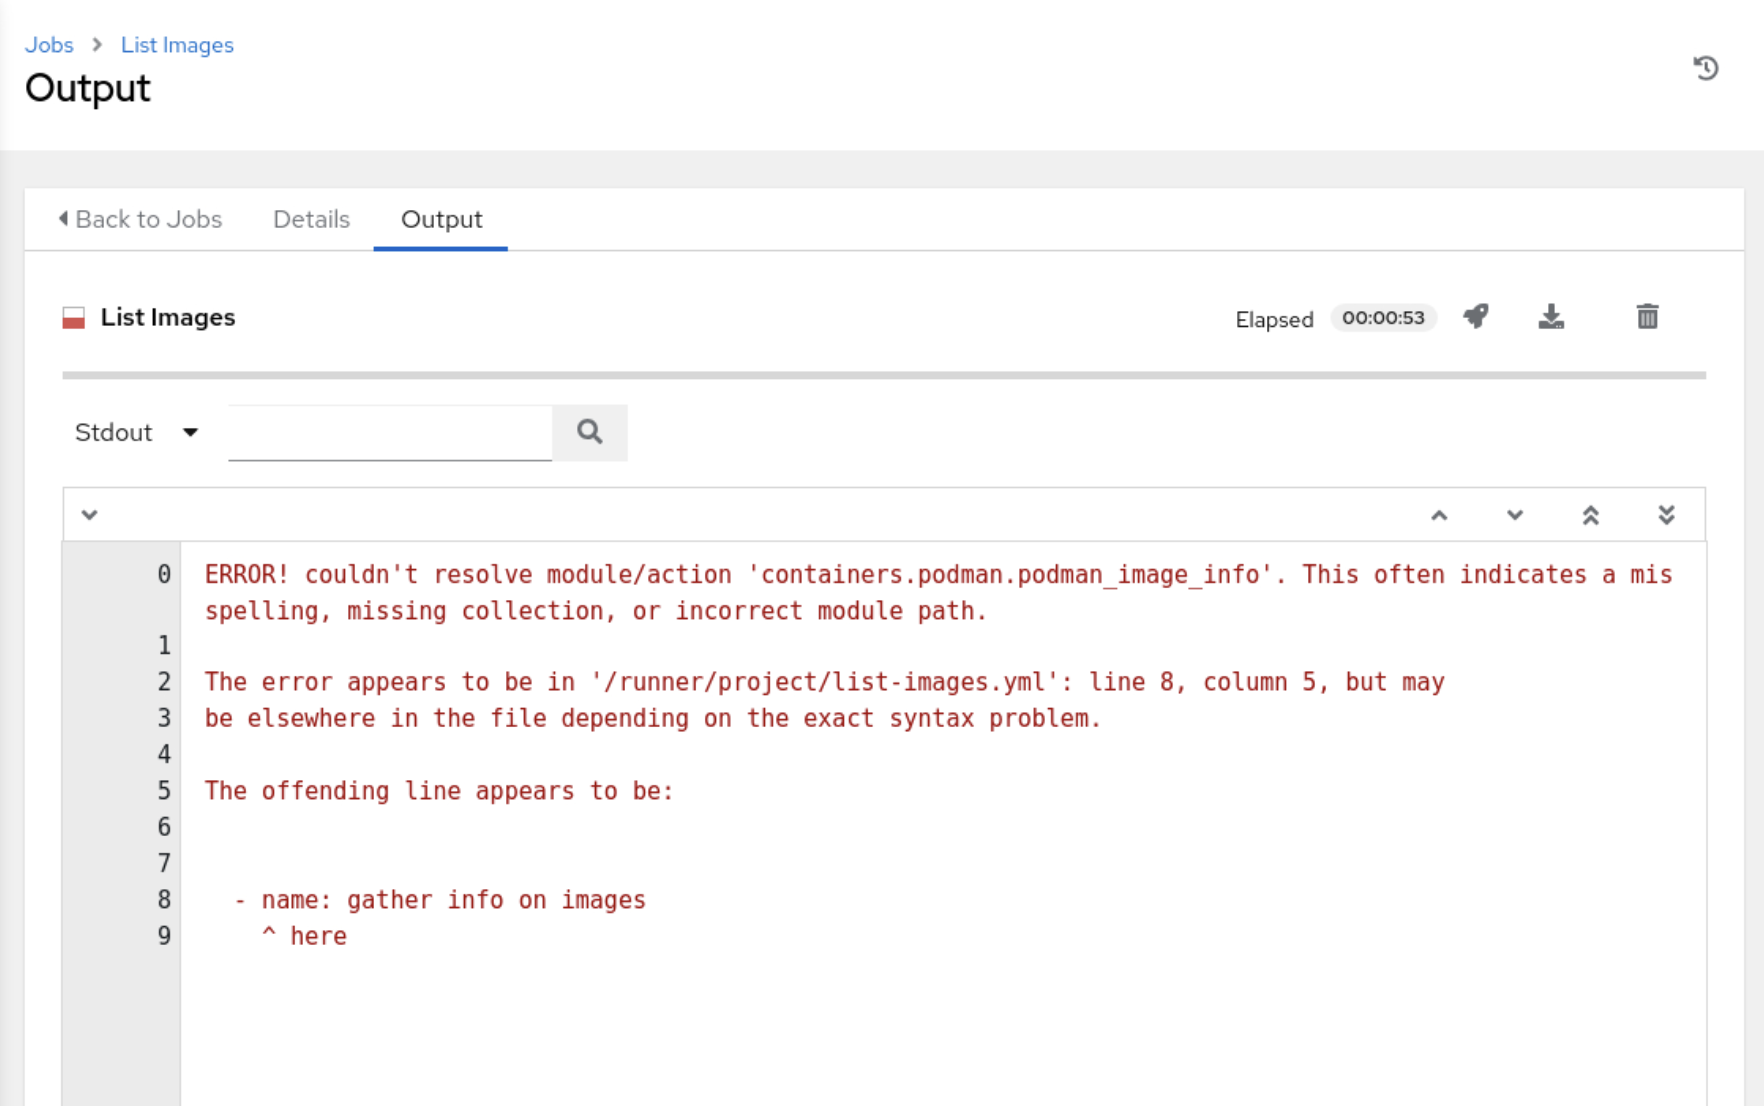
This failure occurs because the new custom ee does not contain the containers.podman collection, so the playbook fails to run.
Fix the Custom Execution Environment
To fix the custom ee, we must rebuild the container image using the Builder utility and then push the new image to Private Automation Hub for pickup by Oracle Linux Automation Manager.
Switch to or open a terminal and connect via SSH to the devops-node instance.
Change to the custom ee project directory.
cd ~/my_custom_ee_projectAdd the missing collection to the Ansible Galaxy requirements file.
tee -a requirements.yml > /dev/null <<EOF
- name: containers.podman
EOF
Rebuild the image.
ansible-builder build --tag my_custom_ee -v 3Push the new image to Private Automation Hub.
cd ~
ansible-playbook push-image.yml
Verify a successful image push.
Connect to the Private Automation Hub WebUI and review the Execution Environment changes, specifically the Last modified column for the my_first_olam_ee_image.
Test the New Custom Execution Environment
Switch in the browser to the Oracle Linux Automation Manager WebUI.
Refresh the browser window and log in again if necessary.
Click Execution Environments under Administration in the navigation menu.
Click the Edit Execution Environment icon under the Actions column next to the My Custom EE image link.
Change the Pull value to Always pull container before running.
This field enables the
--pulloption forpodman. The setting change will force Oracle Linux Automation Manager to pull the latest image when its layer checksums do not match.Review changes and click the Save button.
Click Jobs under Views in the navigation menu.
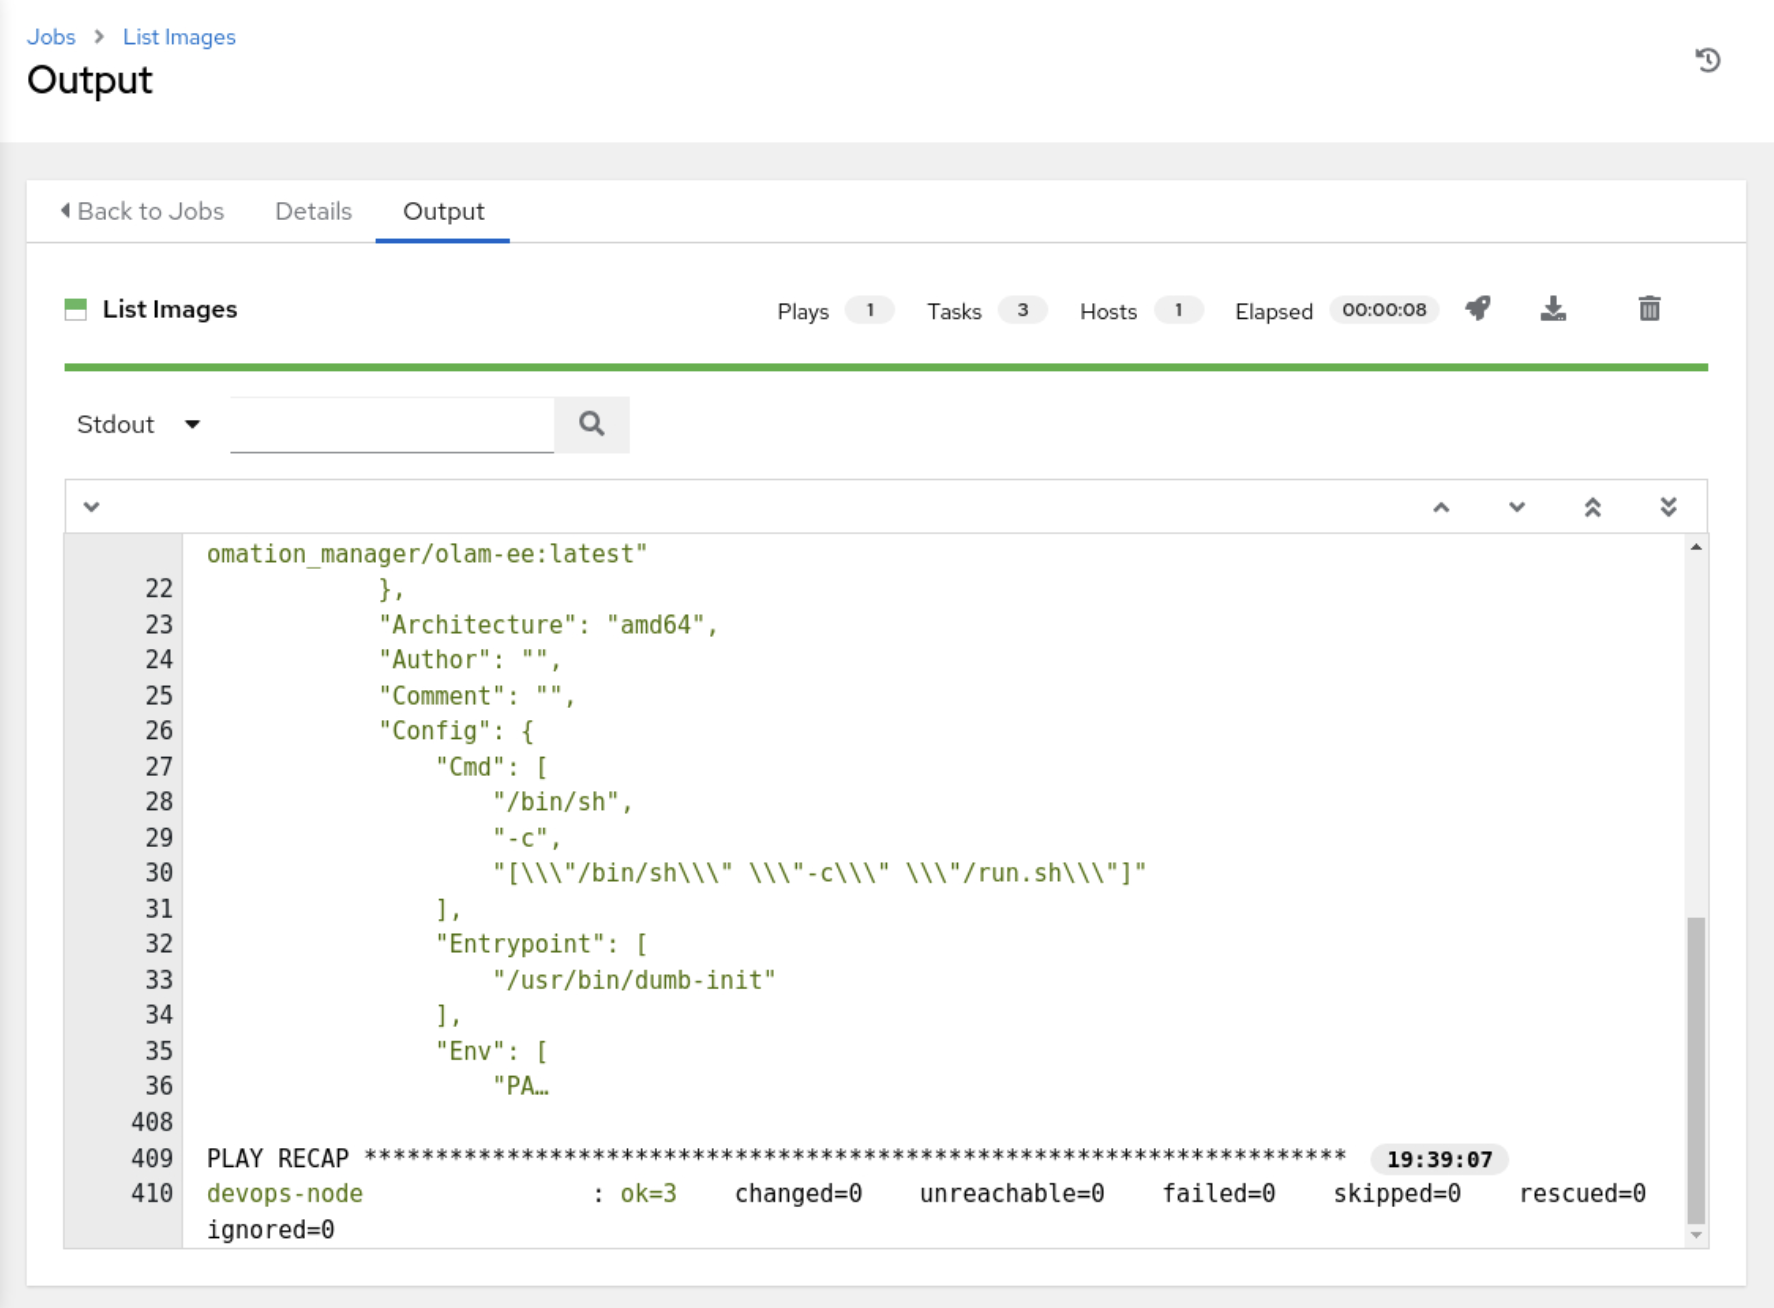
Click the Relaunch icon under the Actions column next to the ...List Images link.
Select All from the drop-down list of values.
The Job starts, and the panel switches to the Job Output summary. After a few minutes, it completes successfully.
Next Steps
The output within the WebUI confirms you have a working custom execution environment within Oracle Linux Automation Manager. Build your skills and check out our other Oracle Linux Automation Manager training on Oracle Linux Training Station.