Deploy Keycloak Using Podman on Oracle Linux
Introduction
Keycloak provides authentication functionality for web applications and RESTFUL web services. Its primary goal is to provide security features that developers can easily use to secure applications and services within their organizations, such as Single-Sign-On. You can also integrate Keycloak with existing LDAP and Active Directory servers.
Keycloak is based on standard protocols and supports user federation, OpenID Connect, OAuth 2.0, SAML, and many more. It provides both administrators and users with management consoles. Users can update their passwords and profile details and set up two-factor authentication via the Account Management Console. Likewise, administrators can use the Admin Console to manage all aspects of Keycloak's functionality, including authorization policies, applications, user permissions, and those users' sessions.
Objectives
In this tutorial, you'll learn how to:
- Deploy Keycloak using Podman
- Configure Keycloak with a datastore using a Podman volume
- Access Keycloak:
- Create a new realm
- Add a user to the realm
- Verify the user can log in
Note: A production deployment would use either Podman or Kubernetes secrets to obfuscate passwords. This tutorial does not cover either scenario.
Prerequisites
Minimum of a single Oracle Linux system
Each system should have Oracle Linux installed and configured with:
- A non-root user account with sudo access
- Podman and cURL packages
- Access to the Internet
Deploy Oracle Linux
Note: If running in your own tenancy, read the linux-virt-labs GitHub project README.md and complete the prerequisites before deploying the lab environment.
Open a terminal on the Luna Desktop.
Clone the
linux-virt-labsGitHub project.git clone https://github.com/oracle-devrel/linux-virt-labs.gitChange into the working directory.
cd linux-virt-labs/olInstall the required collections.
ansible-galaxy collection install -r requirements.ymlDeploy the lab environment.
ansible-playbook create_instance.yml -e localhost_python_interpreter="/usr/bin/python3.6" -e use_podman=true -e update_all=trueThe free lab environment requires the extra variable
local_python_interpreter, which setsansible_python_interpreterfor plays running on localhost. This variable is needed because the environment installs the RPM package for the Oracle Cloud Infrastructure SDK for Python, located under the python3.6 modules.The default deployment shape uses the AMD CPU and Oracle Linux 8. To use an Intel CPU or Oracle Linux 9, add
-e instance_shape="VM.Standard3.Flex"or-e os_version="9"to the deployment command.Important: Wait for the playbook to run successfully and reach the pause task. At this stage of the playbook, the installation of Oracle Linux is complete, and the instances are ready. Take note of the previous play, which prints the public and private IP addresses of the nodes it deploys and any other deployment information needed while running the lab.
Create a Podman Network
Podman provides a default network environment that you can use to run any available container. However, there may be occasions when the business requires the ability to segregate some deployments into a separate network. In this scenario, you'll deploy Keycloak and its database onto a unique podman network.
For this tutorial, we'll use the basic bridge network. Podman allows defining numerous other options such as a different --subnet, --gateway, or --ip-range, but we don't need those for this example. You can refer to the upstream documentation if you require more details.
Open a terminal and connect via SSH to the ol-node-01 instance.
ssh oracle@<ip_address_of_instance>Create the Podman network.
podman network create keycloak-networkVerify the creation of the network.
Note: Podman creates a default
podmannetwork when installing Podman, which is why the output displays two networks.podman network lsExample Output:
NETWORK ID    NAME              DRIVER
ea439617652f  keycloak-network  bridge
2f259bab93aa  podman            bridge
Display the newly created network configuration.
Use this information to confirm that the required/expected network settings for the Keycloak deployment are active.
podman network inspect keycloak-networkExample Output:
[
     {
          "name": "keycloak-network",
          "id": "ea439617652ffdd8320503c4eb2723f5f5ca291ed1ed70f8efc05ec52980f9e3",
          "driver": "bridge",
          "network_interface": "podman1",
          "created": "2022-10-05T11:39:55.55110214Z",
          "subnets": [
               {
                    "subnet": "10.89.0.0/24",
                    "gateway": "10.89.0.1"
               }
          ],
          "ipv6_enabled": false,
          "internal": false,
          "dns_enabled": true,
          "ipam_options": {
             "driver": "host-local"
          }
     }
]
Download PostgreSQL
By default, Keycloak stores configuration changes in a file-based H2 database created within the container. However, you lose these configurations every time you stop the container. As an alternative to the file-based database, Keycloak supports multiple external databases. In this tutorial, we'll use a PostgreSQL database to solve the configuration data loss issue when shutting down the container.
Download the latest image of PostgreSQL.
podman pull docker.io/library/postgres:latestConfirm the PostgreSQL image is available.
podman image lsCreate a Podman volume to store the data.
podman volume create pgdataVerify the location of the Podman volume.
podman volume inspect pgdata | grep -i mountpointFor a rootless container, a volume's data is located under the user's
$HOME/.local/share/containers/storage/volumes/<volume_name>directory by default.Start the PostgreSQL container.
podman run -d \
--name myPostgresDB \
--net keycloak-network \
-p 5432:5432 \
-v pgdata:/var/lib/postresql/data \
-e POSTGRES_USER=pgresUser \
-e POSTGRES_PASSWORD=pgresPW \
-e POSTGRES_DB=keycloakDB postgres
It's time to explain what just occurred:
podman run: instructs Podman to create and run a container-p 5432:5432: is the port mapping for the running container. The5432on the left maps to the local port, and5432on the right maps to the port internally within Podman--name myPostgresDB: is the chosen name for the running container-d: runs the container in the background or detached mode--net keycloak-network: assigns the container to the keycloak-network-v pgdata:/var/lib/postresql/data: maps the Podman volume on the left side to the PostgreSQL data location within the container shown on the right side
Next, set the required Postgres environment variables:
-e POSTGRES_DB=keycloakDB: sets the database's name-e POSTGRES_USER=pgresUser: sets the administrator user's name-e POSTGRES_PASSWORD=pgressPW: sets the administrator user's password
Lastly:
postgres: is the name of the image we want Podman to run.
Confirm the container is running.
The
NAMEScolumn listed is the same value as that passed to Podman using the--nameswitch.podman ps(Optional) Confirm the PostgreSQL container's environment variables.
podman exec myPostgresDB env
Download and Start pgAdmin
Now that PostgreSQL is running, you can connect to the database using the command line or pgAdmin, a web-based GUI tool. The following steps demonstrate how to get pgAdmin working in Podman.
Download the pgAdmin image.
podman pull docker.io/dpage/pgadmin4:latestGet the private IP address of the host instance.
hostname -iConfirm that the IP address resolves to the host's fully qualified domain name.
host $(hostname -f)Start pgAdmin
podman run --name my-pgadmin -p 8082:80 --net keycloak-network -e PGADMIN_DEFAULT_EMAIL="pgresUser@example.com" -e PGADMIN_DEFAULT_PASSWORD="pgresPW" -d dpage/pgadmin4Important: Use the email as specified for this tutorial.
Access the pgAdmin Web Console
Open a new terminal and connect using SSH to the ol-node-01 instance to configure an SSH tunnel.
ssh -L 8082:localhost:8082 oracle@<ip_address_of_instance>Open a new browser and enter the URL
http://localhost:8082to open the pgAdmin Web Console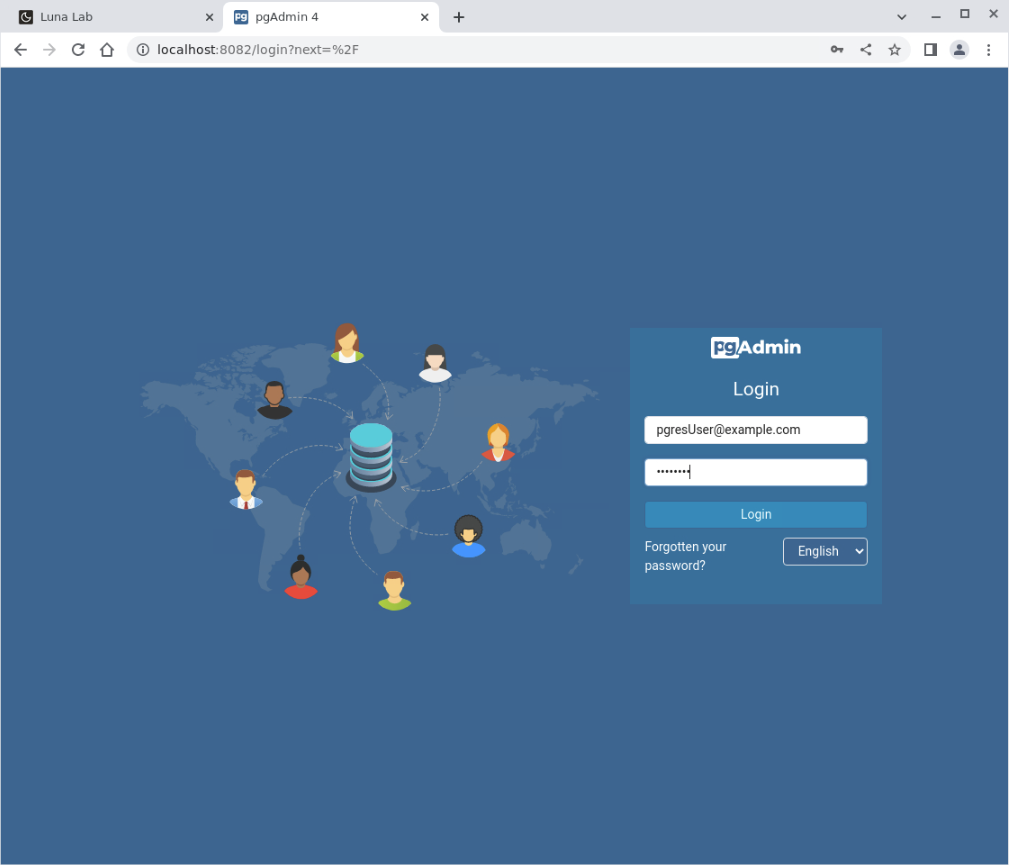
Log in to pgAdmin.
Log in using the same username and password passed when starting the pgAdmin container. We used the values shown below:
User Name- pgresUser@example.comPassword- pgresPW
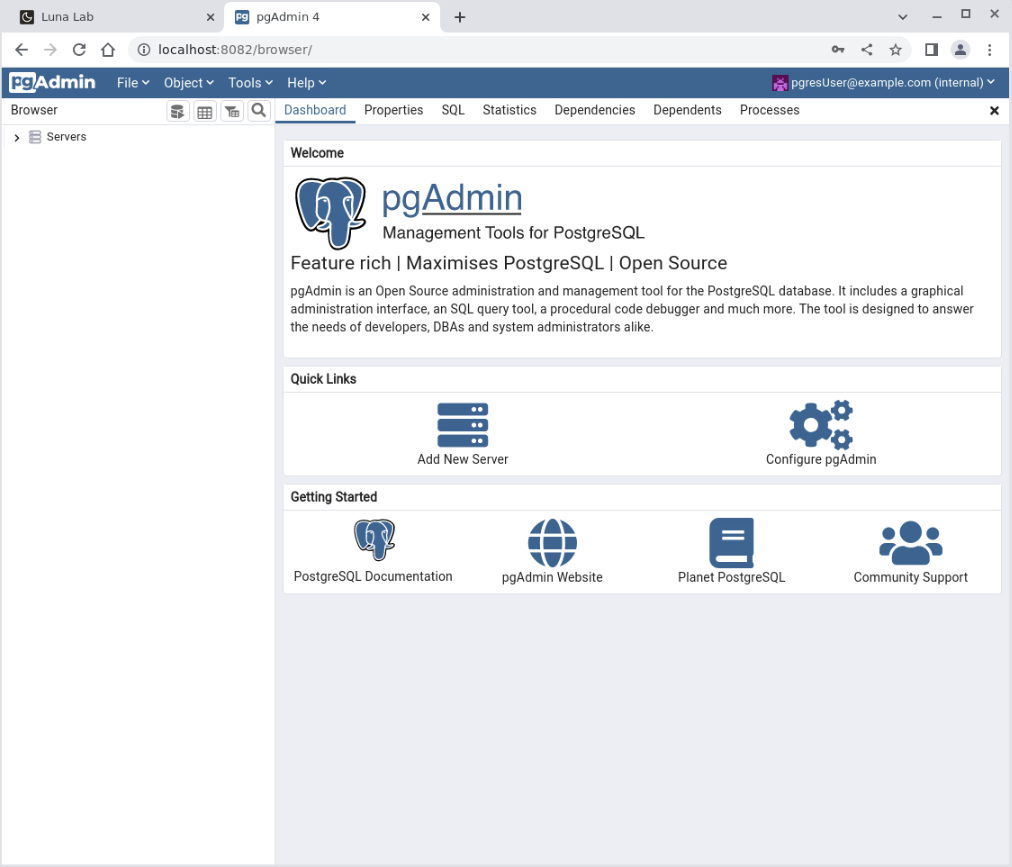
Connect to the PostgreSQL database.
Click the Add New Server icon to display the Register - Server dialogue box.
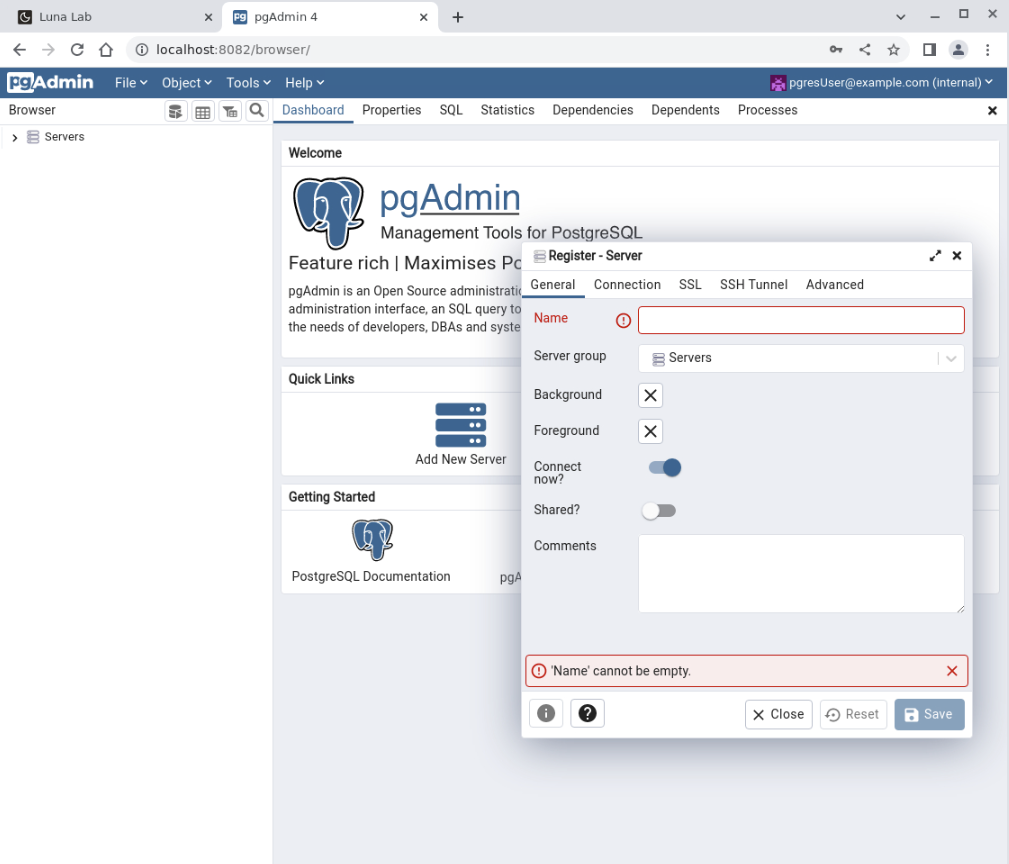
Enter
myPostgresDBfor the name of the PostgreSQL server.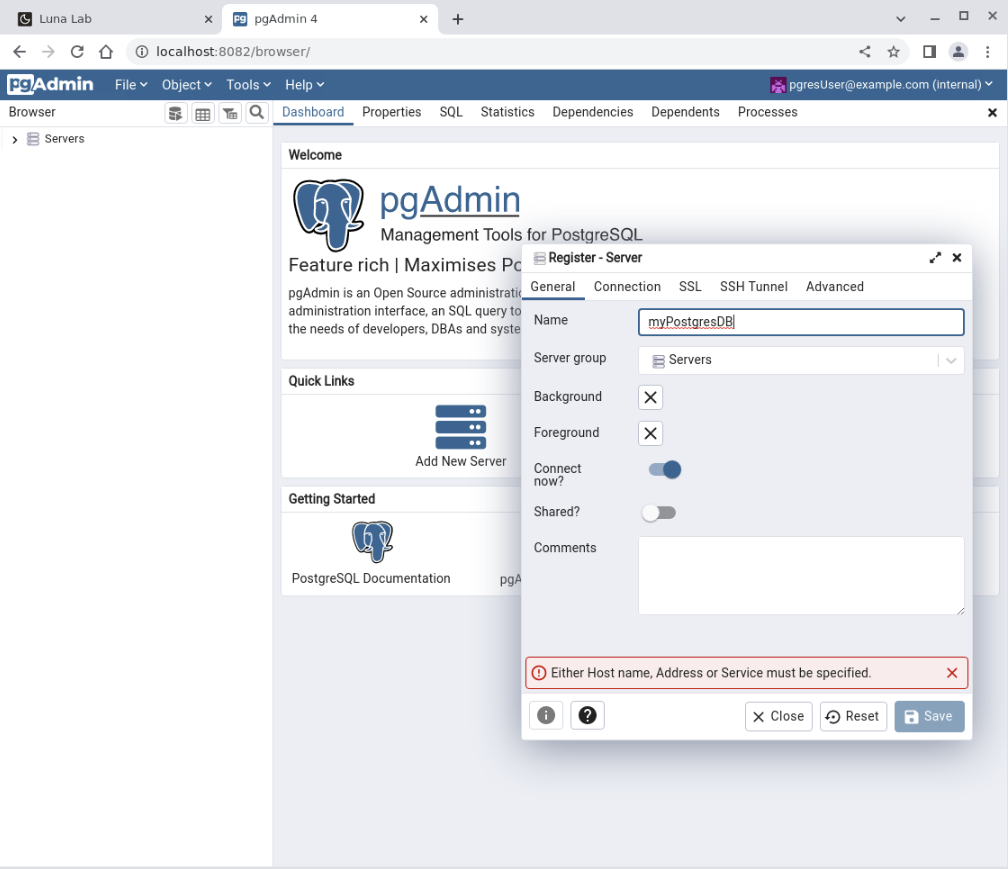
Click the Connection tab within the dialogue box, and enter the following details in the relevant fields:
Host name/Address: which is the private IP address of ol-node-01Port: 5432Username: pgresUserPassword: pgresPW
Click on the Save button to register the server.
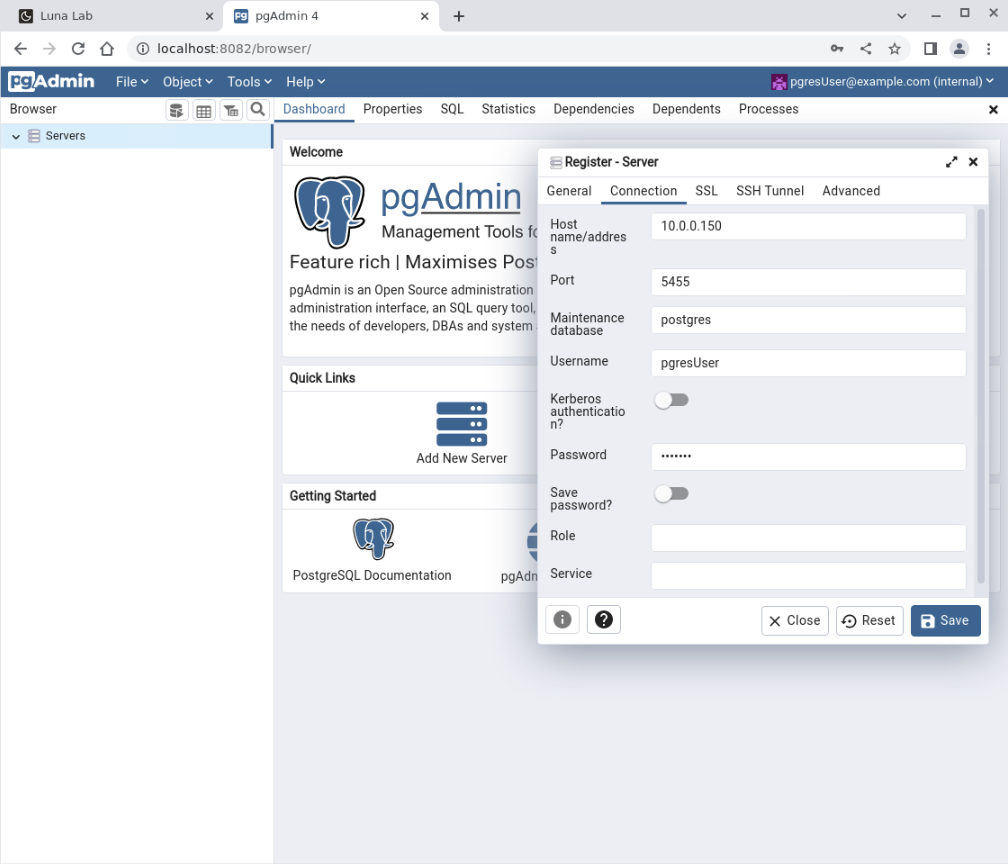
The connection to
myPostgresDBis complete.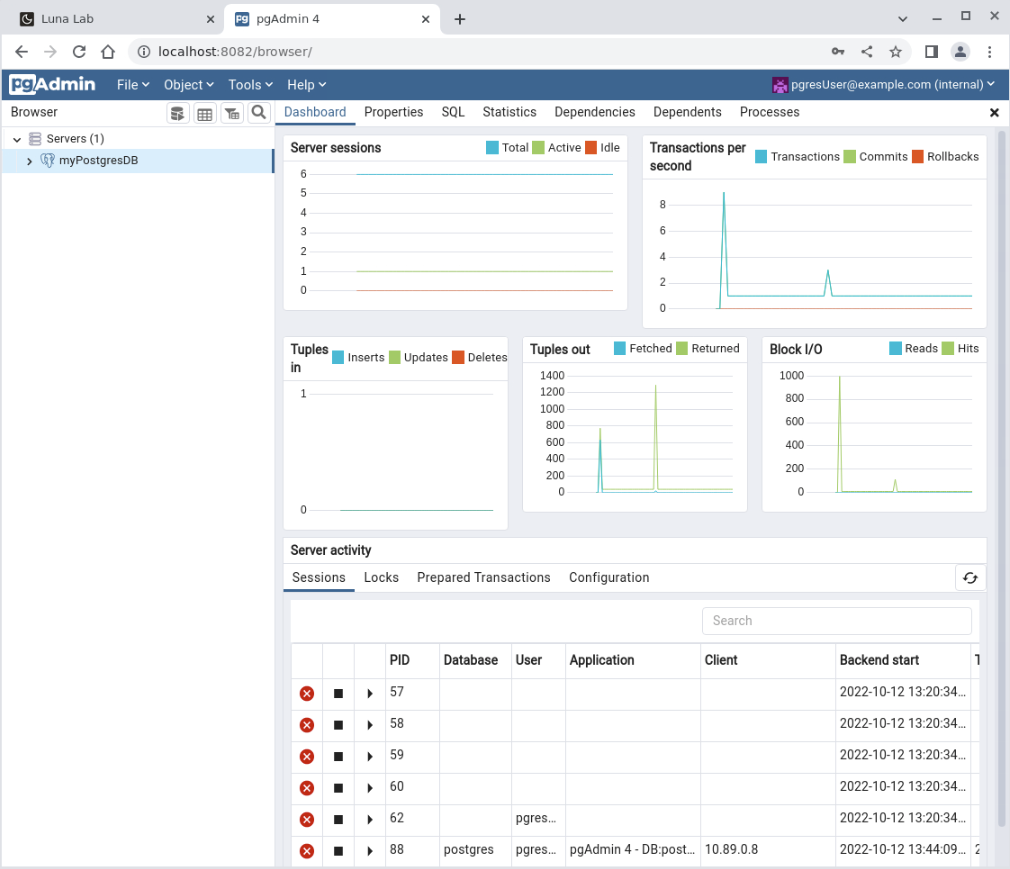
Download and Start Keycloak
With the container network up and the database running, it's time to start the Keycloak container.
Switch to the terminal connected to ol-node-01.
Run Keycloak.
podman run -d \
-p 8080:8080 \
--name keycloak \
--net keycloak-network \
-e KEYCLOAK_ADMIN=admin \
-e KEYCLOAK_ADMIN_PASSWORD=admin \
-e KC_DB=postgres \
-e KC_DB_URL_DATABASE=keycloakDB \
-e KC_DB_URL_HOST=$(hostname -i) \
-e KC_DB_URL_PORT=5432 \
-e KC_DB_USERNAME=pgresUser \
-e KC_DB_PASSWORD=pgresPW \
quay.io/keycloak/keycloak:latest start-dev
Again, it is time to explain the various command-line options:
-p 8080:8080: is the port mapping between the local and the internal container--name keycloak: is the container's name-e KEYCLOAK_ADMIN=adminand-e KEYCLOAK_ADMIN_PASSWORD=admin: set the required Keycloak administrator user and password-e KC_DB=postgres: sets the database storage to PostgreSQL-e KC_DB_URL_DATABASE=keycloakDB: sets the name of the database-e KC_DB_URL_HOST=$(hostname -i): sets the hostname or IP address for the database-e KC_DB_URL_PORT=5432: sets the listening port for the database-e KC_DB_USERNAME=pgresUser: sets the database username-e KC_DB_PASSWORD=pgresPW: sets the database passwordquay.io/keycloak/keycloak:latest: sets the name of the Podman image to run.start-dev: container internal command to start Keycloak in development mode, which does not use SSL and certificates.
NOTE: We recommend not running this mode in production.
Access the Keycloak Administration Console
Open another SSH tunnel using a new terminal to the ol-node-01 instance.
ssh -L 8080:localhost:8080 oracle@<ip_address_of_instance>Open a new browser session or tab and enter the URL
http://localhost:8080to open the Keycloak Administration Console.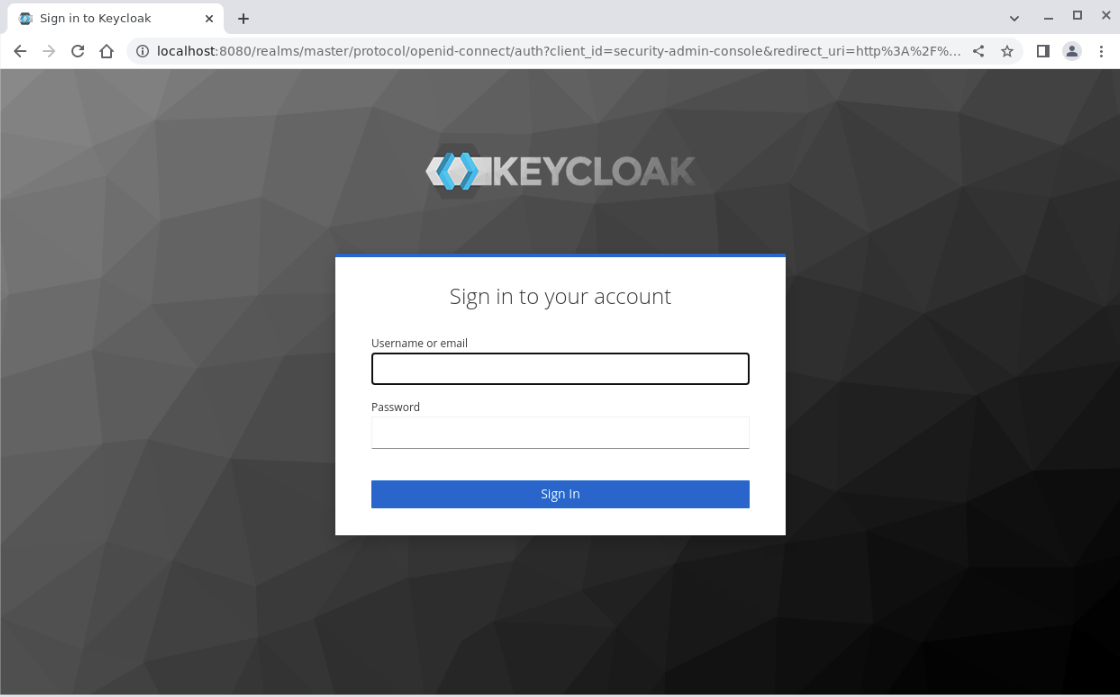
Log into the Administration Console by entering the administrator's credentials and clicking the Sign In button.
User name: adminPassword: admin
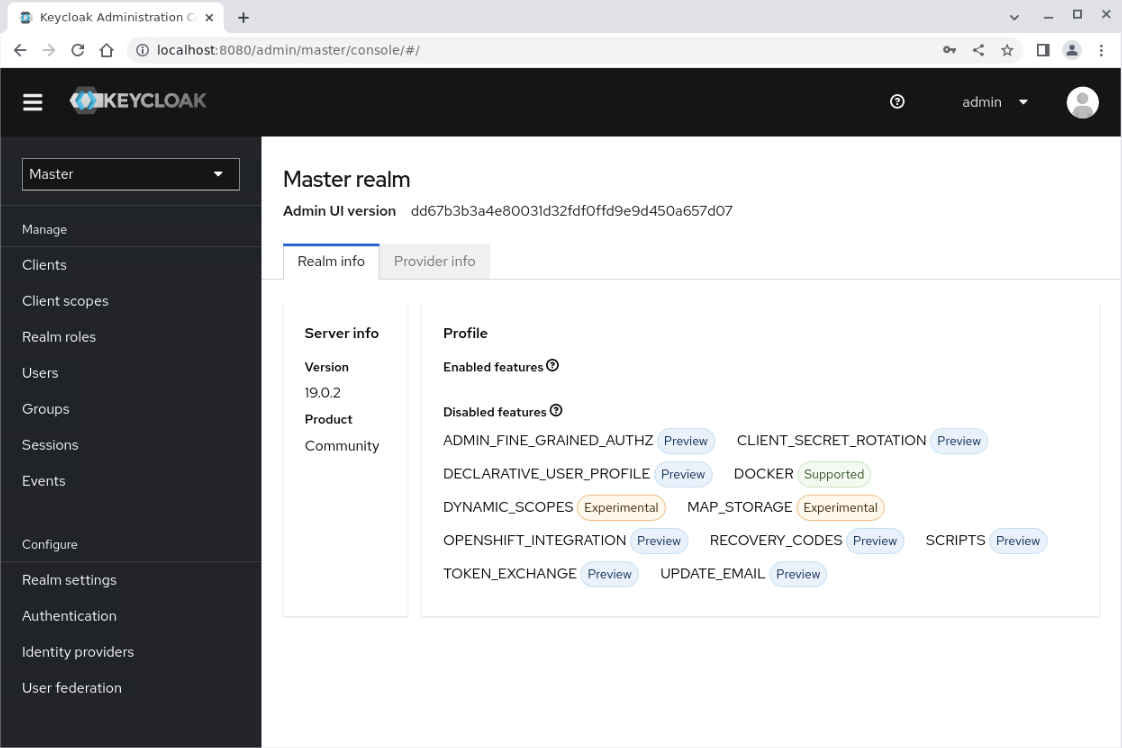
The master realm page displays.
Create a Realm
Keycloak defines a realm as a space to manage objects, users, applications, roles, and groups. The administration of a realm within a Keycloak deployment happens from within the Keycloak Administration Console. Once you log in, there are two types of realms:
Master Realm: This realm is created as part of the initial Keycloak deployment and contains details of the administrator user created during the initial login. It is essential that the master realm is only used to create and manage the other realms defined on the system. So, the administrator user logs onto the master realm and manages other realms within their organization from there.Other Realms: The administrator creates these realms from within the master realm. The administrator uses these realms to manage and delineate the creation of users within an organization and the applications used/required by those users. The realms created are isolated and can only manage the users and applications assigned to each realm.
Open the Create realm page by clicking the Keycloak realm selection drop-down and then the Create Realm button.
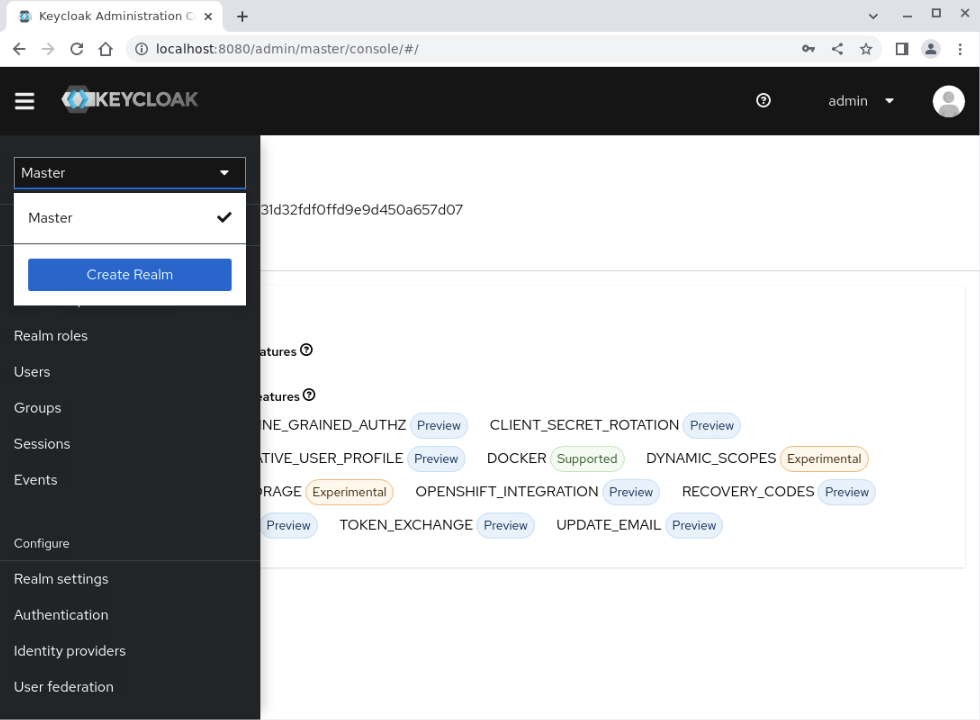
In the
Realm namefield, enter the valuetestand press the Create button.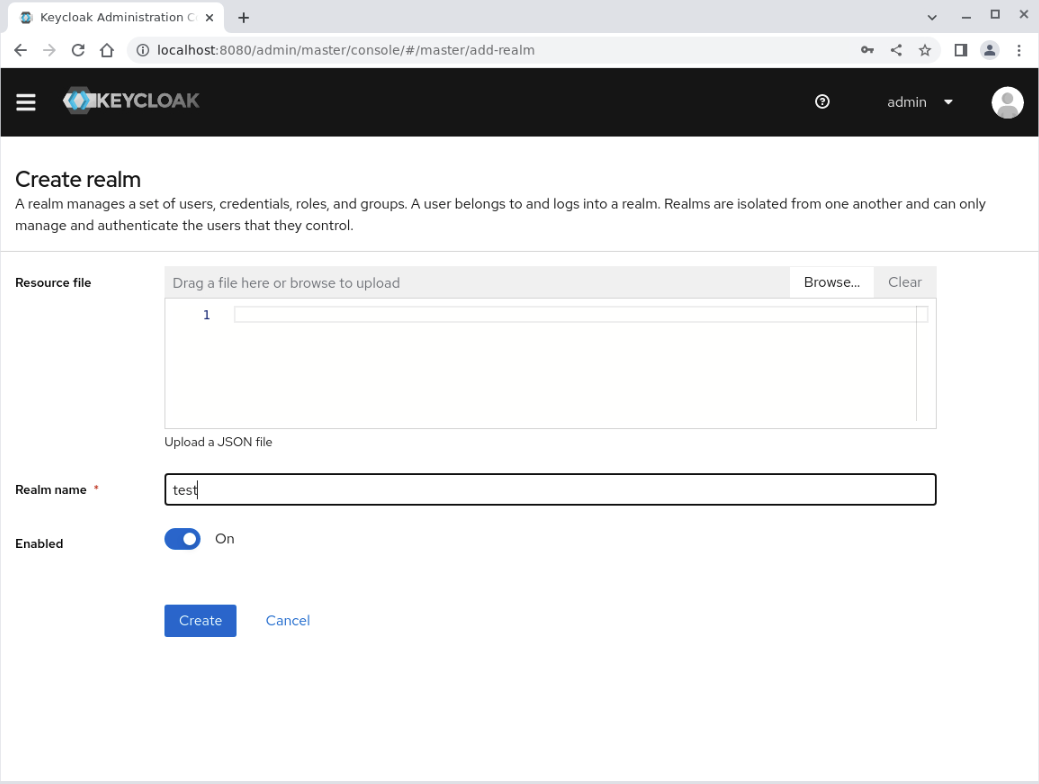
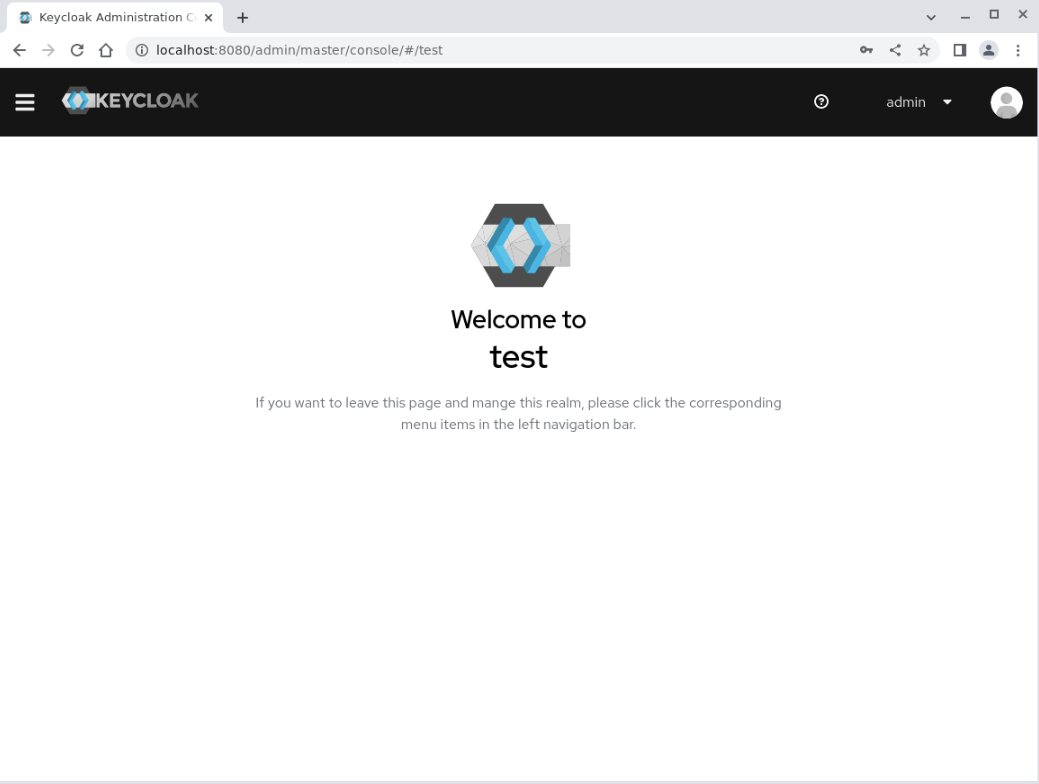
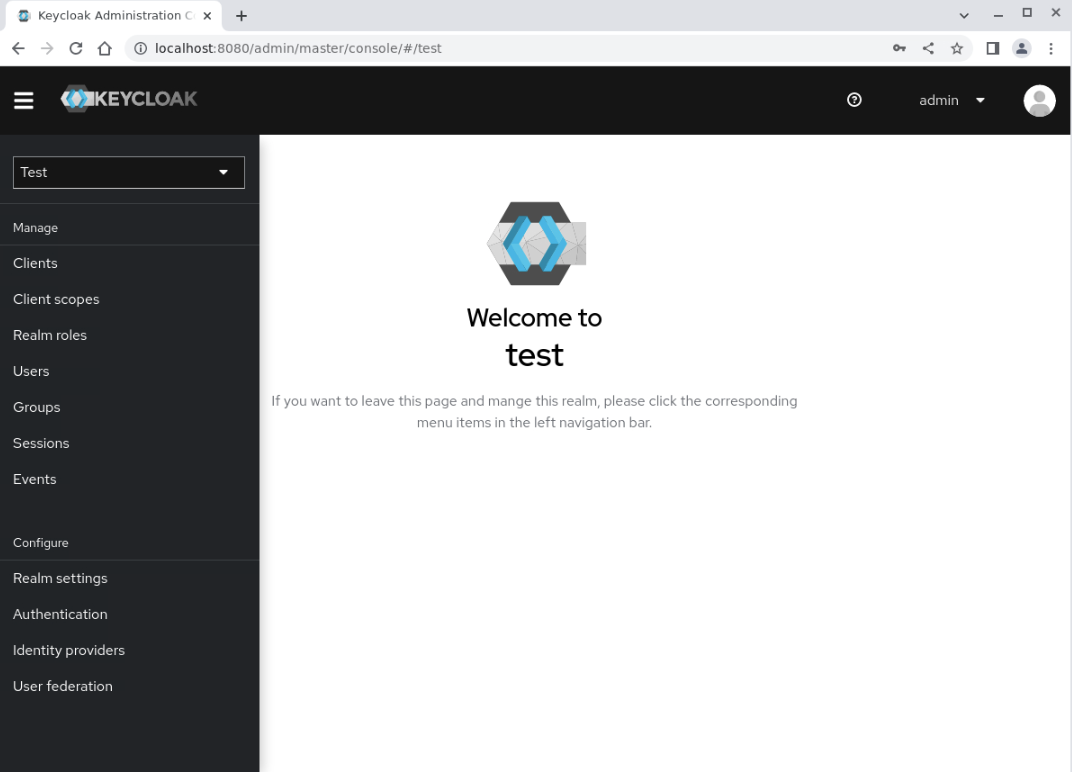
The Welcome to test page appears.
Create a User
With the new realm available, we can now add users to it.
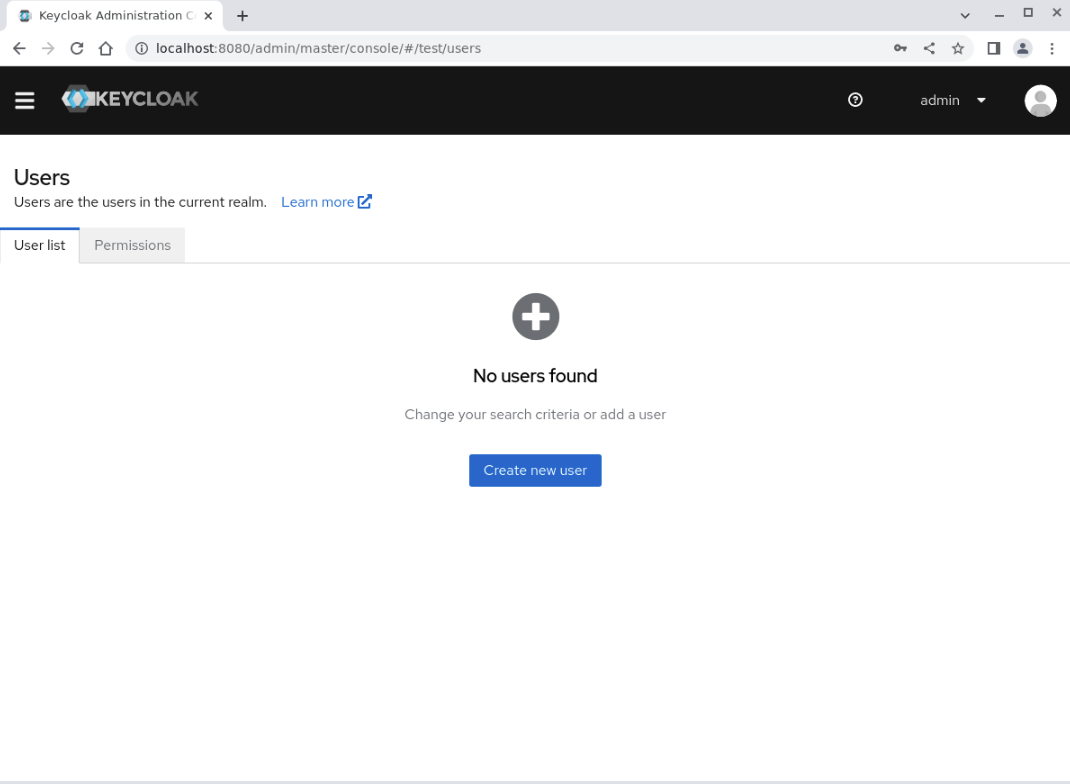
Click the Users link in the side navigation menu to display the Users page.
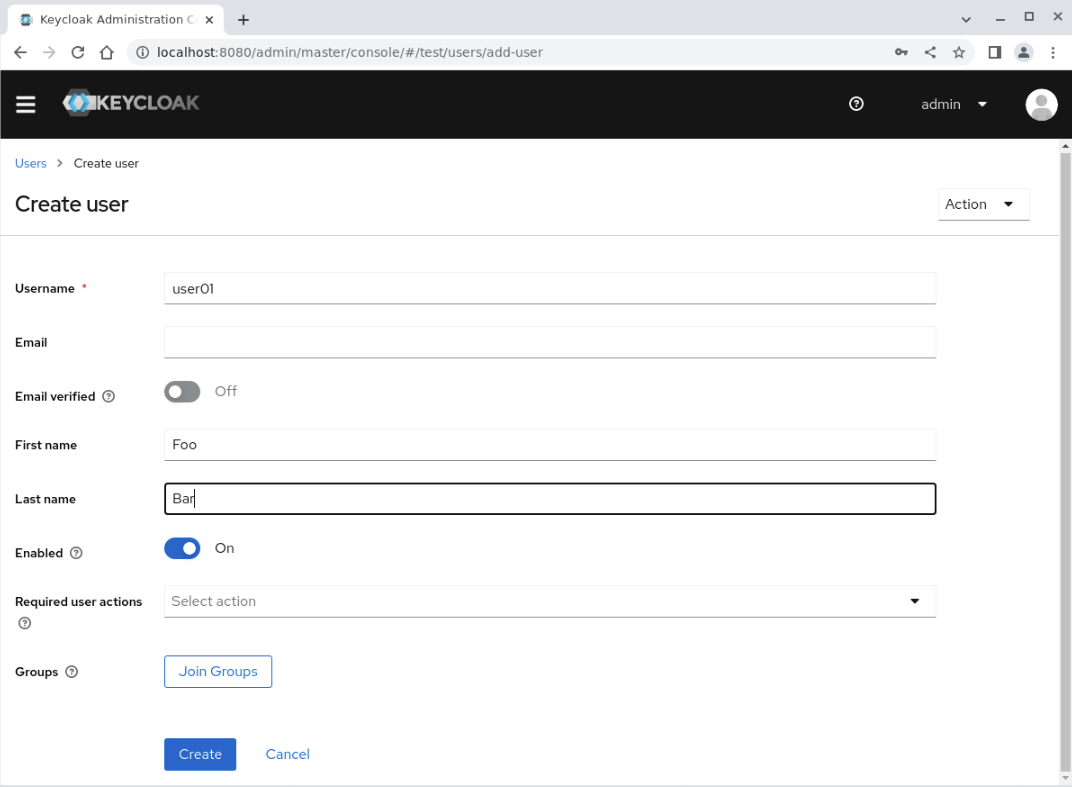
Click on the Create new user button to display the Create User page.
Enter the following details into these fields and click the Create button.
Username: user01Email: user01@example.comFirst Name: FooLast Name: Bar
The user01 User's details page displays.
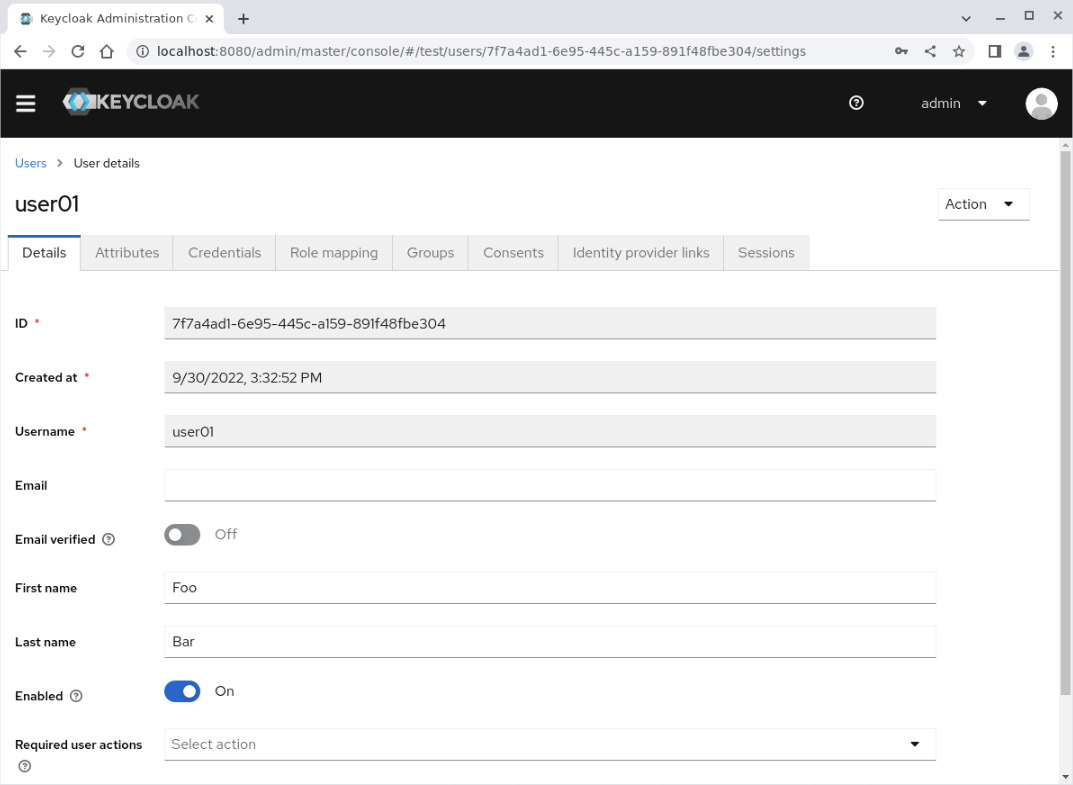
Click on the Credentials tab.
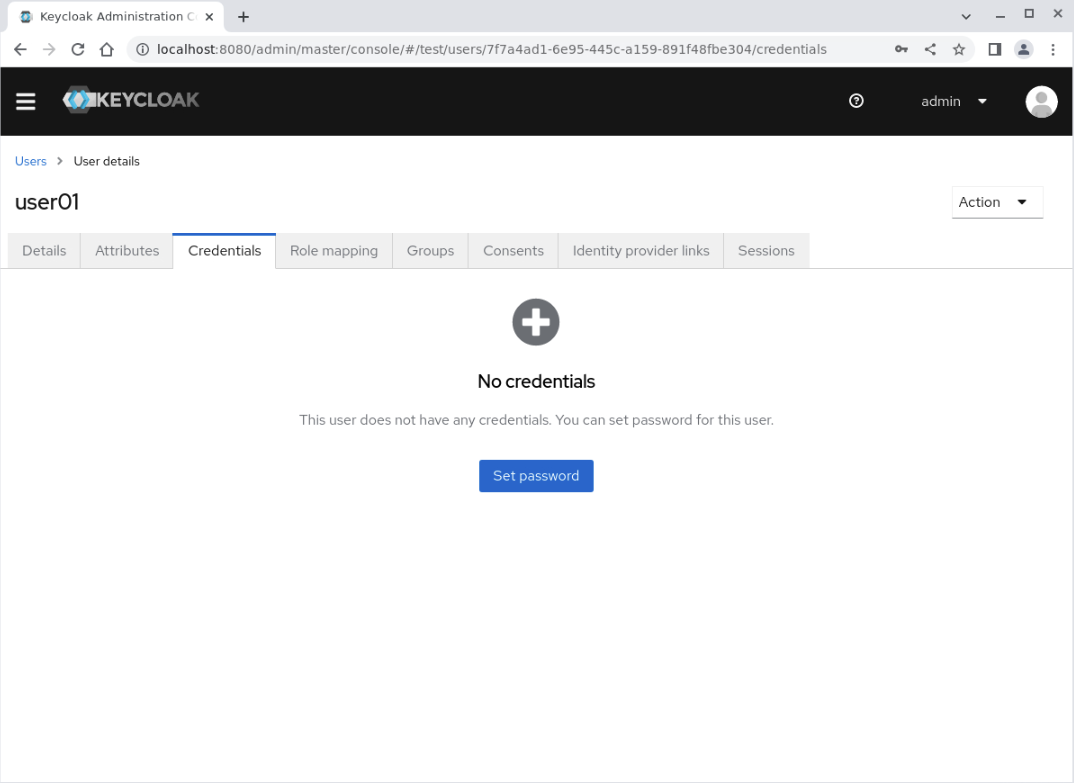
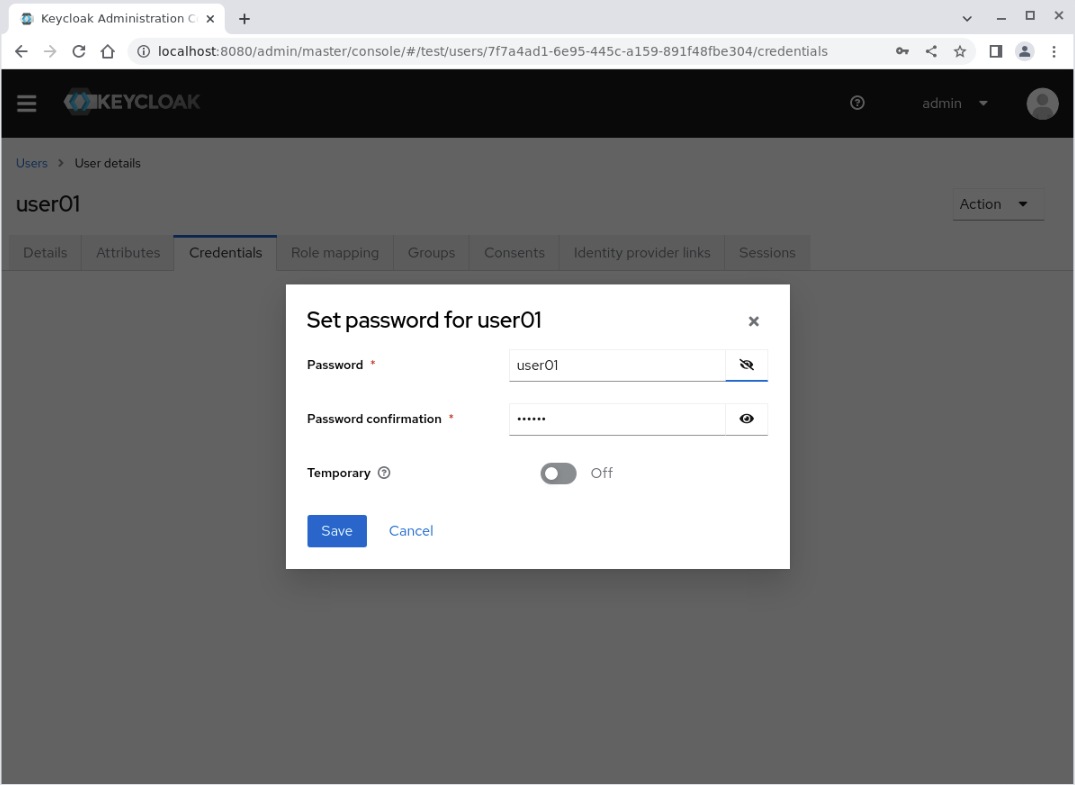
Click on the Set password button to display the Set password for user01 dialog panel.
Enter the following details:
Password: user01Password confirmation: user01Temporary: toggle the setting to Off
Important Note: An insecure password is used for illustrative purposes only. Production deployment should define secure password requirements as part of Keycloak administration.
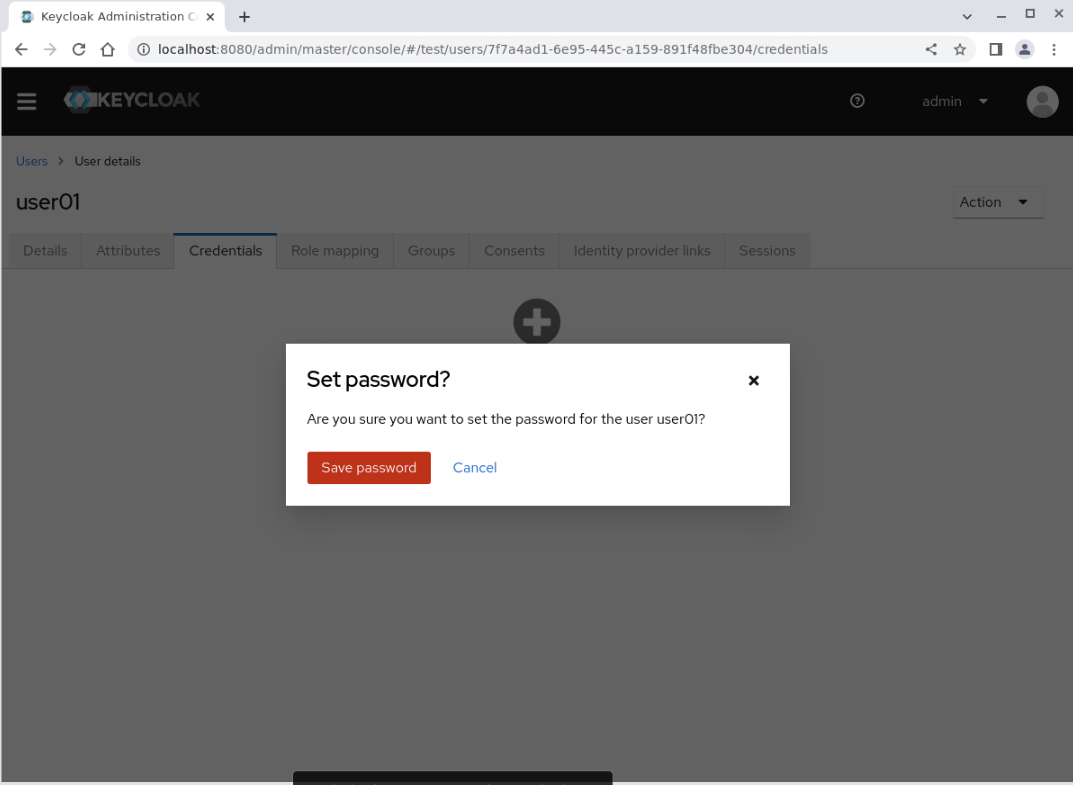
Click the Save button, which displays a Set password? confirmation dialogue box.
Click the Save password button.
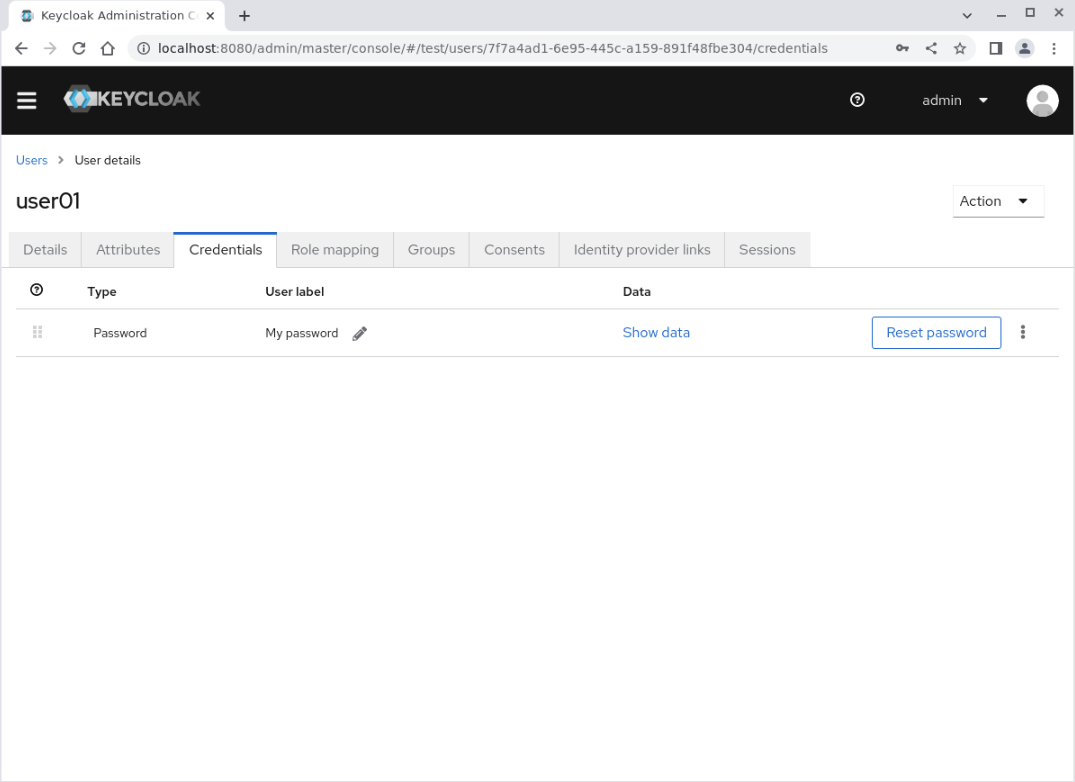
The Credentials panel displays the Password credential type.
Validate the New User
Log in to the account console using the newly created user's credentials to verify your configuration.
Open a new tab on the browser and access the Keycloak account management console at
http://localhost:8080/realms/test/account.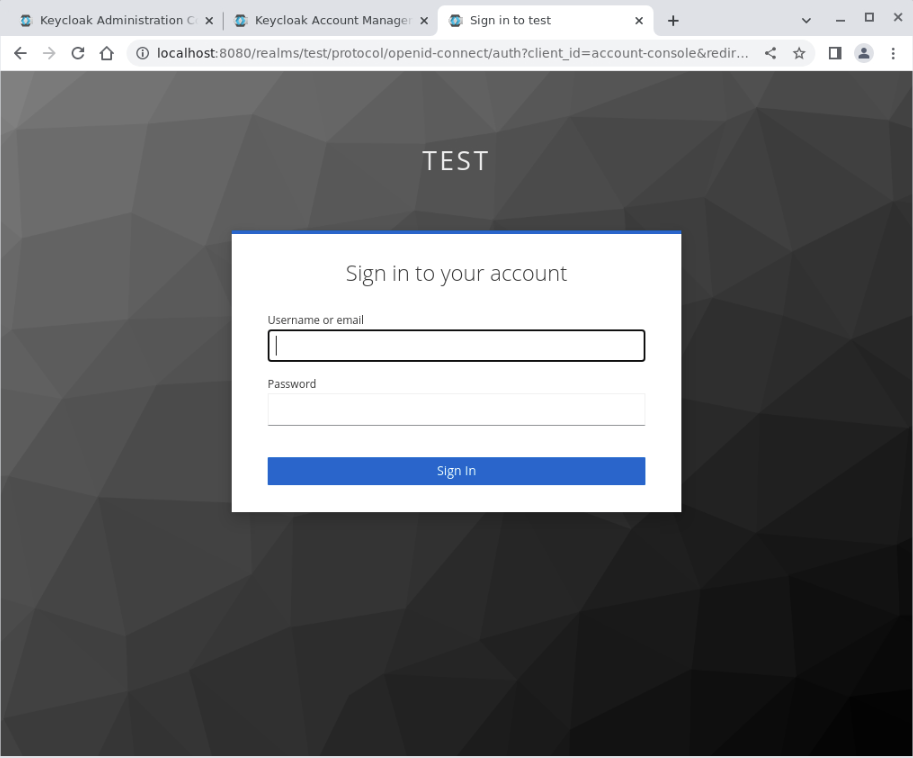
Replace the admin user's credentials with the
user01credentials.Username: user01Password: user01
Click the
Sign Inbutton.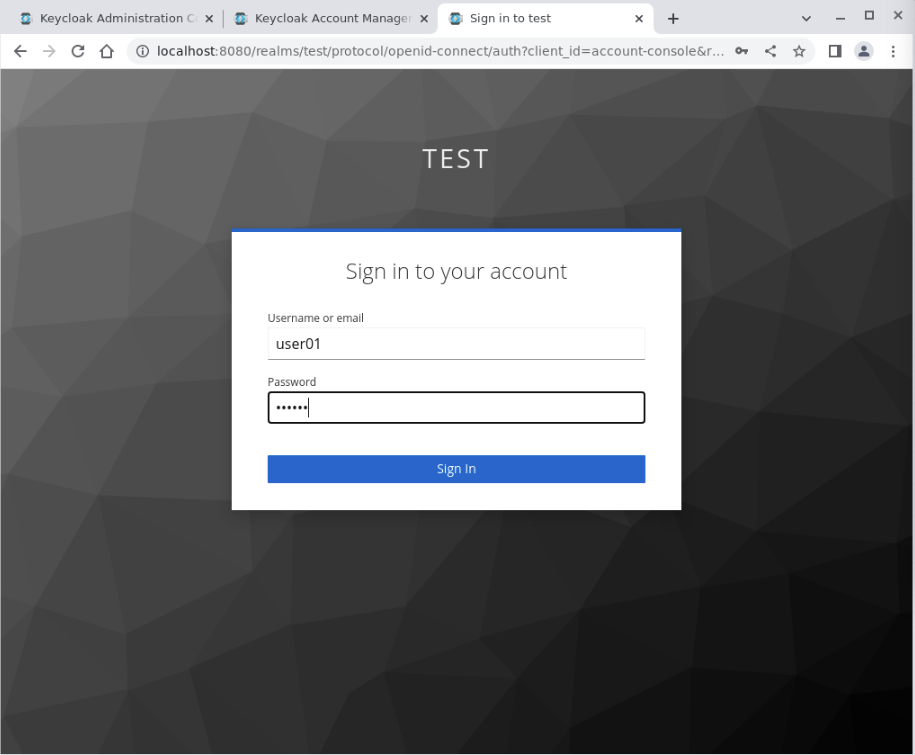
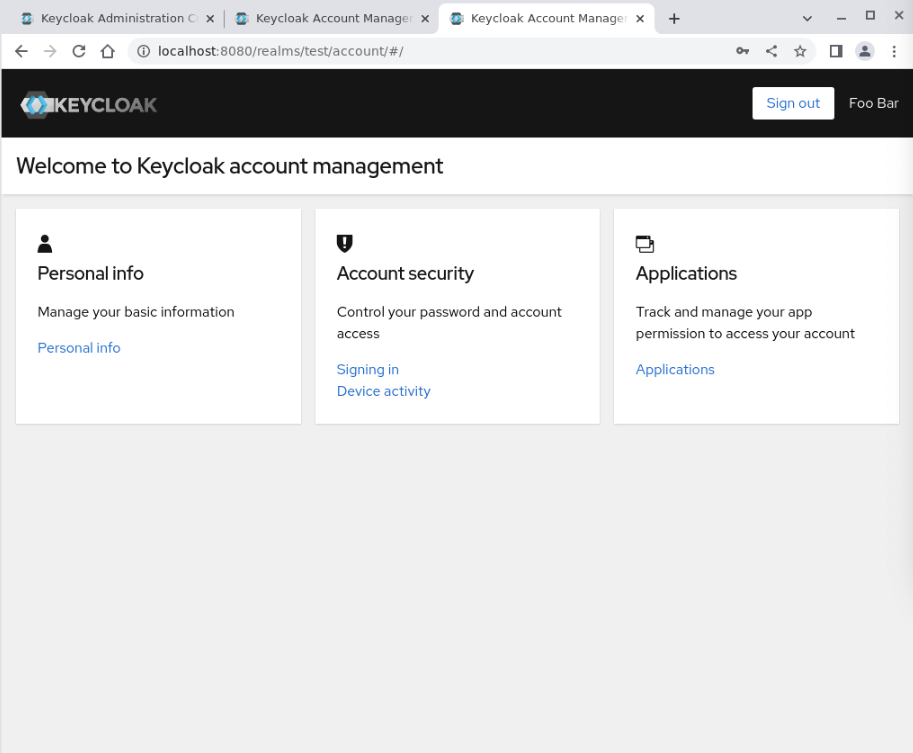
The user01 Personal info page displays, allowing you to manage the specific user's access.
(Optional) Confirm the Storage of the Keycloak Repository
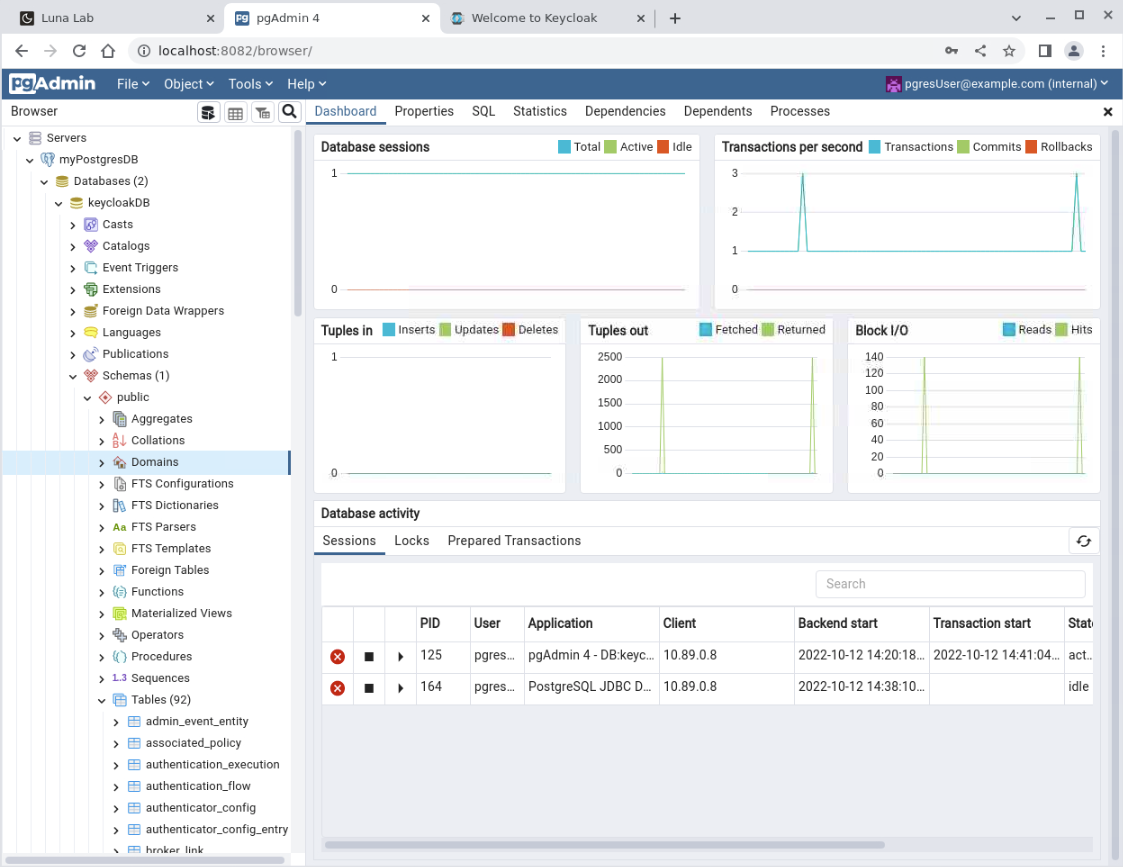
You can confirm that Keycloak created a schema within the PostgreSQL container by returning to the pgAdmin browser session.
Reconnect to pgAdmin.
Expand the navigation tree on the left labeled Browser and click the Server icon.
Then click and expand myPostgresDB, Databases, keycloakDB, Schemas, public, and Tables.
This list shows all of the Keycloak schema's tables, which record changes made within the Keycloak Administration Console.
Next Steps
By completing this tutorial, you've demonstrated your skills and ability to configure Podman to run a Keycloak container that stores data in a PostgreSQL container running within the same Podman network.