Upgrade Oracle Linux Automation Manager
Introduction
Existing Oracle Linux Automation Manager administrators are familiar with its all-in-one single-instance deployment.
Oracle Linux Automation Manager allows administrators to upgrade their existing deployments and later migrate the upgraded instance into a clustered deployment. During the upgrade, the process converts the instance to a single-host deployment and configures itself as a hybrid node.
After following this tutorial, you'll know how to upgrade Oracle Linux Automation Manager from a previous release.
Objectives
In this tutorial, you'll learn how to:
- Upgrade Oracle Linux Automation Manager
Prerequisites
A system with a previous release of Oracle Linux Automation Manager installed.
For details on installing Oracle Linux Automation Manager, see Installing Oracle Linux Automation Manager on Oracle Linux .
Deploy Oracle Linux Automation Manager
Note: If running in your own tenancy, read the linux-virt-labs GitHub project README.md and complete the prerequisites before deploying the lab environment.
Open a terminal on the Luna Desktop.
Clone the
linux-virt-labsGitHub project.git clone https://github.com/oracle-devrel/linux-virt-labs.gitChange into the working directory.
cd linux-virt-labs/olamInstall the required collections.
ansible-galaxy collection install -r requirements.ymlUpdate the Oracle Linux instance configuration.
cat << EOF | tee instances.yml > /dev/null
compute_instances:
  1:
    instance_name: "olam-node"
    type: "control"
passwordless_ssh: true
olam_type: v1
EOF
Create an inventory file.
cat << EOF | tee hosts > /dev/null
localhost ansible_connection=local ansible_connection=local ansible_python_interpreter=/usr/bin/python3.6
EOF
Deploy the lab environment.
ansible-playbook create_instance.yml -i hosts -e "@instances.yml"The free lab environment requires the extra variable
ansible_python_interpreterfor localhost because it installs the RPM package for the Oracle Cloud Infrastructure SDK for Python. The location for installing this package is under the system's default Python modules based on your version of Oracle Linux. Using an inventory variable avoids impacting the plays running on hosts other than localhost.The default deployment shape uses the AMD CPU. You can change the shape of the instances by passing a new shape variable definition on the command line.
For example:
-e instance_shape="VM.Standard3.Flex"Similarly, the default version of the Oracle Linux image uses the variable
os_versiondefined in the `default_vars.yml file. You can modify this value by passing the Oracle Linux major version on the command line.For example:
-e os_version="9"Important: Wait for the playbook to run successfully and reach the pause task. At this stage of the playbook, the installation of Oracle Linux is complete, and the instances are ready. Note the previous play, which prints the public and private IP addresses of the nodes it deploys.
Log into the WebUI
Open a terminal and configure an SSH tunnel to Oracle Linux Automation Manager.
ssh -L 8444:localhost:443 oracle@<hostname_or_ip_address>In the free lab environment, use the external IP address of the olam-node instance.
Open a web browser and enter the URL.
https://localhost:8444Note: Approve the security warning based on the browser used. Click the **Advanced button for Chrome and then the Proceed to localhost (unsafe) link.
Login to Oracle Linux Automation Manager with the USERNAME
adminand the PASSWORDadmincreated during the automated deployment.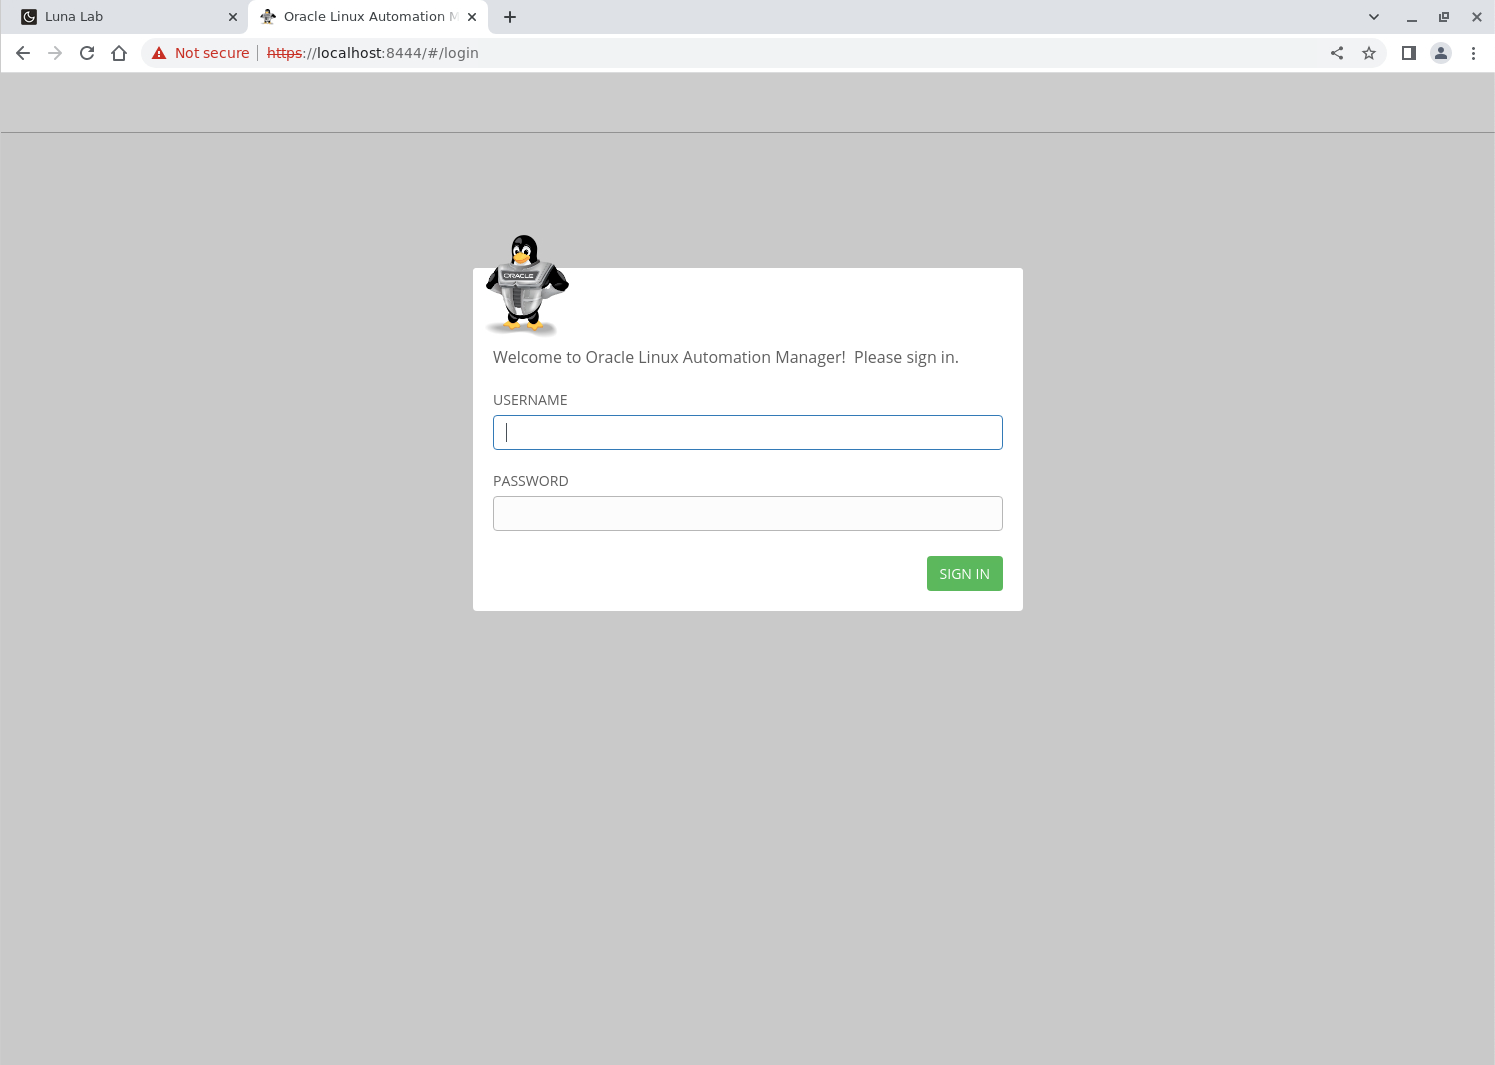
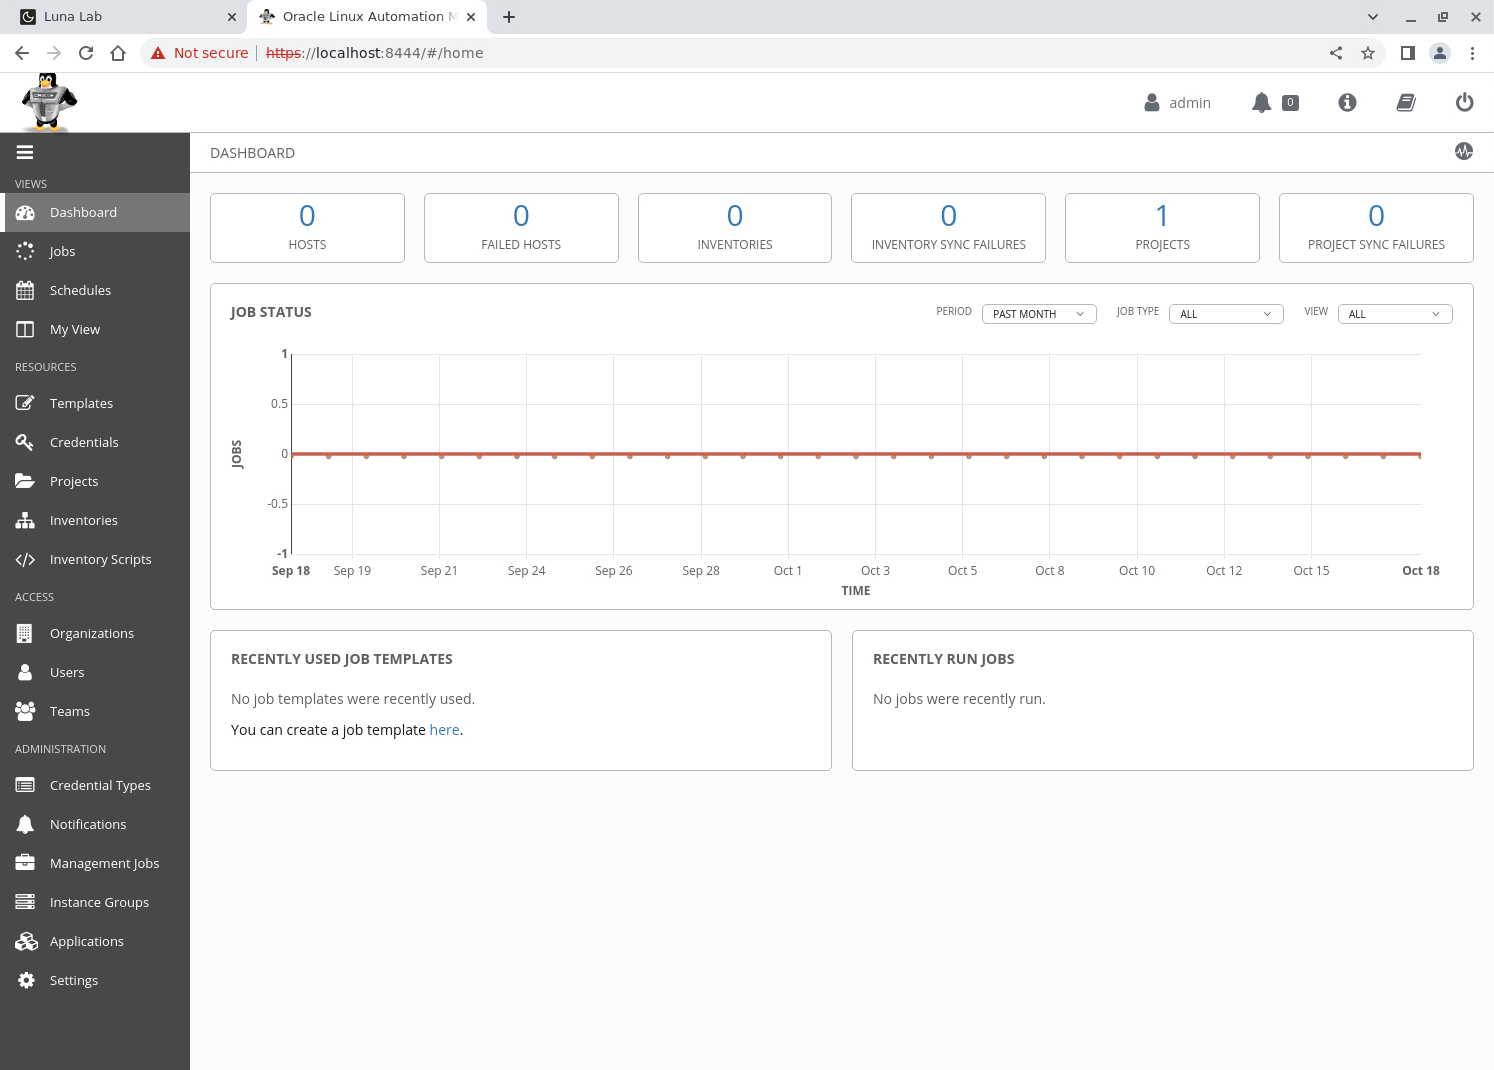
After logging in, the browser displays the WebUI.
Run the Upgrade
Switch to the terminal connected to the olam-node instance, which is running the Oracle Linux Automation Manager instance.
Stop the Oracle Linux Automation Manager service.
sudo systemctl stop ol-automation-managerCreate a backup of the secret key used by Oracle Linux Automation Manager for encrypting automation secrets in the database.
sudo cp /etc/tower/SECRET_KEY ~/SECRET_KEY.olamv1Create a backup of the database.
This command dumps the database contents into a file containing all the necessary SQL commands and data required to restore the database.
sudo su - postgres -c pg_dumpall > /tmp/olamv1_db_dumpStop the database service.
sudo systemctl stop postgresqlRemove the existing database data files.
sudo rm -rf /var/lib/pgsql/dataThis command removes the existing database data files. The database gets rebuilt later using the dump file.
Uninstall the current database package.
sudo dnf -y remove postgresqlEnable the module stream for the new database version.
Oracle Linux Automation Manager allows the use of PostgreSQL 16 when upgrading to the latest release.
sudo dnf -y module reset postgresql
sudo dnf -y module enable postgresql:16
Update the Oracle Linux Automation Manager repository package.
sudo dnf -y update oraclelinux-automation-manager-release-el8Note: This step will report that there is nothing to do in the free lab environment as the initial deployment has already installed the latest repository package for Oracle Linux Automation Manager.
Disable all of the Oracle Linux Automation Manager repositories.
sudo dnf config-manager --disable ol8_automation ol8_automation2 ol8_automation2.2 ol8_automation2.3Upgrade the Oracle Linux Automation Manager packages to Release 2.
sudo dnf -y install ol-automation-manager --enablerepo ol8_automation2Enable the current repository.
sudo dnf config-manager --enable ol8_automation2.3Update the Oracle Linux Automation Manager package.
sudo dnf -y update ol-automation-managerNote: The following expected messages are displayed in the output during the upgrade process.
  Upgrading        : ol-automation-manager-2.1.0-10.el8.x86_64            26/28
warning: /etc/tower/settings.py created as /etc/tower/settings.py.rpmnew

  Running scriptlet: ol-automation-manager-2.1.0-10.el8.x86_64            26/28
ValueError: File context for /var/run/tower(/.*)? already defined
Install the database server.
sudo dnf -y install postgresql-serverInitialize, then start and restore the database.
sudo postgresql-setup --initdb
sudo systemctl start postgresql
sudo su - postgres -c 'psql -d postgres -f /tmp/olamv1_db_dump'
Confirm the database is available.
sudo su - postgres -c 'psql -l | grep awx'Example Output:
[oracle@control-node ~]$ sudo su - postgres -c 'psql -l | grep awx'
 awx       | awx      | UTF8     | en_US.UTF-8 | en_US.UTF-8 |
The output displays the
awxaccount created within the database after performing the restore using the dump file.Replace the default Oracle Linux Automation Manager global settings file.
After upgrading the Oracle Linux Automation Manager package, the new RPM creates a default configuration file with an extension of
.rpmnew. This process enables system administrators to review configuration differences and manually apply necessary changes.sudo mv /etc/tower/settings.py /etc/tower/settings.py.save sudo mv /etc/tower/settings.py.rpmnew /etc/tower/settings.pyView the differences between the new and old global settings files.
sudo diff /etc/tower/settings.py /etc/tower/settings.py.saveNote: Any custom settings previously added to the
settings.pyfile should be set in the WebUI or moved to a file under/etc/tower/conf.d.Create a custom settings file containing the required settings.
cat << EOF | sudo tee /etc/tower/conf.d/olamv2.py > /dev/null
CLUSTER_HOST_ID = '$(hostname -i)'
DEFAULT_EXECUTION_QUEUE_NAME = 'tower'
DEFAULT_CONTROL_PLANE_QUEUE_NAME = 'tower'
EOF
This command sets the
CLUSTER_HOST_IDsetting to the system's IP address and the default queue names to the pre-upgraded version's default name oftower. Values entered into configuration files must follow the Python syntax format.Note: When upgrading Oracle Linux Automation Manager, ensure the
CLUSTER_HOST_IDvalue matches the value from the previous installation to prevent jobs from becoming stuck in a pending status after the upgrade. The default queue name in Release 1 istower, while in Release 2, it isdefault.Update the Receptor configuration file.
The Receptor mesh is an overlay network that creates peer-to-peer connections between controllers and executors to handle the distribution of work.
sudo sed -i "s/0.0.0.0/$(hostname -i)/" /etc/receptor/receptor.confVerify the Receptor configuration file.
sudo cat /etc/receptor/receptor.confid:is the hostname or IP address of the Oracle Linux Automation Manager system.port:is the TCP listening port for the Receptor mesh, which defaults to TCP port 27199.
Deploy Oracle Linux Automation Manager.
Open a shell as the
awxuser.sudo su -l awx -s /bin/bashMigrate any existing containers to the latest podman version while maintaining the unprivileged namespaces.
podman system migratePull the Oracle Linux Automation Engine execution environment for Oracle Linux Automation Manager.
podman pull container-registry.oracle.com/oracle_linux_automation_manager/olam-ee:2.3-ol8Use the
awx-manageutility to set up the Oracle Linux Automation Manager instance.awx-manage makemigrations --merge awx-manage migrate awx-manage register_default_execution_environments exit
Restore the backup of the secret key file.
sudo cp ~/SECRET_KEY.olamv1 /etc/tower/SECRET_KEYAppend the following parameter to the Oracle Linux Automation Manager settings file.
cat << EOF | sudo tee -a /etc/tower/conf.d/olamv2.py > /dev/null

# OLAM Reaper Job Status Tracking
REAPER_TIMEOUT_SEC = 60
EOF
Replace the default configuration for NGINX.
cat << EOF | sudo tee /etc/nginx/nginx.conf > /dev/null
user nginx;
worker_processes auto;
error_log /var/log/nginx/error.log;
pid /run/nginx.pid;

# Load dynamic modules. See /usr/share/doc/nginx/README.dynamic.
include /usr/share/nginx/modules/*.conf;

events {
worker_connections 1024;
}

http {
log_format  main  '$remote_addr - $remote_user [$time_local] "$request" '
                  '$status $body_bytes_sent "$http_referer" '
                  '"$http_user_agent" "$http_x_forwarded_for"';

access_log  /var/log/nginx/access.log  main;

sendfile            on;
tcp_nopush          on;
tcp_nodelay         on;
keepalive_timeout   65;
types_hash_max_size 2048;

include             /etc/nginx/mime.types;
default_type        application/octet-stream;

# Load modular configuration files from the /etc/nginx/conf.d directory.
# See http://nginx.org/en/docs/ngx_core_module.html#include
# for more information.
include /etc/nginx/conf.d/*.conf;
}
EOF
Update database tuning parameters.
These calculations leverage the system's total memory in megabytes and replace the default values in the PostgreSQL configuration file.
export TOTAL_MEMORY="$(free --mega | awk 'FNR == 2 {print $2}')"
sudo sed -i 's/max_connections = 100/max_connections = 1024/g' /var/lib/pgsql/data/postgresql.conf
sudo sed -i "/^shared_buffers =/c\shared_buffers = $( echo "($TOTAL_MEMORY*0.3)/1" | bc )" /var/lib/pgsql/data/postgresql.conf
sudo sed -i "/^#work_mem =/c\work_mem = $( echo "($TOTAL_MEMORY*0.03)/1" | bc )" /var/lib/pgsql/data/postgresql.conf
sudo sed -i "/^#maintenance_work_mem =/c\maintenance_work_mem = $( echo "($TOTAL_MEMORY*0.04)/1" | bc )MB" /var/lib/pgsql/data/postgresql.conf
Restart the database.
sudo systemctl restart postgresqlRestart NGINX.
sudo systemctl restart nginxStart Oracle Linux Automation Manager.
sudo systemctl start ol-automation-manager
Verify the Upgrade
Refresh the web browser window used to display the previous WebUI, or open a new web browser window and enter the URL.
https://localhost:8444The port used in the URL needs to match the local port of the SSH tunnel.
Log into Oracle Linux Automation Manager again with the Username
adminand the Passwordadmin.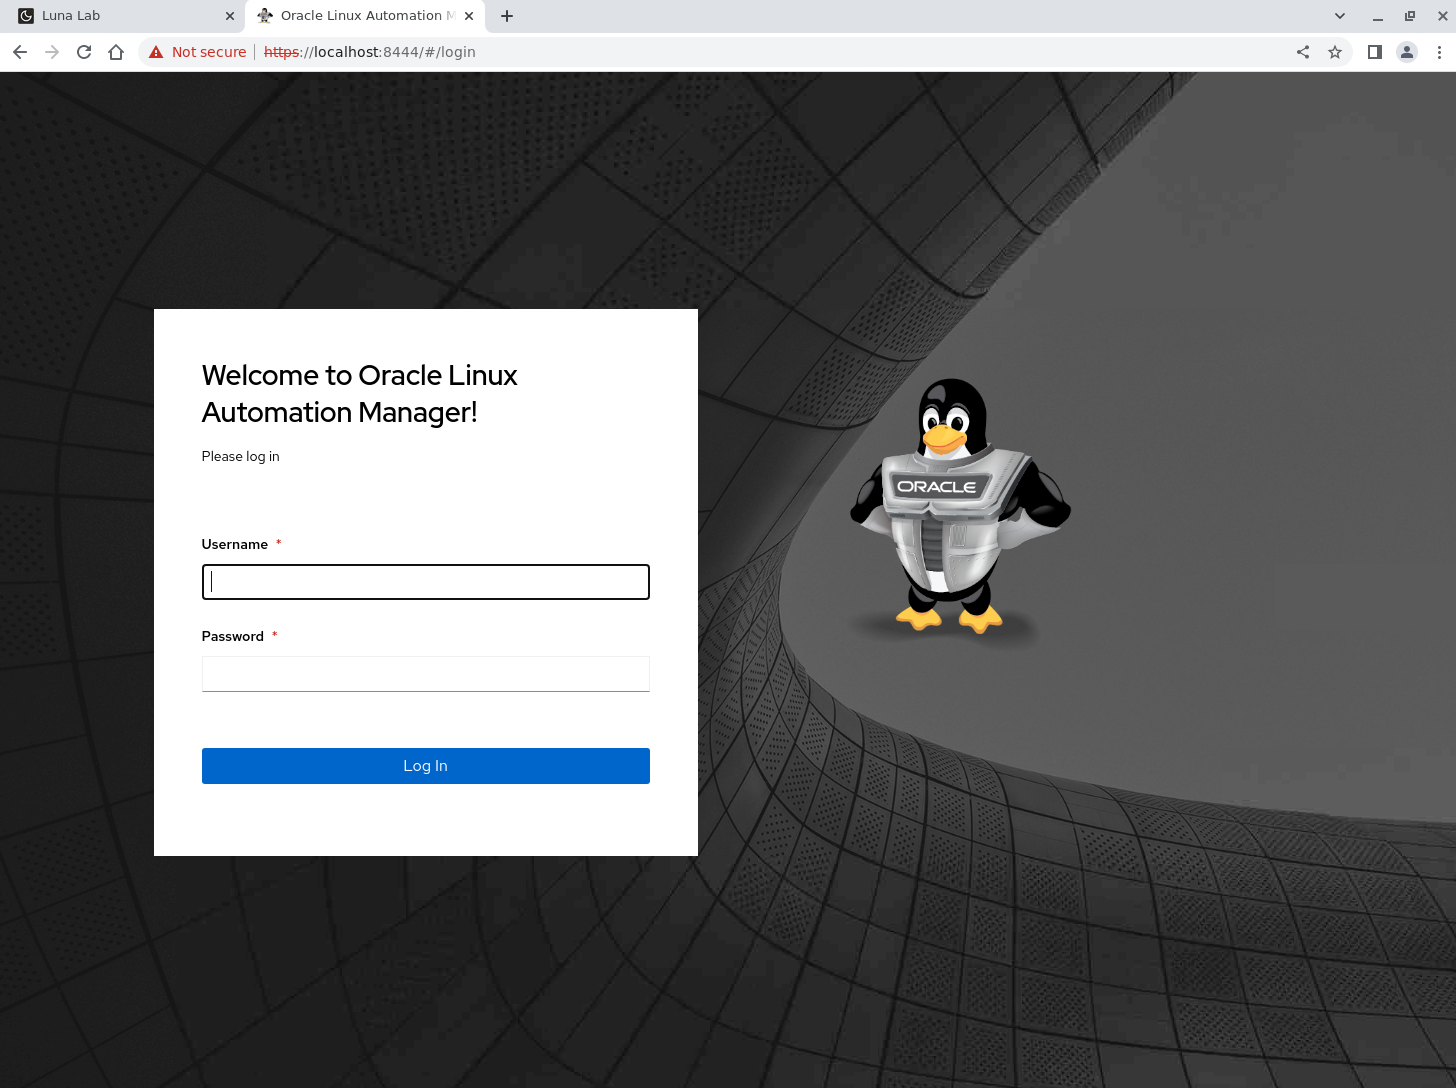
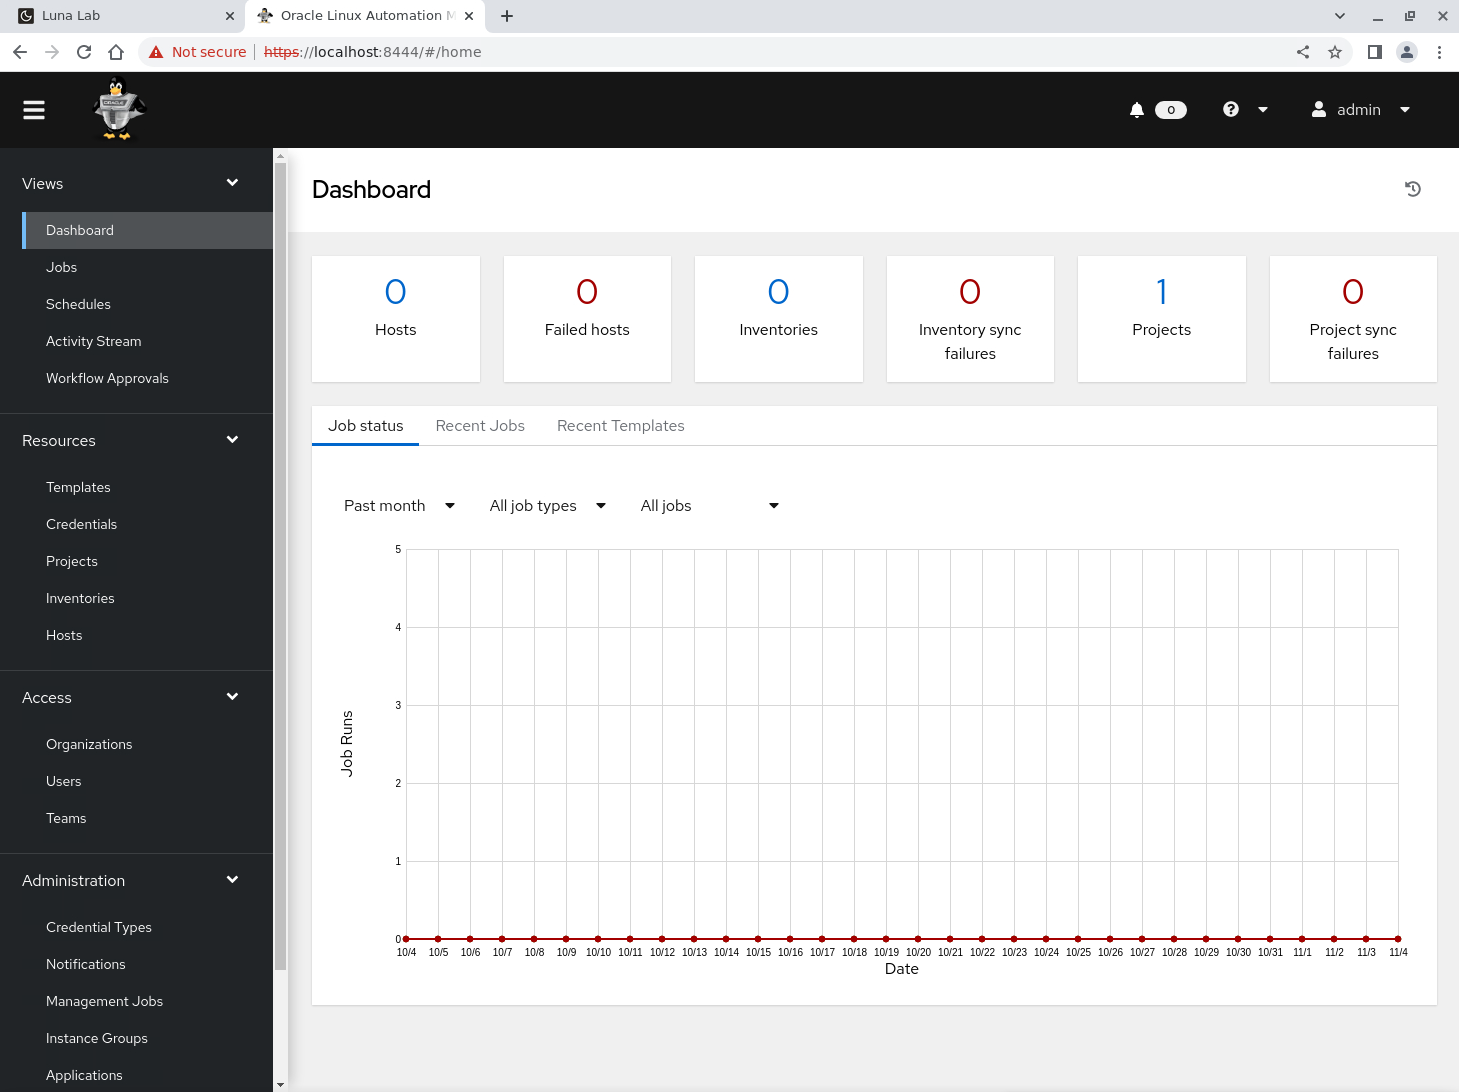
After logging in, the WebUI is displayed.
Next Steps
The upgrade is complete, and the jobs are ready to run. To learn more about Oracle Linux Automation Manager, check out the documentation and continue to build your skills by checking out our other Oracle Linux Automation Manager training on Oracle Linux Training Station.
Related Links
Oracle Linux Automation Manager Documentation
Oracle Linux Automation Manager Training
Oracle Linux Training Station