Managing Oracle Linux Module Streams and Profiles with the OS Management service
Introduction
Oracle Linux AppStreams introduced the concept of modules, streams and profiles that allow for the management of different versions of software applications within a single OS release. From the Oracle Cloud Infrastructure console the OS Management service can manage instance modules and AppStreams, including viewing module information and updating modules, streams, and profiles. Similarly, from the command line, AppStreams on a single instance can also be installed and managed.
You can read more detailed information about module streams at this documentation link: Managing Module Streams and Profiles
You can watch a free video demonstrating module streams management process used in this lab, you can find a link to it in the For More Information section at the end of this lab.
Objectives
In this lab, you will learn to:
- Enable a module stream for PHP on an Oracle Linux Instance
- Verify the stream on the instance with CLI
- Inspect the available module streams and verify the packages installed for different profiles
- Configure a stream profile and verify it is enabled
- Monitor the work requests for managing streams with the OS Mangement service
- Disable a module stream
Prerequisites
Specific Oracle Cloud IAM (Identity and Access Management) policies are needed to support the OS Management service for Oracle Linux instances.
The required cloud policies needed are already configured for the tenancy and compartment used for this lab.
You can read about the policies required for instances to be managed by the OS Management service at this link: Required IAM Policies for OS Management integration
Setup Lab Environment
A new Oracle Linux 8 instance called ol-streams1 is automatically provisioned and started when this lab is launched.
To support an SSH connection to the new instance terminal, public and private authentication keys have already been created and set to the instance and cloud console.
Module Management with OS Management
Open the cloud console and navigate to Instances.
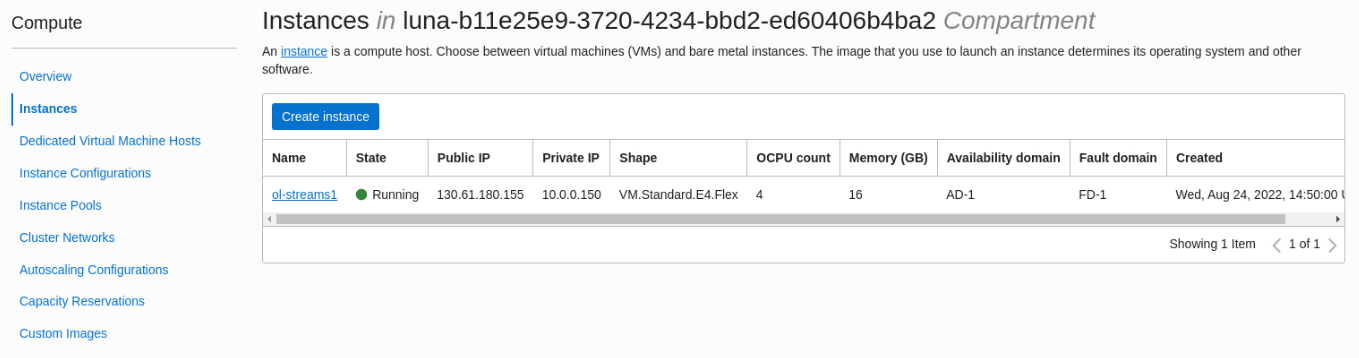
From the instance list screen, click on the ol-streams1 instance name to open the instance details dialog.
Note: Ignore any other instances which may be displayed in the list, you will work only with the ol-streams1 instance.
Scroll down to the Resources menu, select OS Management.
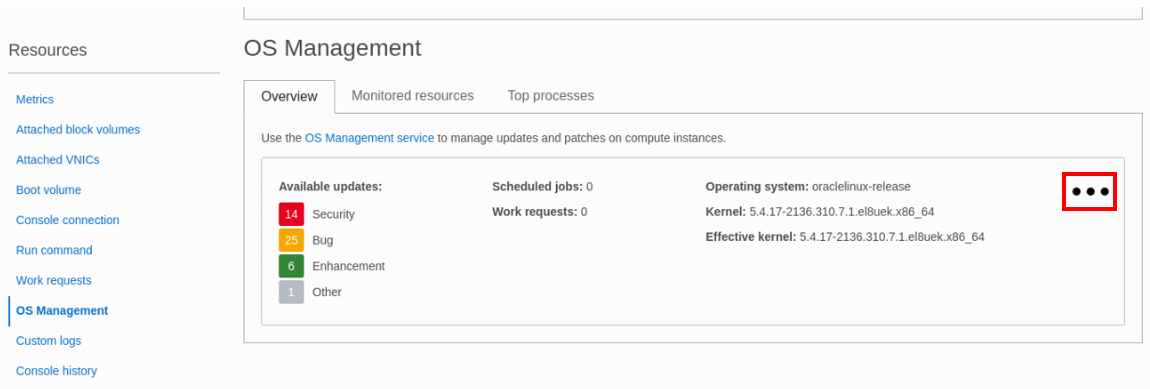
In the Overview section you see OS Management information about updates being applied daily, and OS and kernel information. This confirms the instance is being monitored and managed by the OS Management service.
Note: The OS Management service takes a few minutes before it starts reporting for the instance. If you see a message indicating the service is not configured, you must wait a little longer until the service is fully active. Refresh the browser screen. It can take up to 10 minutes for the overview OS Management information for a new instance to be available in the console.
Click on the three dots menu on the right side of the Overview section. Select the View OS Management details.
On the OS Management details screen for your instance, under the Resources menu, select Modules.
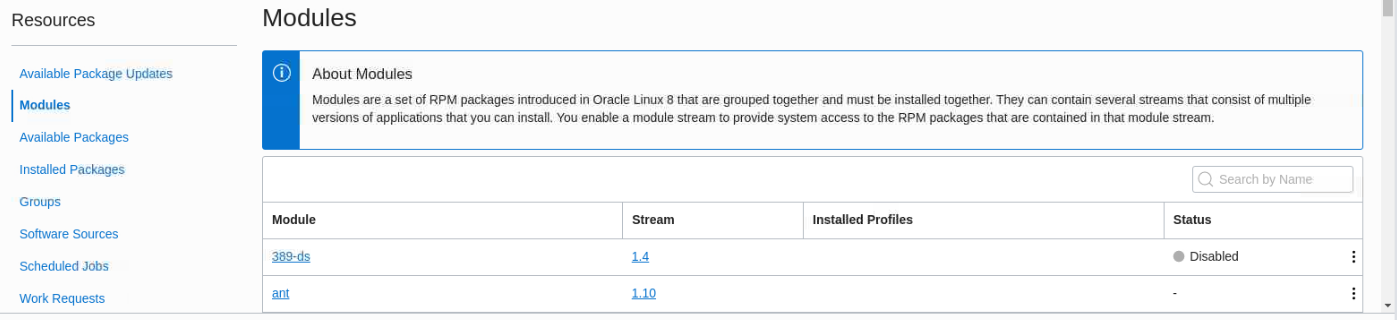
In the generated list of available modules, type
phpinto the search box to filter for the php module. The Status column shows a - which indicates the module is neither enabled or disabled.
Note: In the modules list, if you click on the link for the name of module or a stream version, you will see and Authorization failure error. Simply click the back arrow in your browser to return to the previous screen and open the modules list again. This lab environment has specific policies configured to support the steps being taken. Some policies to access specific repository information in the lab have been restricted for security reasons. In a production environment you will not receive this error message.
Verify the Module Configuration on the Instance
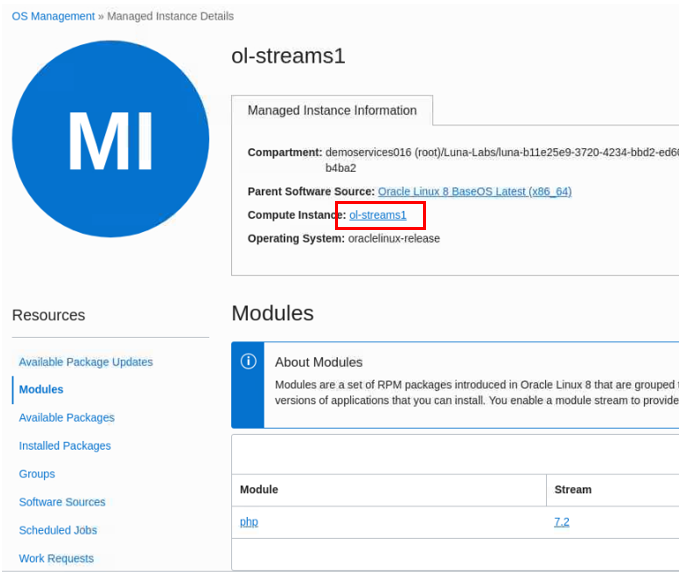
Return to the instance details screen by clicking on the instance name link beside Compute Instance in the Managed Instance Information section.
From the instance details screen, copy the Public IP address by either highlighting it and pressing
ctrl-c, or using the Copy button beside the address.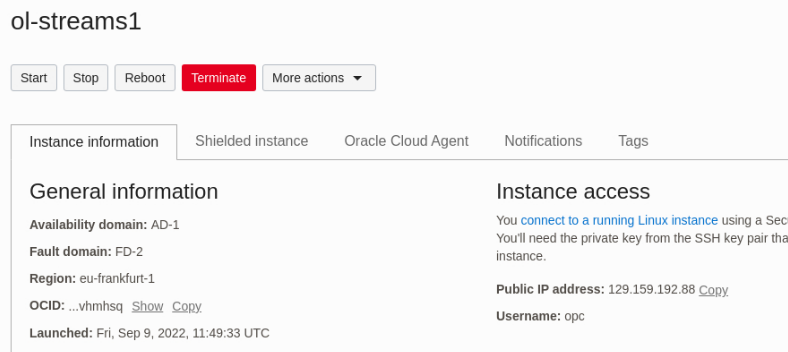
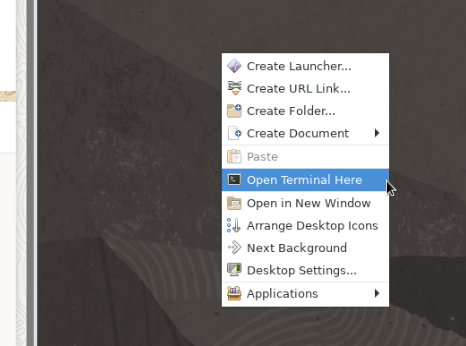
Right click on your luna lab desktop and select Open Terminal Here.
Establish an SSH connection to the new instance using the copied IP address and the username
opc.ssh opc@<ip of instance>When prompted if you want to continue connecting, type
yesory.Check the current status of the PHP module.
sudo dnf module list php- Example file output:
Oracle Linux 8 Application Stream (x86_64)
Name      Stream       Profiles                       Summary
php       7.2 [d]      common [d], devel, minimal     PHP scripting language
php       7.3          common [d], devel, minimal     PHP scripting language
php       7.4          common [d], devel, minimal     PHP scripting language
php       8.0          common [d], devel, minimal     PHP scripting language

Hint: [d]efault, [e]nabled, [x]disabled, [i]nstalled
In the row for Hint, the listed letters if displayed beside an entry of the output indicate its status. For example, the
[d]beside7.2indicates the default stream that would be enabled if the module was enabled without a version selected. This matches the[-]displayed beside this entry in the console. There is no[e]beside any entry, which indicates the module has not been enabled.View the packages that are installed for the profiles associated with the 8.0 stream.
Note: Each profile requires specific packages to be installed for the module.
sudo dnf module info --profile php:8.0- Example file output:
Name    : php:8.0:8060020211215065547:0a326c83:x86_64
common  : php-cli
        : php-common
        : php-fpm
        : php-mbstring
        : php-xml
devel   : libzip
        : php-cli
        : php-common
        : php-devel
        : php-fpm
        : php-mbstring
        : php-pear
        : php-pecl-zip
        : php-process
        : php-xml
minimal : php-cli
        : php-common
Note: This information can also be viewed through the cloud console in the OS Management details.
Enable PHP Module Stream for the Instance
Return to the cloud console window.
Scroll down to Resources, select OS Management. Click on the three dots menu on the right of the Overview section. Select the View OS Management details.
On the OS Management details screen for your instance, under the Resources menu, click on Modules.
Search for
phpin the search field to show the PHP module.Click the three dots menu on the right of the module row and select Edit Module.
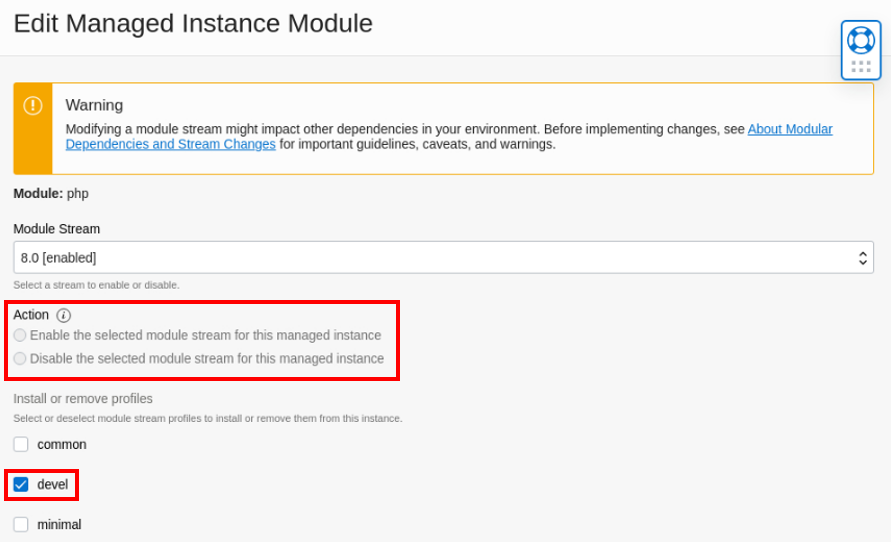
In the Edit window click on the Module Stream dropdown and select 8.0.
In the Action section, select Enable the selected module stream for this managed instance
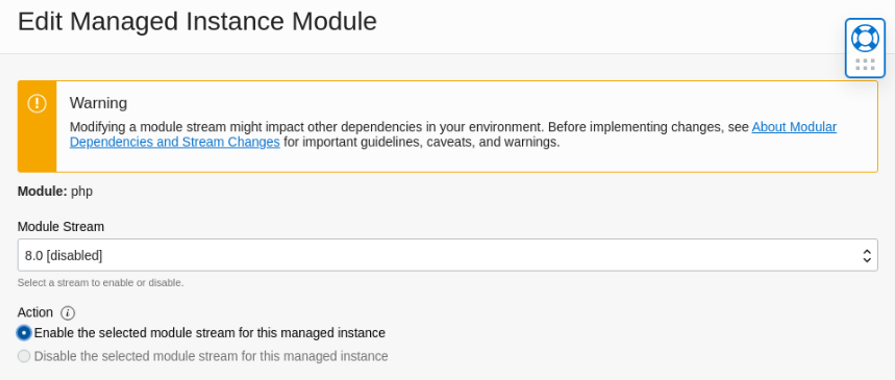
Click the Save Changes button.
Under the Resources menu select Work Requests. Under the Status column wait until you see Succeeded, you can refresh your browser to see the latest status.
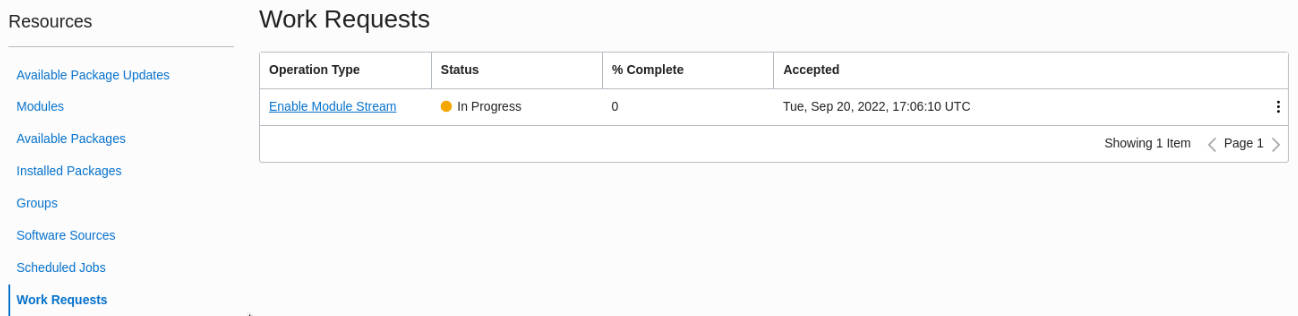
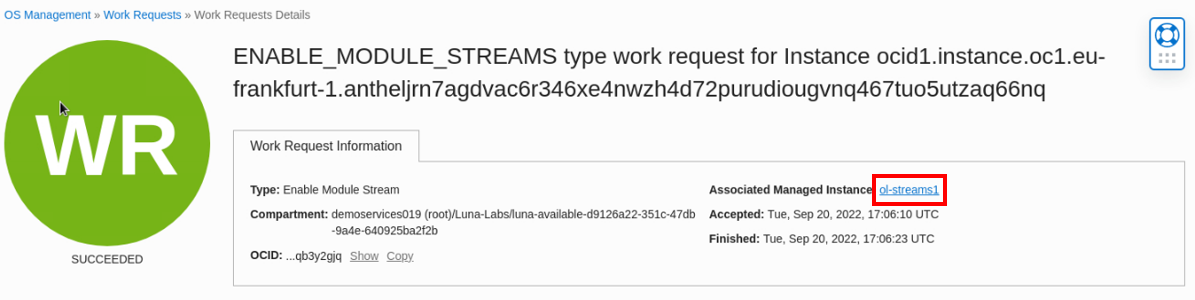
Click the work request name in the Operation Type column.
Under the Resources menu, select Associated Resources (2).
You see two work requests for enabling the php:8.0 module stream for the instance.

Verify the PHP Module is Enabled on the Instance
Return to the terminal for your lab system instance.
Check the status of the PHP module.
sudo dnf module list php- Example file output:
Oracle Linux 8 Application Stream (x86_64)
Name      Stream       Profiles                       Summary
php       7.2 [d]      common [d], devel, minimal     PHP scripting language
php       7.3          common [d], devel, minimal     PHP scripting language
php       7.4          common [d], devel, minimal     PHP scripting language
php       8.0 [e]      common [d], devel, minimal     PHP scripting language

Hint: [d]efault, [e]nabled, [x]disabled, [i]nstalled
You now see the
[e]beside8.0indicating this stream has been enabled on the instance. Note that thecommonprofile is still set as default for all streams.
Choose a Module Stream Profile for the Instance
Return to the cloud console window.
Click on the instance name link beside Associated Managed Instance to return to the OS Management details for the instance.
Under the Resources menu select Modules to see the modules list again. Enter
phpinto the search field to filter for the PHP module.Click the three dots menu on the right of the module row to open the Edit Module window again.
In the Install or remove profiles section, select the devel profile and save the changes.
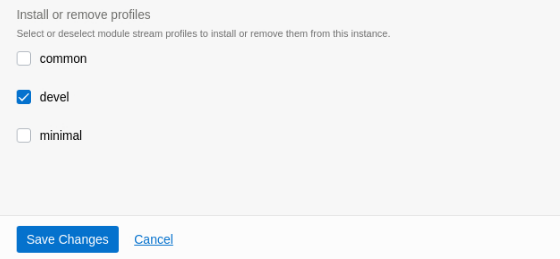
Note: You can make multiple profile selections and all the required profile packages will be installed.
Under the Resources menu select Work Requests. You can see the new accepted work request to Install Module Stream Profile. It takes a few minutes for this request to succeed, refresh your browser until you see the latest status as Succeeded.
Click the new Install Module Stream Profile work request name.
Under the Resources menu, select Associated Resources (2).
You can see the two associated resources used to enable php:8.0/devel module stream profile for the instance.

Verify the PHP Module Stream Profile is Configured on the Instance
Return to the terminal for your lab system instance.
Check the status of the PHP module.
sudo dnf module list php- Example file output:
Oracle Linux 8 Application Stream (x86_64)
Name     Stream      Profiles                          Summary
php      7.2 [d]     common [d], devel, minimal        PHP scripting language
php      7.3         common [d], devel, minimal        PHP scripting language
php      7.4         common [d], devel, minimal        PHP scripting language
php      8.0 [e]     common [d], devel [i], minimal    PHP scripting language

Hint: [d]efault, [e]nabled, [x]disabled, [i]nstalled
You now see the
[i]besidedevelprofile name in the row for stream 8.0. This indicates the devel profile and its associated packages have been installed on the instance.Note: If you do not see
[i]beside the devel entry, you have not waited until the work request showed Succeeded on your console. Return to your console and refresh the browser until it shows Succeeded, then run the command again.
Disable the Module Stream for the Instance
Return to the console window.
Click on the instance name link beside Associated Managed Instance to return to the OS Management details for the instance.
Under the Resources menu select Modules to see the modules list. Enter
phpinto the search field to filter for the PHP module.Click the three dots menu on the right of the module row to open the Edit Module window.
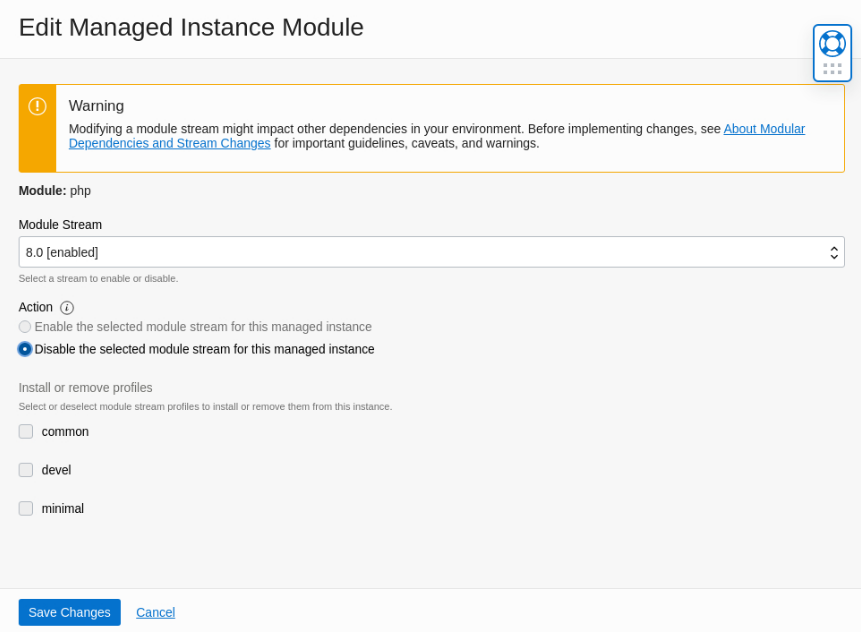
Before you can disable a stream, any profile selections must be removed. The disable radio button will not be active until this is done.
In the Install or remove profiles section, deselect the devel profile.
In the Action section you can now click the radio button to Disable the selected module stream for this managed instance and save the changes.
Under the Resources menu select Work Requests.
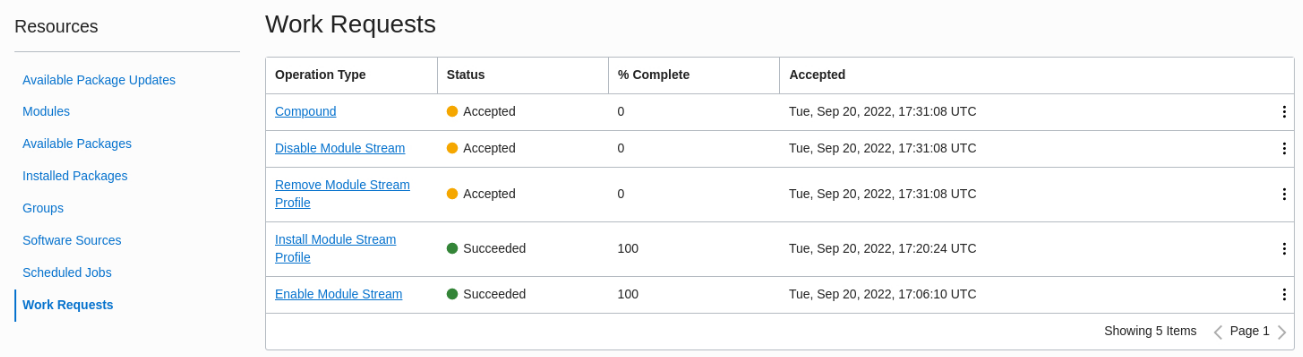
You can see the three operations created to remove the profile and disable the module stream. It will take a few minutes for these requests to succeed. Refresh the browser window until the requests show Succeeded.
Verify the PHP Module Stream is Disabled on the Instance
Return to the terminal for your lab system instance.
Check the status of the PHP module.
sudo dnf module list php- Example file output:
Oracle Linux 8 Application Stream (x86_64)
Name     Stream         Profiles                       Summary
php      7.2 [d][x]     common [d], devel, minimal     PHP scripting language
php      7.3 [x]        common [d], devel, minimal     PHP scripting language
php      7.4 [x]        common [d], devel, minimal     PHP scripting language
php      8.0 [x]        common [d], devel, minimal     PHP scripting language

Hint: [d]efault, [e]nabled, [x]disabled, [i]nstalled
You see
[x]beside each stream, this indicates all module streams are disabled on the instance. The[i]has also been removed from beside the devel profile for the 8.0 stream.
Congratulations!
You have successfully completed this lab.
To end this session, click the End Session button in the toolbar.
For More Information
See other related resources:
Video: Managing Oracle Linux Module Streams and Profiles with the OS Management service
Document: Managing Module Streams and Profiles
Luna Labs: Linux OS and Virualization Engineering Labs
Training Track: Linux on Oracle Cloud Infrastructure Track
Document: Oracle Linux Documentation