Use An AI Assistant with Oracle Cloud Native Environment
Introduction
Oracle Cloud Native Environment (Oracle CNE) AI Assistant is a plugin provided with the Oracle CNE User Interface (UI). AI Assistant helps users manage and gain insights into the status of their Kubernetes cluster using natural language (currently only English). It is context-aware, meaning its responses are relevant to the cluster's status and the location within the Oracle CNE UI when starting an interaction with the AI Assistant. For example, if a user is uncertain of the number of nodes in the cluster, ask the AI Assistant,"How many Nodes are in my cluster?" and it will confirm the number of nodes in the cluster. Further prompts can be posted, allowing the user to start a conversational flow with the AI Assistant. The key features provided by the AI Assistant include:
Conversational Kubernetes Experience: Allows both skilled and novice users to interact with the cluster conversationally using natural language to post questions about the cluster without requiring extensive knowledge of Kubernetes.
Context-Aware Support: AI Assistant knows what the user is viewing when a request is posted, and provides responses that are appropriate to this starting context.
Multi-Provider Support: AI Assistant supports multiple AI Providers (see upstream for details).
Note: You need to provide your own API key to access your chosen provider.
Configurable Tools: Can be configured to use Kubernetes APIs to query cluster information.
Resource Generation: Users can request the AI Assistant to generate Kubernetes YAML.
In-depth Analysis: Assists users in managing the cluster. For example, by diagnosing problems, gathering and interpreting logs, and more.
This tutorial demonstrates how to configure the AI Assistant plugin, included in the Oracle CNE UI with a locally hosted AI instance (Ollama).
Objectives
In this tutorial, you will learn:
- How to configure and use the AI Assistant included with the Oracle CNE UI.
Prerequisites
- Installation of Oracle Cloud Native Environment
Deploy Oracle Cloud Native Environment
Note: If running in your own tenancy, read the linux-virt-labs GitHub project README.md and complete the prerequisites before deploying the lab environment.
Open a terminal on the Luna Desktop.
Clone the
linux-virt-labsGitHub project.git clone https://github.com/oracle-devrel/linux-virt-labs.gitChange into the working directory.
cd linux-virt-labs/ocne2Install the required collections.
ansible-galaxy collection install -r requirements.ymlDeploy the lab environment.
ansible-playbook create_instance.yml -e localhost_python_interpreter="/usr/bin/python3.6" -e install_ocne_rpm=true -e create_ocne_cluster=true -e "ocne_cluster_node_options='-n 1 -w 1'"The free lab environment requires the extra variable
local_python_interpreter, which setsansible_python_interpreterfor plays running on localhost. This variable is necessary because the environment installs the RPM package for the Oracle Cloud Infrastructure SDK for Python, which is located under the python3.6 modules.The default deployment shape uses the AMD CPU and Oracle Linux 8. To use an Intel CPU or Oracle Linux 9, add
-e instance_shape="VM.Standard3.Flex"or-e os_version="9"to the deployment command.Important: Wait for the playbook to run successfully and reach the pause task. At this stage of the playbook, the installation of the Oracle Cloud Native Environment is complete, and the instances are ready. Take note of the previous play, which prints the public and private IP addresses of the nodes it deploys and any other deployment information needed while running the lab.
Confirm the Number of Nodes
It helps to know the number and names of nodes in your Kubernetes cluster.
Open a terminal and connect via SSH to the ocne instance.
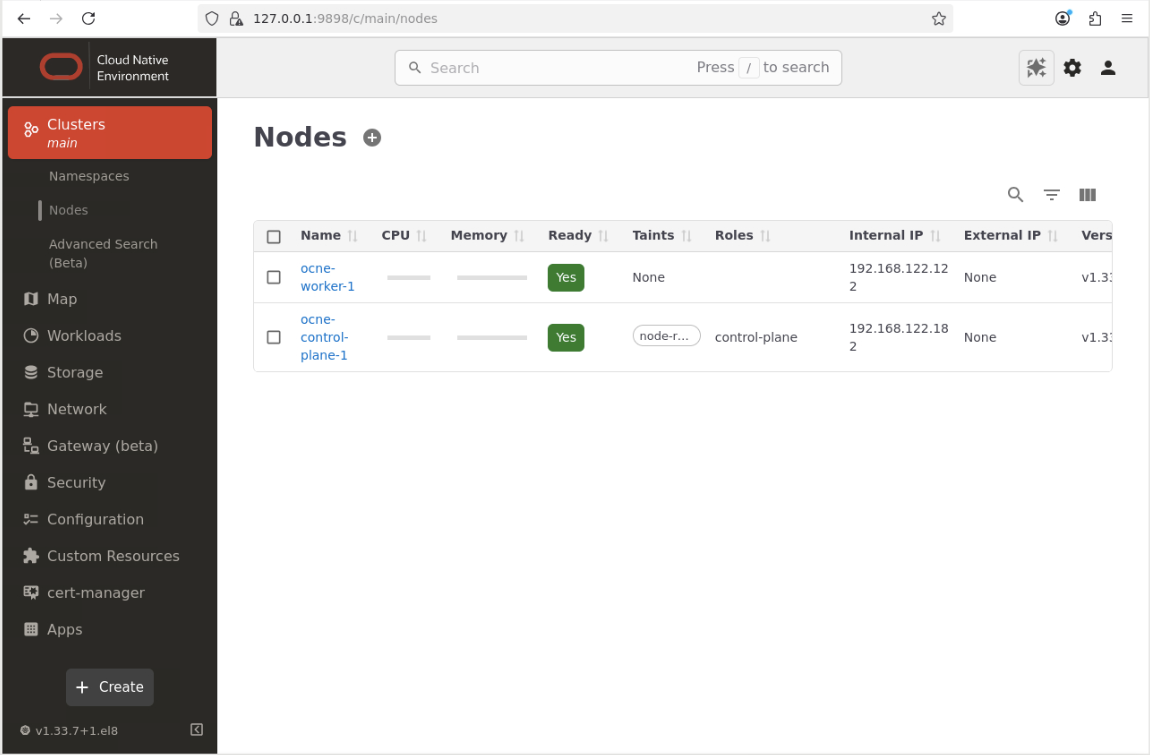
ssh oracle@<ip_address_of_node>List the nodes in the cluster.
kubectl get nodesThe output shows the control plane and worker nodes in a
Readystate, along with their current Kubernetes version.
Create an Access Token
Oracle Cloud Native Environment deploys the UI into the Kubernetes cluster using a Deployment and Service named ui, which you'll use to access it. Both the Deployment and Service are deployed into the ocne-system namespace. To connect to the Service, you need to generate an access token.
Generate an access token.
kubectl --namespace ocne-system create token uiExample Output:
[oracle@ocne ~]$ kubectl --namespace ocne-system create token ui
eyJhbGciOiJSUzI1NiIsImtpZCI6IjhfRWczUG13VWRfWjFkWDIxdkp6UUZlRzEwU2QxaExkbm9TME1CcS1rVFEifQ.eyJhdWQiOlsiaHR0cHM6Ly9rdWJlcm5ldGVzLmRlZmF1bHQuc3ZjLmNsdXN0ZXIubG9jYWwiXSwiZXhwIjoxNzI4Mzg3MTgwLCJpYXQiOjE3MjgzODM1ODAsImlzcyI6Imh0dHBzOi8va3ViZXJuZXRlcy5kZWZhdWx0LnN2Yy5jbHVzdGVyLmxvY2FsIiwianRpIjoiYzlmMWViZTctYzA1ZC00MTYxLTg2MzctOWNiZGFlNTI5MzFiIiwia3ViZXJuZXRlcy5pbyI6eyJuYW1lc3BhY2UiOiJvY25lLXN5c3RlbSIsInNlcnZpY2VhY2NvdW50Ijp7Im5hbWUiOiJ1aSIsInVpZCI6IjdjY2RjZGZlLTAzNzMtNGUwZS1hMzViLTc5MzdhM2NiZmYzMyJ9fSwibmJmIjoxNzI4MzgzNTgwLCJzdWIiOiJzeXN0ZW06c2VydmljZWFjY291bnQ6b2NuZS1zeXN0ZW06dWkifQ.WSLZFste1ggkE2GtjJ2cBrORNFgCzHOlALNXD_-6vLA9kIiDJHp44HshUcXvUFH1XdFM1SGbiCvITOwT8Y5_93IKVZLu1NRyGPZlo5l4JqwnJtqLn7J6e39OlC2SXqex6vLBCU-sBqiw_P9xksNa7fO_MzsryEo-5oMgsVVo9oJr9wv4LYLv2Obd8U5ukKjBeiRiwTu9MTK0r_GlhmZ9d7GHrYrgF1MJGMgzvqyTyviyIynD2F0OkKARIThghpEL6aou4F_DFFMy8t0qjiJG3rBTXL6fXxZ-3WxZUGdx920ZSHcqG2XOaLY7txRkKYbudIjyt-gODeR-FZCIthw5kw
You will use the displayed token to authenticate when you connect to the UI.
Create a Port Forward to Expose the UI
Port-forwarding provides a quick and easy way to expose the UI service on your local system so you can use it to monitor, troubleshoot, and, if necessary, debug your development environment.
Important: Oracle does not recommend using port-forwarding to expose the UI for a production environment.
Set up port forwarding.
kubectl port-forward --namespace ocne-system service/ui 8443:443Example Output:
[oracle@ocne ~]$ kubectl port-forward --namespace ocne-system service/ui 8443:443
Forwarding from 127.0.0.1:8443 -> 4466
Forwarding from [::1]:8443 -> 4466
Note: The
kubectl port-forwardcommand will continue to run in the foreground. Let it continue while you are accessing the UI.
Install Ollama
Open a new terminal and connect via SSH to the ocne instance.
ssh oracle@<ip_address_of_node>Install a required dependency.
sudo dnf install -y zstdInstall Ollama.
curl -fsSL https://ollama.com/install.sh | shRun a model.
ollama run llama3.2Open a new terminal and create an SSH tunnel.
ssh -L 11434:127.0.0.1:11434 -L 9898:127.0.0.1:8443 oracle@<ip_address_of_node>The tunnel allows access from a browser on your local system to a given port to the remote system running the Kubernetes cluster. You do not need to generate a tunnel if both are on the same system. When running on the same system, you can access the UI using
https://127.0.0.1:8443and Ollama usinghttp://127.0.0.1:11434.Open a browser on the Luna Desktop and enter the URL to confirm that Ollama is running.
http://127.0.0.1:11434The browser should display a text message similar to this:
Ollama is running.
Log In to the UI
Open a browser on the Luna Desktop and enter the URL.
https://127.0.0.1:9898Approve the security warning based on the browser used. For Chrome, click the
Advancedbutton and then theAccept the Risk and Continuelink.Enter the access token.
Enter the Access Token you previously created, and click on the
Authenticatelink.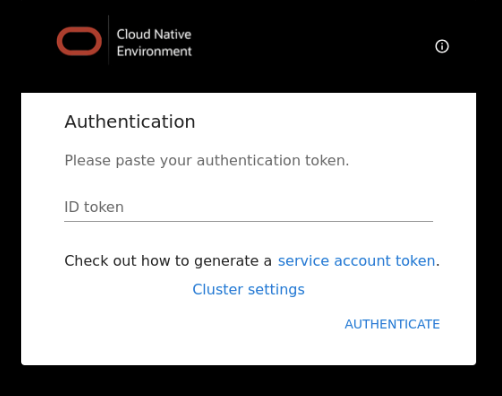
The UI Overview page is displayed.
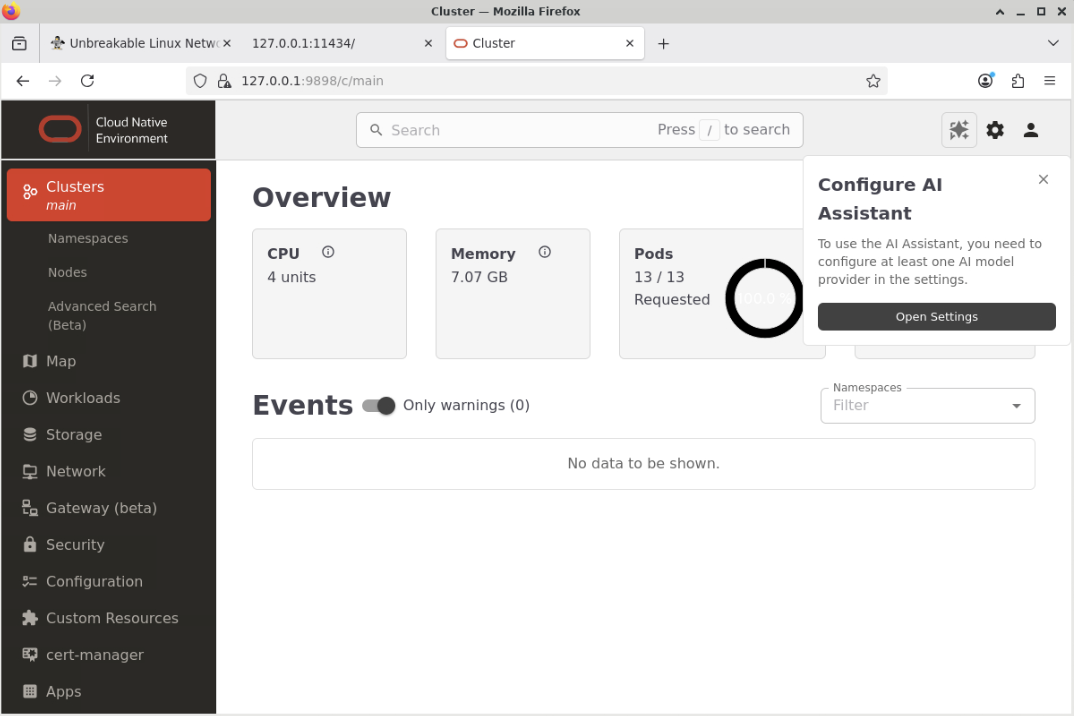
Click on the Open Settings button in the pop-up window called Configure AI Assistant.
Note: You may see some Warnings listed in the Event section of the Landing Page. This behavior is normal and will clear after a few minutes.
This opens the ai-assistant configuration page in the Settings section.
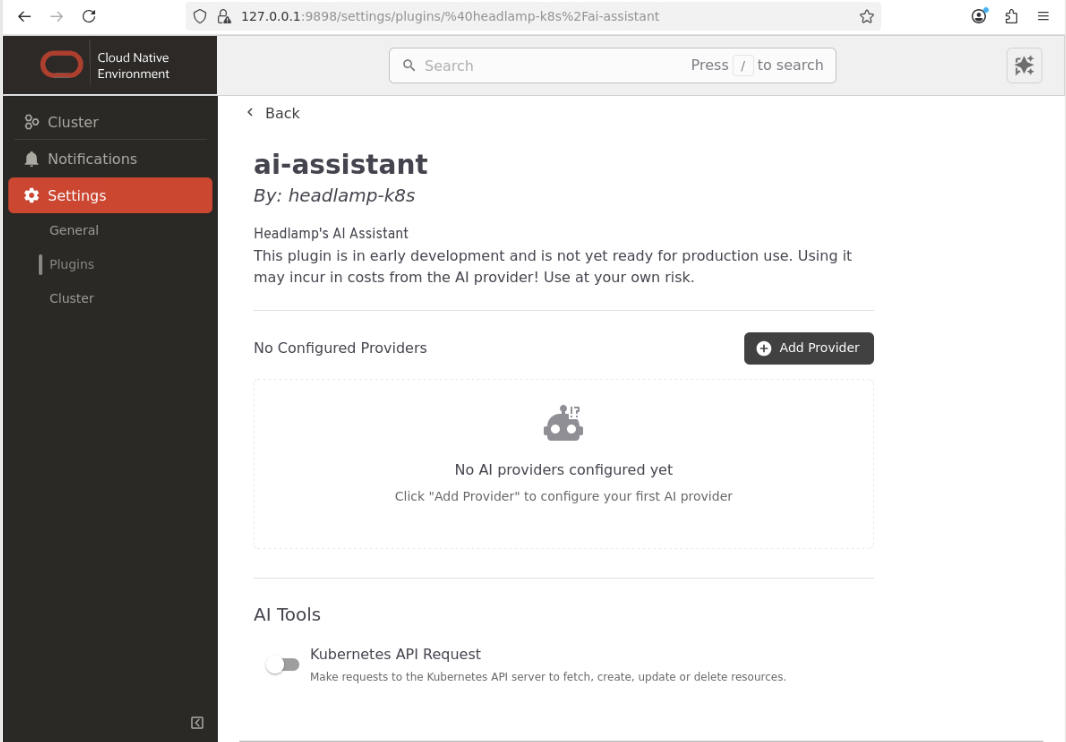
Note: Uncheck the Kubernetes API Request button in the AI Tools section.
Configure a Local Provider.
Click on the
Add Providerbutton.Acknowledge the 'Terms & Important Information' dialog box.
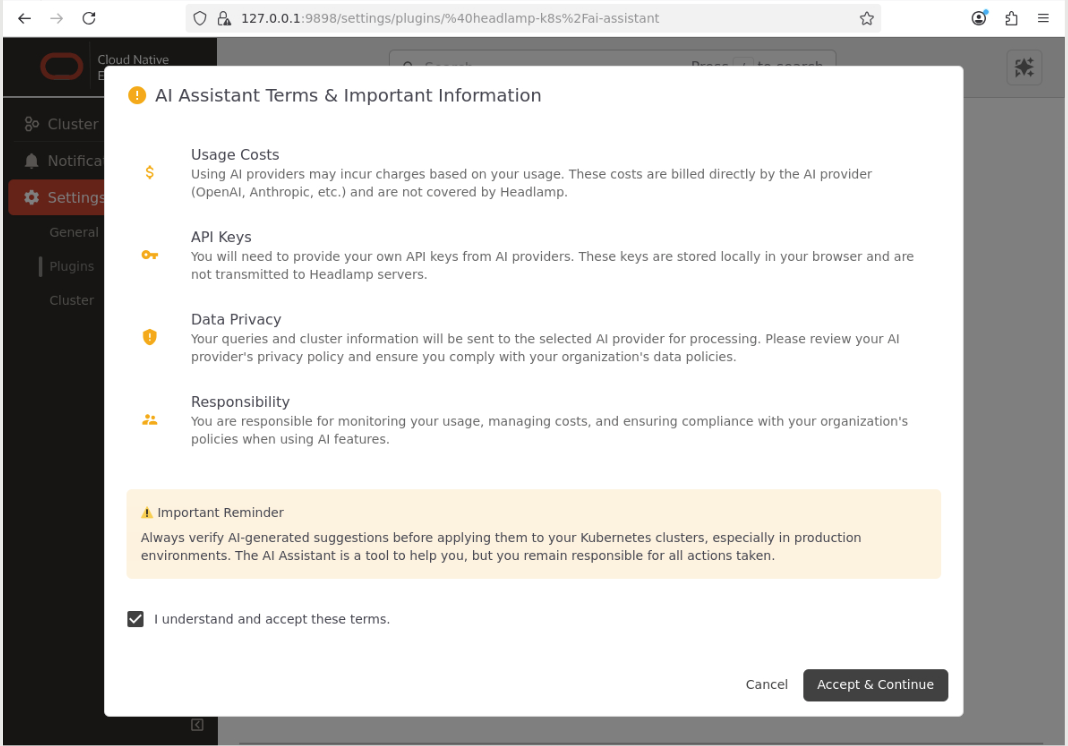
Click on the
Clustermenu option and then theLocal Modelslink.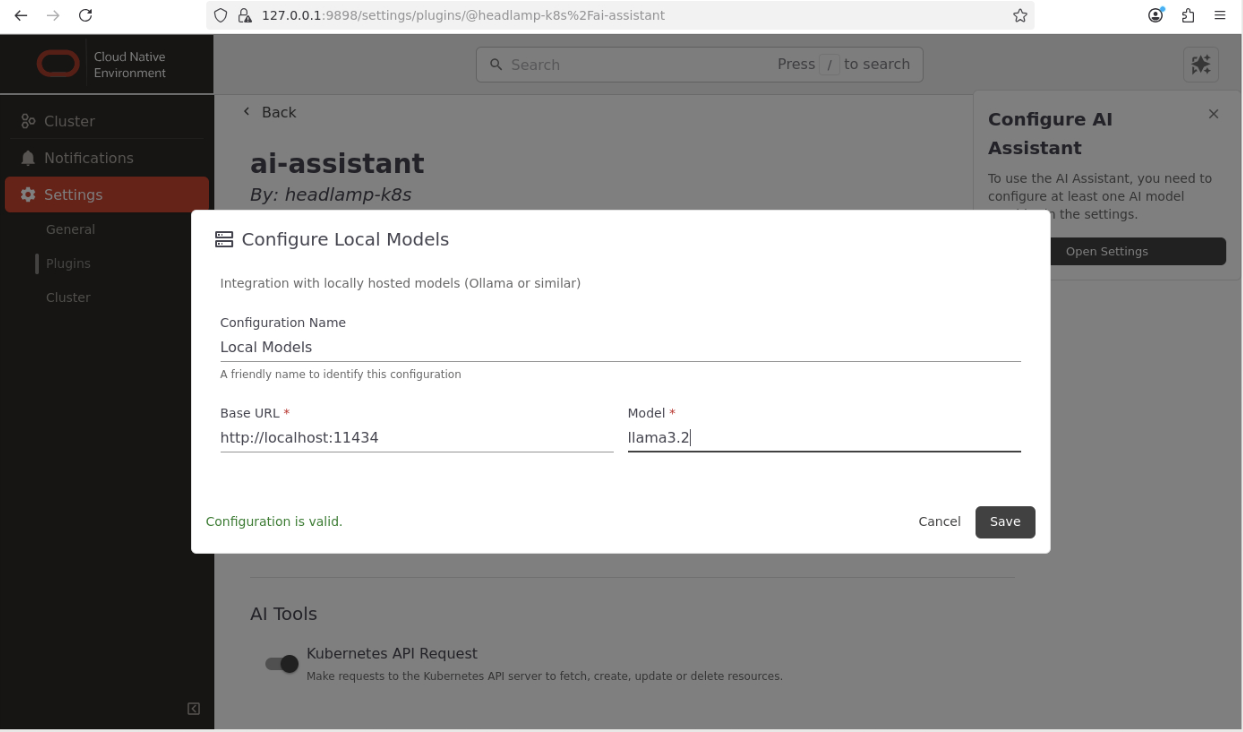
Note: Enter the correct details for the local Ollama model you are using. This example shows the
llama3.2model set up earlier.Click on the
Savebutton to save the provider settings.The AI Assistant is now configured and ready to be used.
Confirm the AI Assistant Works.
Click on the menu item called Cluster and them the 'Nodes' to get to the Nodes page.
Click on the AI Assistant button located on the upper right-hand side of the main screen.

The AI Assistant window is displayed.
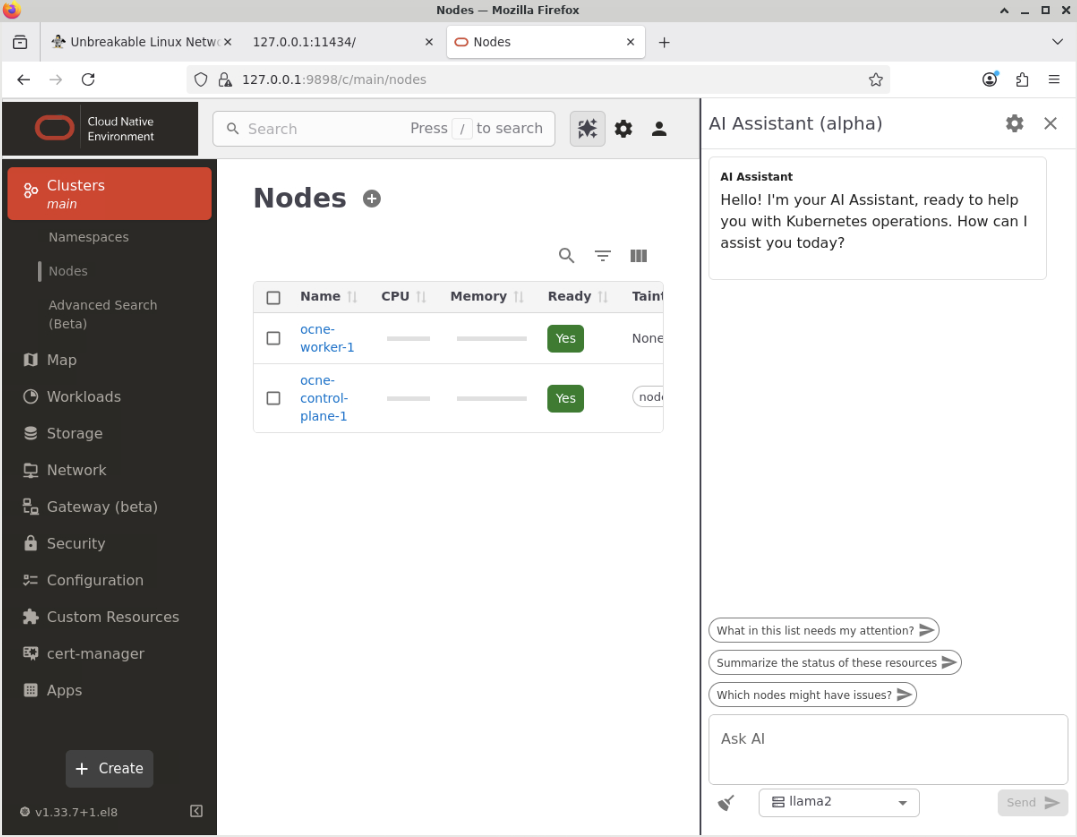
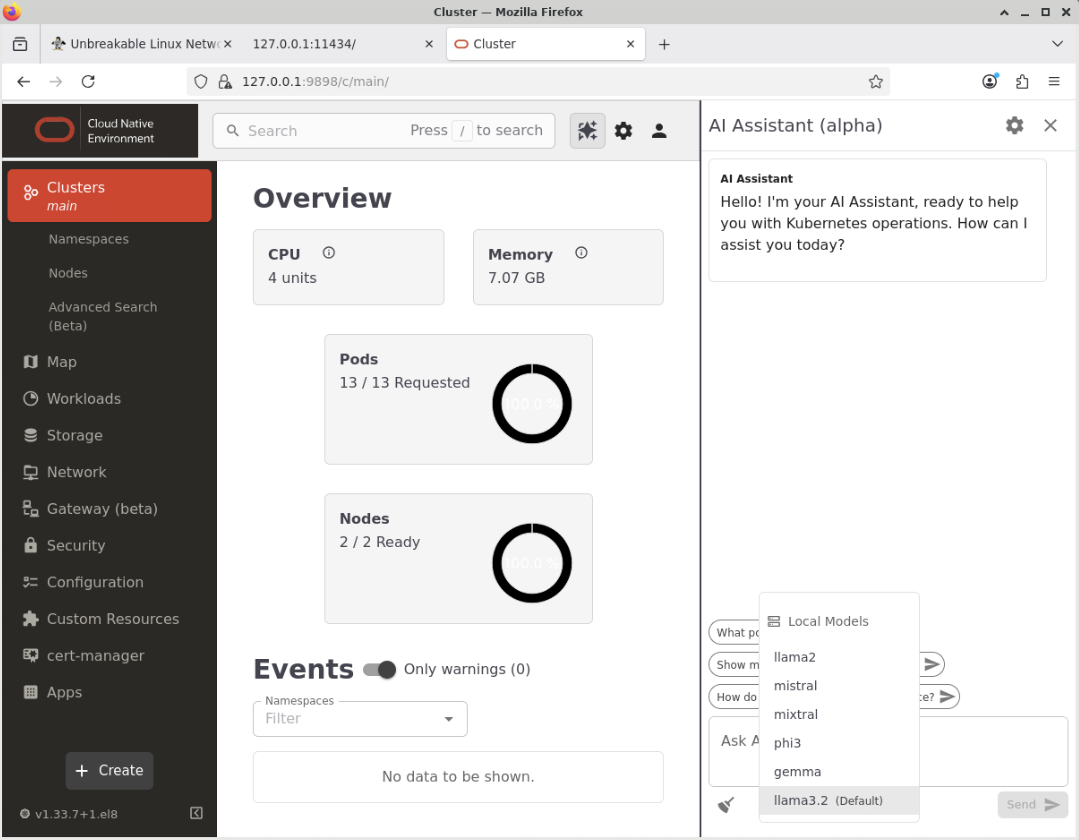
Click on the drop-down listbox to change the model from the default option (llama2) to the newly configured local model (llama3.2).
Ask the AI Assistant a question in the text box called 'Ask AI'.
Paste this example in the text-box called Ask AI.
How many nodes are present?Click the Send button to submit the question.
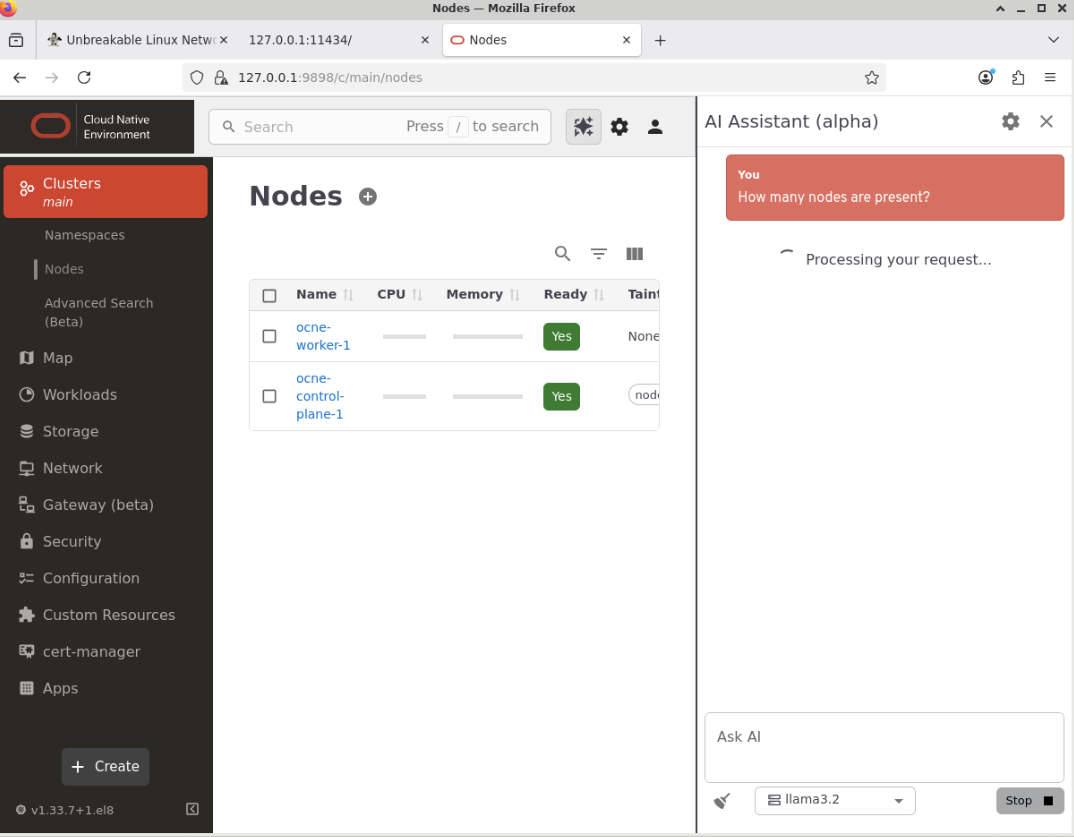
Note: The time taken for the AI Assistant to respond is dependent on several factors, such as the resources available to the configured LLM Model and the complexity of the question being asked.
The AI Assistant returns an answer.
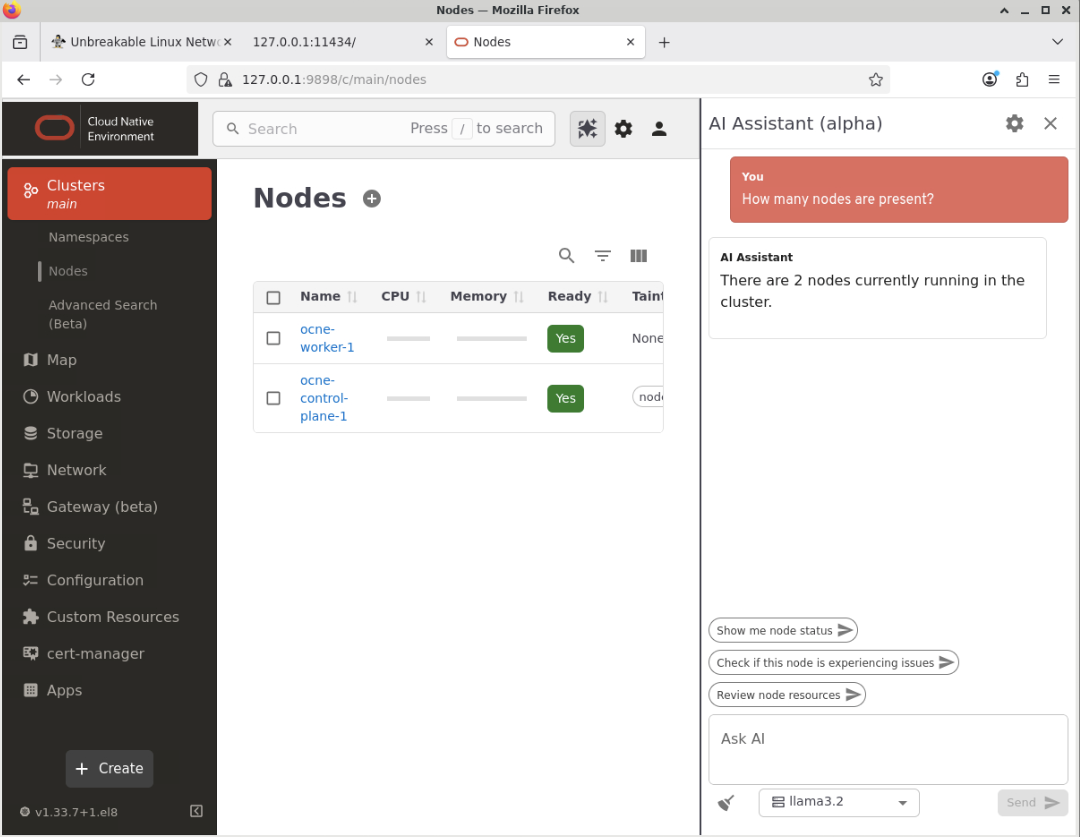
Note: The exact wording used in the reply may vary slightly between requests.
This confirms the AI Assistant is working.
Next Steps
Through these steps, you now know how to enable access to the Oracle Cloud Native Environment User Interface (UI) and configure it to use an LLM. You can explore its many features and functionality, which we will cover in future tutorials.