Manage Oracle Linux Automation Manager Using the AWX Collection
Introduction
The AWX Ansible Collection allows administrators to interact with Oracle Linux Automation Manager through playbooks. The modules include the ability to perform tasks such as user and group administration, creating projects, and running jobs.
Objectives
In this tutorial, you'll learn how to:
- Deploy the DevOps and Oracle Linux Automation Manager instances
- Set up the config file on the DevOps instance
- Write a playbook to create the required items to run a Job
- Test and verify the playbook
Prerequisites
- A control node for running Oracle Linux Automation Engine playbooks
- An instance of Oracle Linux Automation Manager
Deploy Oracle Linux Automation Manager
Note: If running in your own tenancy, read the linux-virt-labs GitHub project README.md and complete the prerequisites before deploying the lab environment.
Open a terminal on the Luna Desktop.
Clone the
linux-virt-labsGitHub project.git clone https://github.com/oracle-devrel/linux-virt-labs.gitChange into the working directory.
cd linux-virt-labs/olamInstall the required collections.
ansible-galaxy collection install -r requirements.ymlUpdate the Oracle Linux instance configuration.
cat << EOF | tee instances.yml > /dev/null
compute_instances:
  1:
    instance_name: "olam-node"
    type: "control"
olam_type: single
EOF
Create an inventory file.
cat << EOF | tee hosts > /dev/null
localhost ansible_connection=local ansible_connection=local ansible_python_interpreter=/usr/bin/python3.6
EOF
Deploy the lab environment.
ansible-playbook create_instance.yml -i hosts -e "@instances.yml"The free lab environment requires the extra variable
ansible_python_interpreterfor localhost because it installs the RPM package for the Oracle Cloud Infrastructure SDK for Python. The location for installing this package is under the system's default Python modules based on your version of Oracle Linux. Using an inventory variable avoids impacting the plays running on hosts other than localhost.The default deployment shape uses the AMD CPU. You can change the shape of the instances by passing a new shape variable definition on the command line.
For example:
-e instance_shape="VM.Standard3.Flex"Similarly, the default version of the Oracle Linux image uses the variable
os_versiondefined in the `default_vars.yml file. You can modify this value by passing the Oracle Linux major version on the command line.For example:
-e os_version="9"Important: Wait for the playbook to run successfully and reach the pause task. At this stage of the playbook, the installation of Oracle Linux is complete, and the instances are ready. Note the previous play, which prints the public and private IP addresses of the nodes it deploys.
Verify Deployment of Oracle Linux Automation Manager
Open a new terminal.
Configure an SSH tunnel to the Oracle Linux Automation Manager instance.
ssh -o ExitOnForwardFailure=yes -f -L 8444:localhost:443 oracle@<public_ip_address_of_olam-node> sleep 300-o ExitOnForwardFailure=yes: waits for all remote port forwards to establish successfully-f: runs the SSH tunnel in the background-L: creates the tunnel on port 8444 on the local system and 443 on the remote systemsleep 300: keeps the remote tunnel open for 5 minutes, waiting for an established connection before automatically closing
Open a web browser and enter the URL.
https://localhost:8444Note: Approve the security warning based on the browser used. For Chrome, click the
Advancedbutton and then theProceed to localhost (unsafe)link.Log into Oracle Linux Automation Manager with the Username
adminand the Passwordadmincreated during deployment.
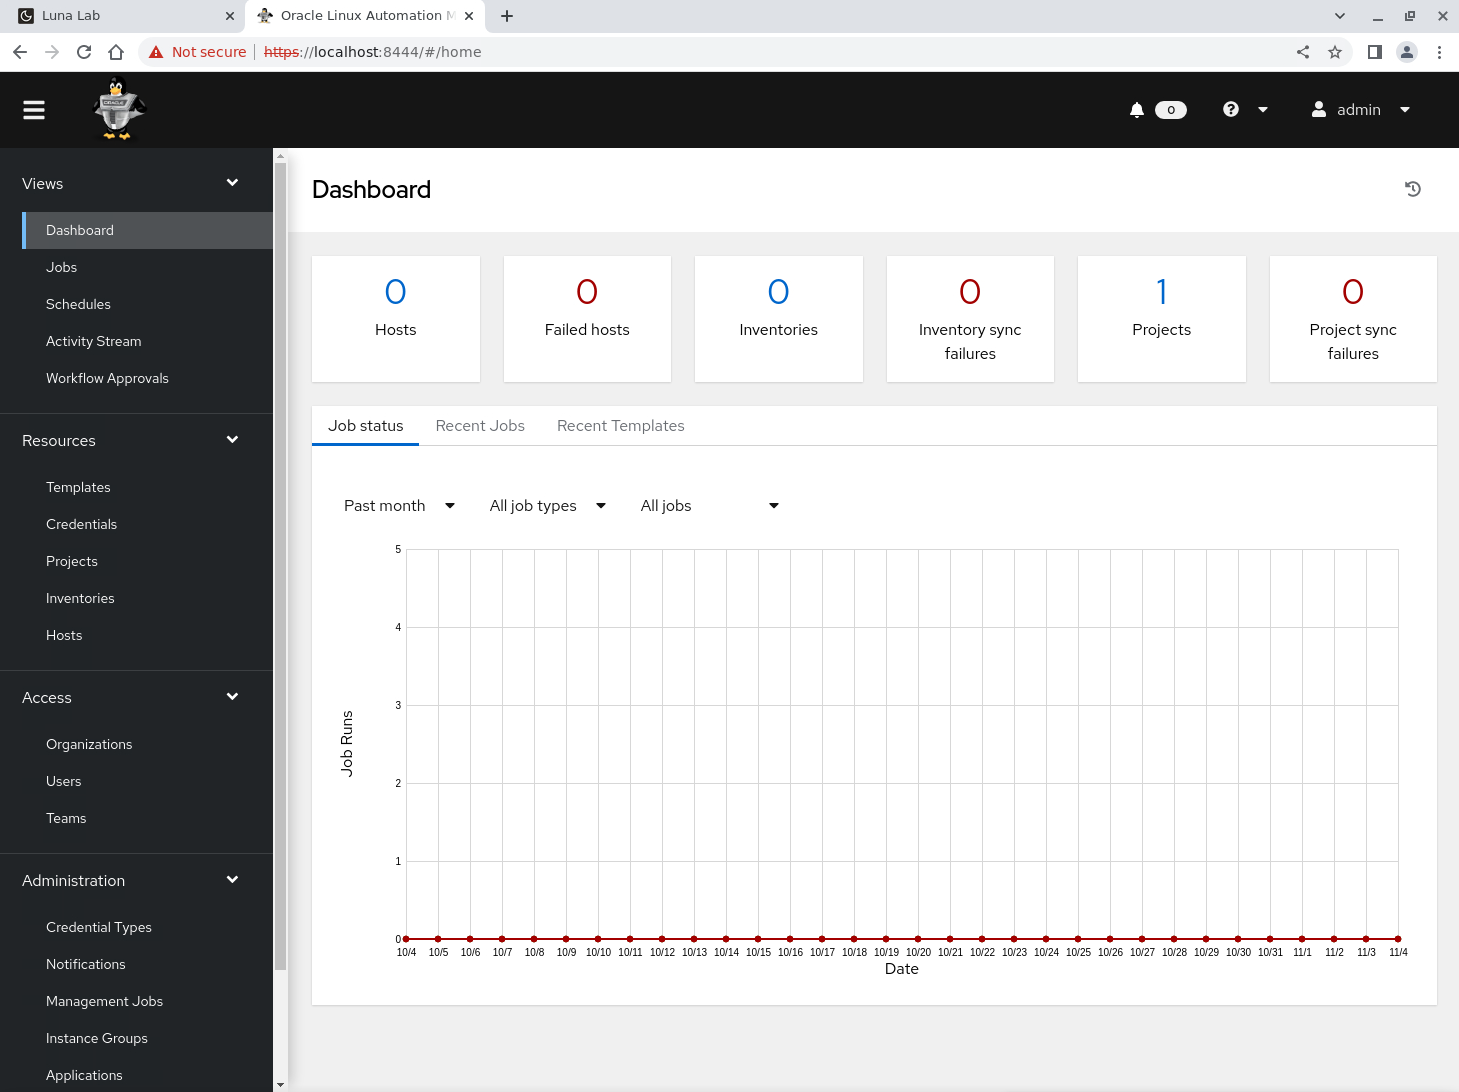
After logging in, the Web UI displays.
Create the Controller Configuration File
The AWX Ansible Collection utilizes a configuration file and, in some cases, the AWX CLI to authenticate against Oracle Linux Automation Manager. The authentication parameters can be passed on the command line using the CLI directly or written to a configuration file.
When specifying the authentication parameters, the AWX Ansible Collection expects a combination of either:
- host, username, password
- host, OAuth2 token
More details are available in the upstream project.
Return to the terminal where you created the SSH tunnel.
Generate the configuration file.
cat << EOF | tee ~/.tower_cli.cfg > /dev/null [general] host: https://localhost:8444 verify_ssl: false username: admin password: admin use_token = false EOFhost:- defines the URL to access the Oracle Linux Automation Manager Web UIverify_ssl:- turns off strict SSL checking since the tutorial environment uses a self-signed certificateuse_token:- although using an OAuth2 token is preferred, setting to false turns off using one for authentication
Create an Organization
As we cover in our Get Started tutorial, an Organization sits at the top of the role-based pyramid and is a logical collection of users, teams, projects, and inventories.
Rather than creating this through the Web UI, we can write a playbook.
Write the playbook.
cat << EOF | tee configure-olam.yaml > /dev/null
---
- name: Playbook to set up training demo data using the AWX collection
  hosts: localhost
  gather_facts: false
  collections:
    - awx.awx

  tasks:

  - name: Create an organization
    awx.awx.organization:
      name: "Example"
      description: "Created using a playbook"
      state: present

EOF
Run the playbook.
ansible-playbook configure-olam.yamlVerify the changes in the Web UI.
Using the browser, log in to the Web UI.
Note: If you encounter a login failure, the SSH tunnel may have expired. In this case, you'll need to rerun the SSH command to reestablish the connection.
In the navigation menu, click Organizations. Notice the Example entry, which the playbook created.
Run a Job
With the Organization created, now let's automate the remaining steps in the Get Started tutorial with a few modifications. One of the benefits of Oracle Linux Automation Engine is its self-documenting.
Return to the terminal where you created the playbook.
Append the additional configuration to the existing playbook.
cat << EOF | tee -a configure-olam.yaml > /dev/null
  - name: Add a user
    awx.awx.user:
      username: jdoe
      password: oracle
      email: jdoe@example.com
      first_name: John
      last_name: Doe
      organization: Example
      state: present

  - name: Add an inventory
    awx.awx.inventory:
      name: "Demo Inventory"
      description: "Demo OCI Instances"
      organization: Example
      state: present

  - name: Add a host
    awx.awx.host:
      name: localhost
      description: "Use to run tasks locally"
      inventory: "Demo Inventory"
      state: present
      variables:
        ansible_connection: local

  - name: Add a credential
    awx.awx.credential:
      name: "Linux Instance"
      credential_type: Machine
      organization: Example
      inputs:
        username: opc
        ssh_key_data: "{{ lookup('file', '~/.ssh/id_rsa') }}"

  - name: Add a project
    awx.awx.project:
      name: "Hello World"
      description: "Sample Hello World Project"
      organization: Example
      default_environment: "OLAM EE (2.3)"
      scm_type: "git"
      scm_update_on_launch: false
      scm_url: https://github.com/oracle-devrel/linux-virt-labs.git
      state: present

  - name: Add a template
    awx.awx.job_template:
      name: "Say Hello"
      job_type: "run"
      organization: Example
      inventory: "Demo Inventory"
      project: "Hello World"
      playbook: "labs/olam-hello-world.yaml"
      state: present

  - name: Launch a job
    awx.awx.job_launch:
      job_template: "Say Hello"
      wait: true
    register: job

  - name: Print results from job
    ansible.builtin.debug:
      var: job

EOF
Rerun the playbook.
ansible-playbook configure-olam.yamlThe playbook concludes with the last play displaying the job's status as
successful, along with a warning that you can ignore.Verify the Job in the Web UI.
Using the browser, navigate to Jobs and click the Say Hello job. The output displays the results of the playbook run during the job. Notice the welcome messages from the debug task.
Next Steps
The output within the Web UI confirms you have a working Oracle Linux Automation Manager and have written a playbook to manage some of the more common tasks.