Manage Execution Environments in Oracle Linux Automation Manager Private Automation Hub
Introduction
Private Automation Hub is an Oracle Linux Automation Manager repository for managing collections, execution environment images, and other curated content locally within a customer's infrastructure.
This tutorial shows how to install Private Automation Hub and upload a custom execution environment to its container registry. For details on creating customized execution environments, see our tutorial on the Builder utility.
Objectives
In this tutorial, you'll learn how to:
- Secure password variables with
ansible-vault - Install Private Automation Hub using variables
- Upload a custom execution environment to the Private Automation Hub registry
Prerequisites
- Two systems running Oracle Linux
- One for installing Private Automation Hub
- Another for running the Builder utility and acting as a client to Private Automation Hub
Deploy Oracle Linux
Note: If running in your own tenancy, read the linux-virt-labs GitHub project README.md and complete the prerequisites before deploying the lab environment.
Open a terminal on the Luna Desktop.
Clone the
linux-virt-labsGitHub project.git clone https://github.com/oracle-devrel/linux-virt-labs.gitChange into the working directory.
cd linux-virt-labs/olamInstall the required collections.
ansible-galaxy collection install -r requirements.ymlUpdate the Oracle Linux instance configuration.
cat << EOF | tee instances.yml > /dev/null
compute_instances:
  1:
    instance_name: "devops-node"
    type: "server"
  2:
    instance_name: "ol-pah"
    type: "server"
passwordless_ssh: true
use_olam_builder: true
use_devops_vnc: true
add_pah_ports: true
olam_type: none
EOF
Create an inventory file.
cat << EOF | tee hosts > /dev/null
localhost ansible_connection=local ansible_connection=local ansible_python_interpreter=/usr/bin/python3.6
EOF
Deploy the lab environment.
ansible-playbook create_instance.yml -i hosts -e "@instances.yml"The free lab environment requires the extra variable
ansible_python_interpreterfor localhost because it installs the RPM package for the Oracle Cloud Infrastructure SDK for Python. The location for installing this package is under the system's default Python modules based on your version of Oracle Linux. Using an inventory variable avoids impacting the plays running on hosts other than localhost.The default deployment shape uses the AMD CPU. You can change the shape of the instances by passing a new shape variable definition on the command line.
For example:
-e instance_shape="VM.Standard3.Flex"Similarly, the default version of the Oracle Linux image uses the variable
os_versiondefined in the `default_vars.yml file. You can modify this value by passing the Oracle Linux major version on the command line.For example:
-e os_version="9"Important: Wait for the playbook to run successfully and reach the pause task. At this stage of the playbook, the installation of Oracle Linux is complete, and the instances are ready. Note the previous play, which prints the public and private IP addresses of the nodes it deploys.
Install the Private Automation Hub Packages
Open a terminal and connect via SSH to the ol-pah instance.
ssh oracle@<ip_address_of_instance>Install the Oracle Linux Automation Manager repository.
Oracle Linux 8:
sudo dnf install -y oraclelinux-automation-manager-release-el8Oracle Linux 9:
sudo dnf install -y oraclelinux-automation-manager-release-el9Install the Private Automation Hub package.
sudo dnf install -y ol-private-automation-hub-installerThis command installs the Private Automation Hub installation playbooks and roles,
ansible-core,python3.11, and other package dependencies.
Install Private Automation Hub
When installing Private Automation Hub, you must set the passwords for the Private Automation Hub admin superuser account and its backend database. Rather than passing these to the playbook in the open, let's perform that step more securely using ansible-vault.
The ansible-vault utility, which ships with Oracle Linux Automation Engine, enables the encryption and decryption of structured data files, including text files, variables, and YAML playbooks.
We'll encrypt a variable file containing our two passwords for our purposes.
Copy the Private Automation Hub playbook to the working directory.
cp -r /usr/share/ansible/collections/ansible_collections/oraclelinux/private_automation_hub/playbooks/single-node/ ~/single_nodeChange to the working directory.
cd ~/single_nodeCreate an inventory file.
The inventory file for this playbook requires the hostname and SSH username where the playbook will install the Private Automation Hub. You define the inventory file in either INI or YAML format. The sample inventory
hosts.singlenode.examplewithin the installation playbook uses YAML, so we'll use the INI format here to demonstrate an alternate option.tee hosts > /dev/null <<EOF [hub] ol-pah ansible_host=ol-pah ansible_user=oracle EOFUnlike the sample that uses
hubas an alias for ansible_host, this INI inventory file useshubas a group name. Groups enable the creation of parent-child relationships between hosts and categorize them into one or more categories to run tasks or assign variables.Create a vault containing the password variables.
ansible-vault create vault_passwords.ymlWhen running the command, it prompts you to create a vault password. The
ansible-vaultutility uses this password to decrypt the vault's contents and access these contents from within a playbook. The password can be any combination of characters, but remember it, as you cannot recover it.Once you enter and confirm the password, the utility opens the
vault_passwords.ymlfile in your default editor. For the free lab environment, the editor isvi. Typeito enterINSERTmode and paste these sample Private Automation Hub password variables.Note: These are the variables the playbook uses when installing Private Automation Hub and setting the superuser and database passwords.
---
olpah_admin_password: password
olpah_db_password: password
Close and save the file by typing
ESC,:wq!, and thenENTER.Verify the contents of the vault.
ansible-vault view vault_passwords.ymlEnter the vault password at the prompt, and
ansible-vaultdisplays the vault's contents in the terminal.Run the Private Automation Hub playbook.
ansible-playbook single-node-install.yml -i hosts -e "@vault_passwords.yml" --ask-vault-pass-idefines the inventory file-edefines any runtime variables askey=valuepairs or in a variable file--ask-vault-passprompts for the vault password
There are alternate methods to provide the vault password, which you can review in the upstream documentation .
Note: The installation of Private Automation Hub takes 10-20 minutes. During the installation, the playbook's progress scrolls in the terminal until all tasks are complete.
Open a VNC Session to the DevOps Instance
The VNC Session allows you to connect to the Private Automation Hub Web UI using the hostname or fully qualified domain name (FQDN) within the free lab environment. Using the hostname or FQDN is required as Django's built-in protection protects the Web UI against Cross-Site Request Forgery (CSRF) attacks.
Exit from the existing SSH session.
exitOpen a new terminal and connect to the devops-node instance via SSH.
The
-Loption enables local forwarding, which opens a local port to connect through an SSH tunnel to the remote VNC server.ssh -L 5914:localhost:5901 oracle@<ip_address_of_instance>Switch to the Luna Desktop.
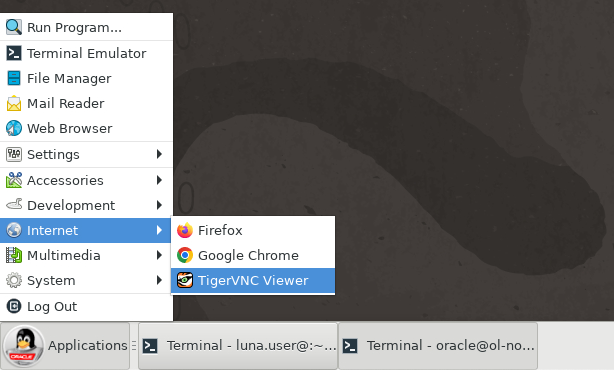
Open the TigerVNC Viewer by clicking the Applications menu, Internet, and then TigerVNC Viewer.
Log on to the deployed server's GUI environment by entering
localhost:5914into the VNC Server text box and pressing the Connect button.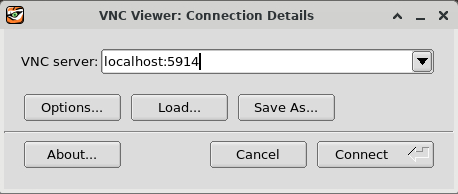
Enter the
oracleuser's password of oracle and press the OK button.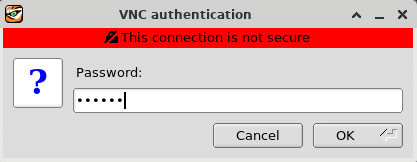
The Server's GUI desktop is displayed with a first-time login setup.
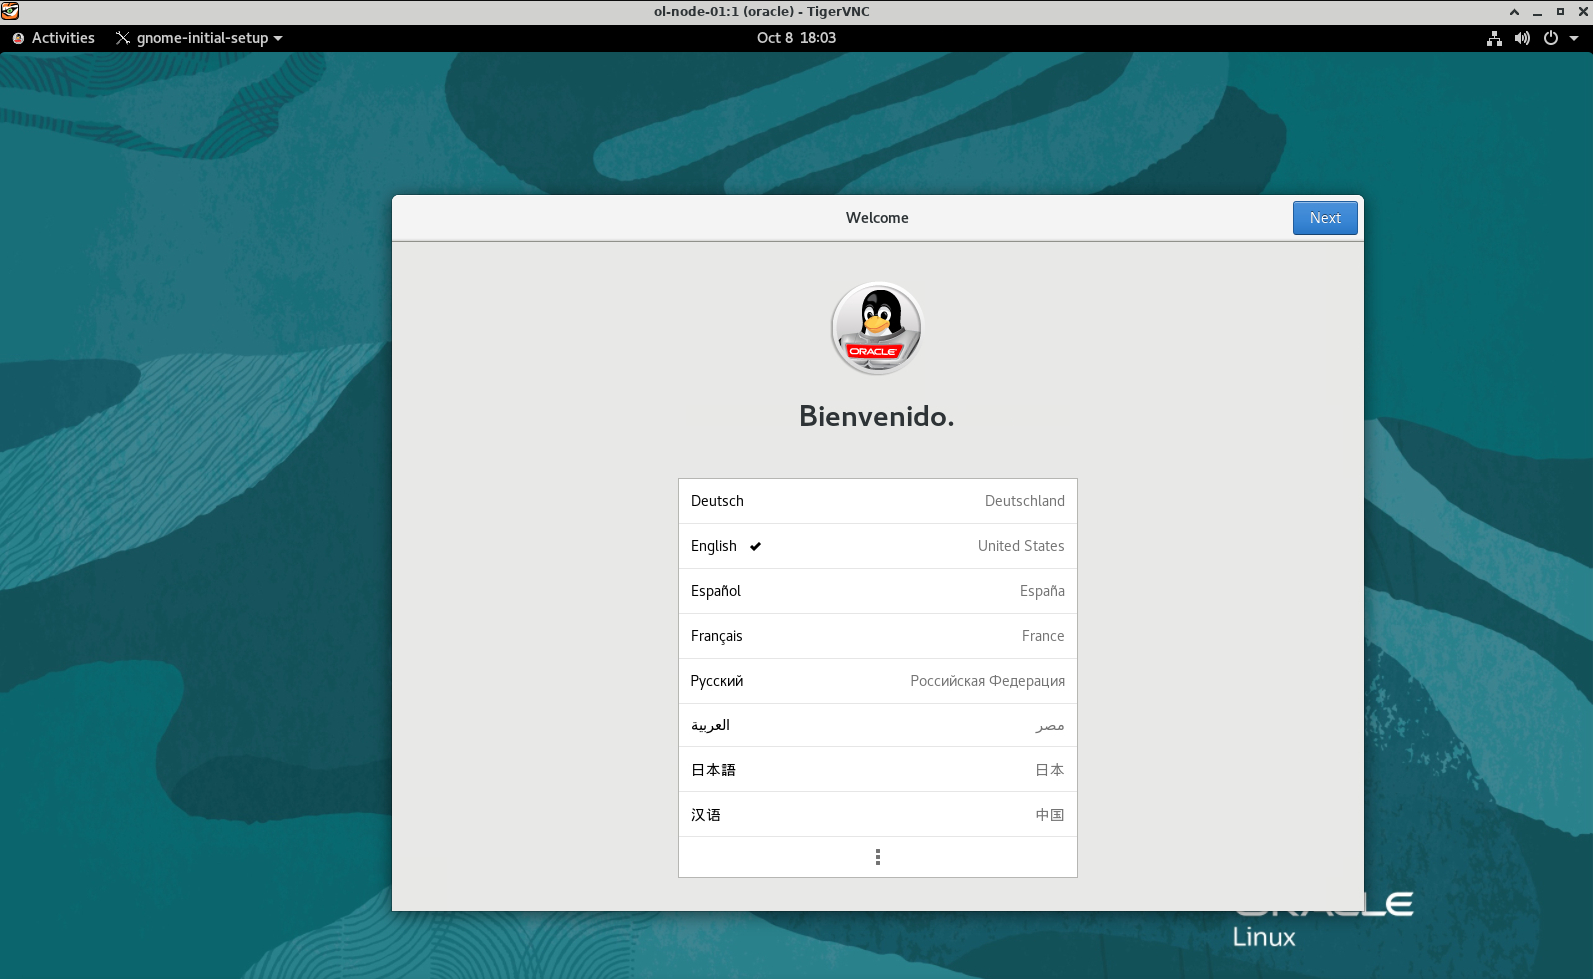
Press the Next button three times, then the Skip button, followed by the Start Using Oracle Linux Server button. Finally, close or minimize the Getting Started window.
Connect to Private Automation Hub
Open a web browser within the VNC session and enter the URL.
https://ol-pahNote: Approve the security warning based on the browser used. For Chrome, click the
Advancedbutton and then theProceed to localhost (unsafe)link.Log in to the Private Automation Hub Web UI.
Use the Username
adminand the Passwordpassword. This password is the value we set forolpah_admin_passwordin the runtime variables file.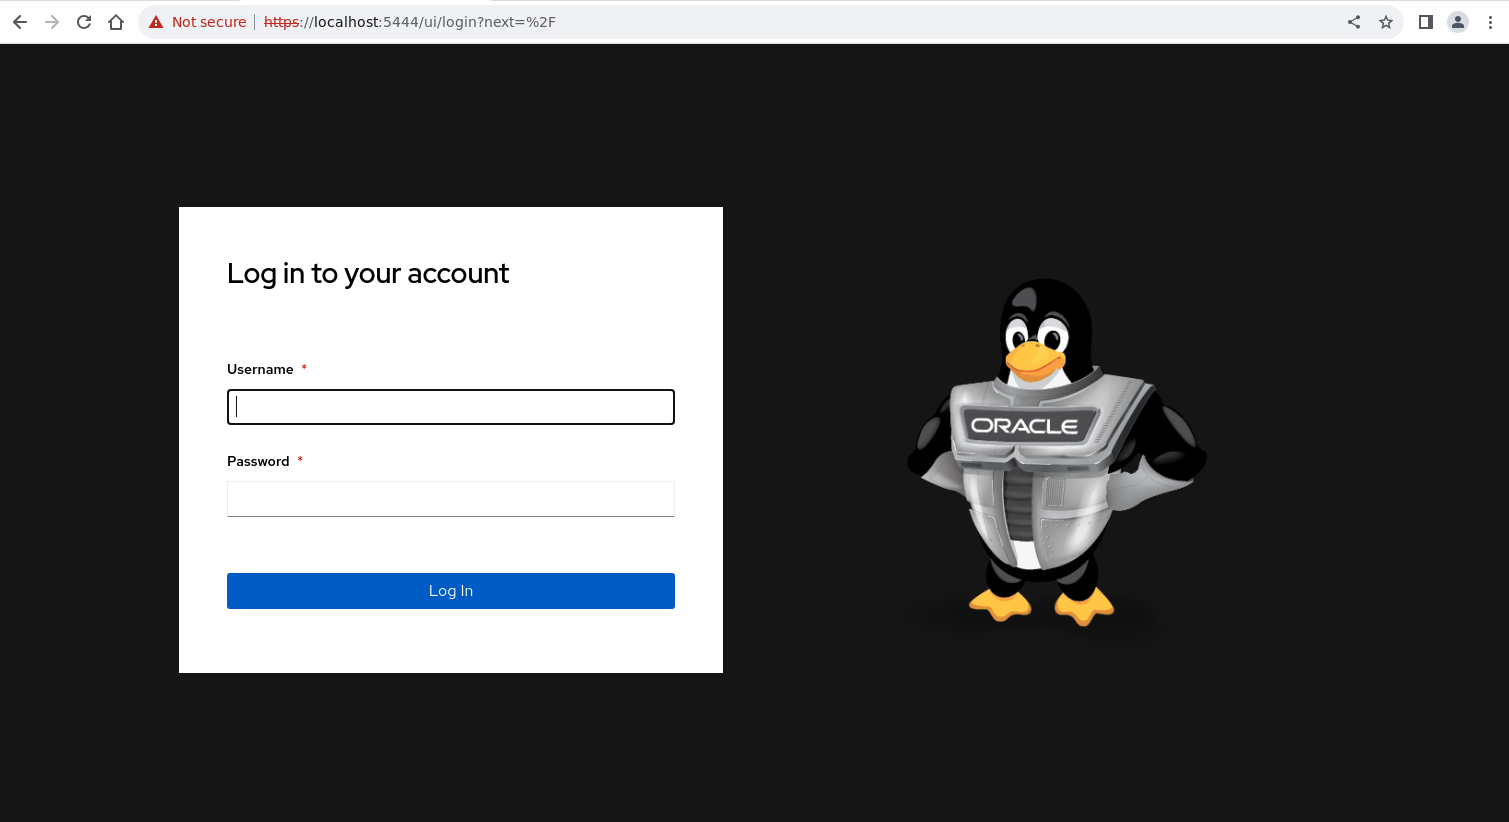
The Web UI displays after a successful login.
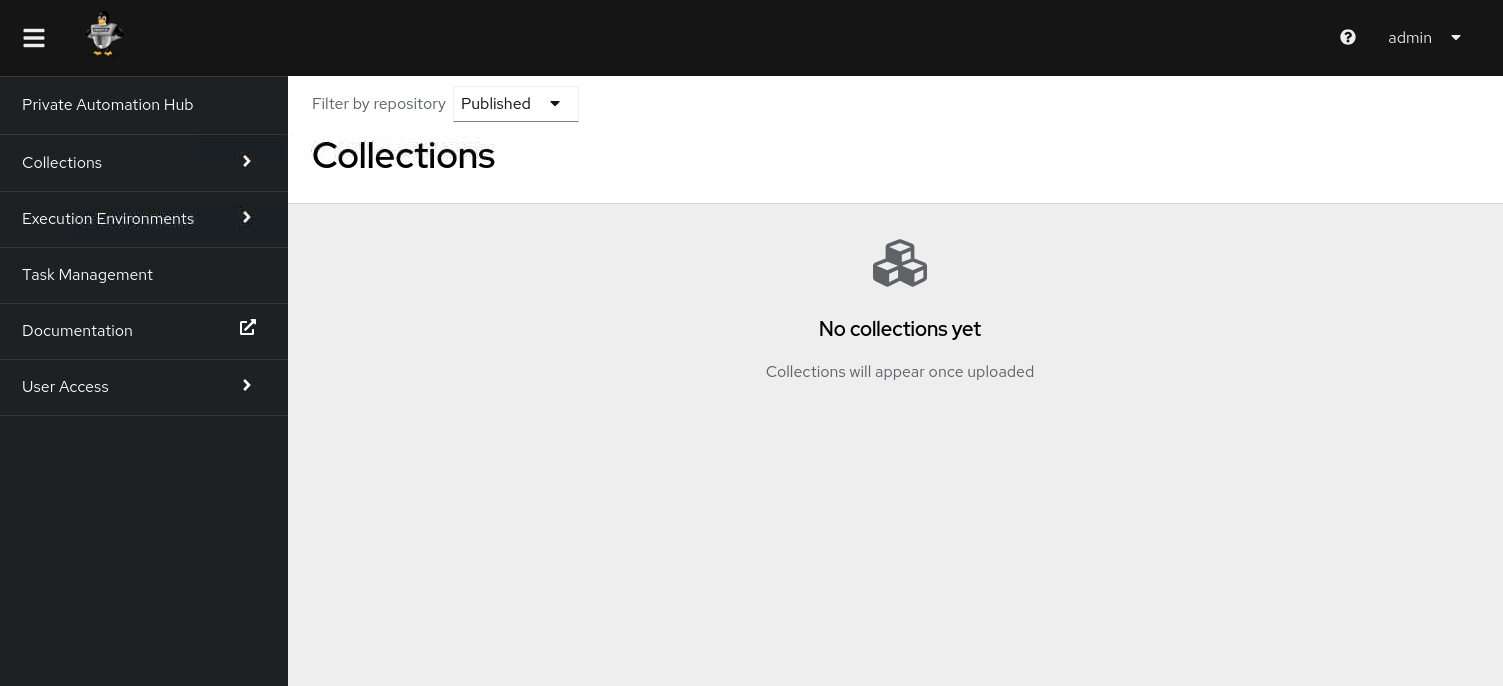
Add Execution Environment Using the Web UI
One of the items that Private Automation Hub manages is execution environments. This feature enables Private Automation Hub to serve as a repository for container images, allowing administrators to interact with them using Podman and the Web UI.
Click Remote Registries from the Web UI under Execution Environments in the navigation menu.
Click the Add remote registry button.
Enter the following values in the specific fields.
- Name:
Quay Upstream Registry - URL:
https://quay.io
- Name:
Click the Save button.
The newly created remote registry appears in the Remote Registries panel.
Click Execution Environments under Execution Environments in the navigation menu.
Click the Add execution environment button.
The Web UI displays the Add execution environment dialog. We can pull container images from upstream or other registries through this dialog.
Enter or select the following values in the specific fields.
- Name:
upstream/awx-ee - Upstream Name:
ansible/awx-ee - Registry: Quay Upstream Registry
- Add tag(s) to include: Type
latestand thenENTER
- Name:
Click the Save button.
The newly created execution environment appears in the Execution Environments panel.
Sync the upstream/awx-ee execution environment from the remote registry.
Click the vertical three-dot menu to the right of the upstream/awx-ee item.
Select Sync from registry
A pop-up dialog appears, stating that the sync has started.
Click the detail page link in the pop-up dialog to see the status of this task.
The task shows a Completed icon.
Click Execution Environments under Execution Environments in the navigation menu.
Click the upstream/awx-ee link in the Execution Environments panel.
This link displays the instructions for pulling this image from Private Automation Hub under the Details tab.
Click the Images tab.
This panel displays more details about the image, including its tag, size, and sha256 digest.
Push Execution Environment Using Podman
Open a terminal and connect via SSH to the devops-node instance.
ssh oracle@<ip_address_of_instance>This instance contains an installation of the Builder utility and a pre-built custom execution environment. For details on performing those tasks, see Build Custom Execution Environments with Oracle Linux Automation Manager Builder Utility .
Change to the project's working directory.
cd ~/my_custom_ee_projectThis directory contains the Builder utility's data files, which Podman uses to create the custom execution environment image.
List existing local images.
podman imagesThe output displays our custom image and Oracle Linux Automation Manager's default
olam-eeandolam-builderimages.Log in to the Private Automation Hub.
podman login -u admin https://ol-pah.$(hostname -d) --tls-verify=0-uis a user with privileges to access the container registryol-pah.$(hostname -d)is the container registry FQDN--tls-verify=0turns off TLS certificate verification as the free lab environment uses self-signed certificates
The command prompts for a
Password:. Enter the password matching the login credentials for the Private Automation Hubadminuser.Tag the local custom image.
Before pushing the image to the Private Automation Hub registry, create the required repository structure and tag using the local image.
podman tag localhost/my_custom_ee ol-pah.$(hostname -d)/my_first_olam_ee_imageVerify the new tagged image exists.
podman imagesExample Output:
[oracle@devops-node my_custom_ee_project]$ podman images
REPOSITORY                                                                  TAG         IMAGE ID      CREATED      SIZE
localhost/my_custom_ee                                                      latest      fbc43634b168  5 hours ago  2.29 GB
ol-pah.lv.vcn5ef1c2b6.oraclevcn.com/my_first_olam_ee_image                  latest      fbc43634b168  5 hours ago  2.29 GB
<none>                                                                      <none>      92aa94db3699  5 hours ago  1.4 GB
<none>                                                                      <none>      cc087fbfa018  5 hours ago  1.45 GB
container-registry.oracle.com/oracle_linux_automation_manager/olam-ee       latest      368657c8376d  5 weeks ago  1.25 GB
container-registry.oracle.com/oracle_linux_automation_manager/olam-builder  latest      5e98580f7956  5 weeks ago  546 MB
Upload the custom image to Private Automation Hub.
Note: Replace
<IMAGE ID>with the actual image ID of themy_first_olam_ee_imagefrom thepodman imagesoutput.podman push --tls-verify=0 <IMAGE ID> ol-pah.$(hostname -d)/my_first_olam_ee_image:latestConfirm the upload in the Web UI.
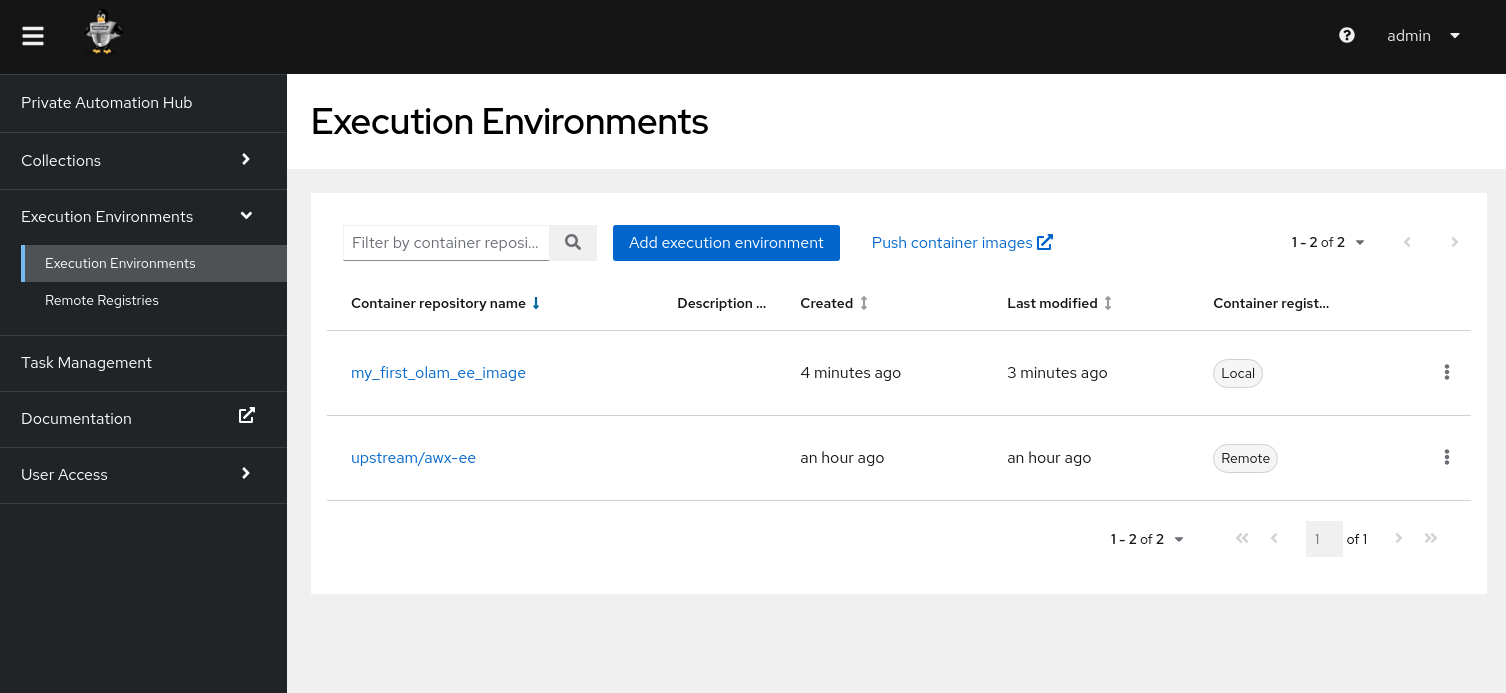
Switch to the browser containing the Private Automation Hub Web UI.
Navigate to Execution Environments.
Notice the new my_first_olam_ee_image.
Next Steps
The output within the Web UI confirms you have a working Private Automation Hub and the ability to upload and store your custom images. Check out our other tutorials using Oracle Linux Automation Manager to practice your skills.