Configure Gnome Remote Desktop on Oracle Linux
Introduction
The Gnome Desktop environment provides several ways to access it remotely, depending on whether you have physical access or you are running headless. When physical access is available and a monitor is connected, you can leverage existing applications built into the Gnome Desktop environment Settings application.
- Desktop sharing to connect to a currently logged-in Linux user's session
- Remote login to allow remote clients to open a Gnome login screen
For remote headless systems, such as those running in Oracle Cloud Infrastructure, you'll need to use FreeRDP. FreeRDP is an open-source implementation of the Remote Desktop Protocol (RDP) that allows users to connect to and control remote computer systems over the network. These sessions permit either single-user or multiple-user configuration and require setting up a TLS key and a TLS certificate to get the service running.
Objectives
In this tutorial, you'll learn to:
- Install a graphical desktop environment along with FreeRDP
- Configure a multiple-user headless server
- Start and enable the RDP service
- Access the RDP server from a remote client, either directly or using an SSH tunnel
- Optionally create firewall rules to allow direct RDP access
Prerequisite
- Any system with the latest Oracle Linux 10 installed
- A client system with software such as Gnome Connections , Remmina , or xfreerdp installed
Deploy Oracle Linux
Note: If running in your own tenancy, read the linux-virt-labs GitHub project README.md and complete the prerequisites before deploying the lab environment.
Open a terminal on the Luna Desktop.
Clone the
linux-virt-labsGitHub project.git clone https://github.com/oracle-devrel/linux-virt-labs.gitChange into the working directory.
cd linux-virt-labs/olInstall the required collections.
ansible-galaxy collection install -r requirements.ymlDeploy the lab environment.
ansible-playbook create_instance.yml -e localhost_python_interpreter="/usr/bin/python3.6" -e os_version="10"The free lab environment requires the extra variable
ansible_python_interpreterfor localhost because it installs the RPM package for the Oracle Cloud Infrastructure SDK for Python. The location for installing this package is under the system's default Python modules based on your version of Oracle Linux. Using an inventory variable avoids impacting the plays running on hosts other than localhost.The default deployment shape uses the AMD CPU. You can change the shape of the instances by passing a new shape variable definition on the command line.
For example:
-e instance_shape="VM.Standard3.Flex"Similarly, the default version of the Oracle Linux image uses the variable
os_versiondefined in the `default_vars.yml file. You can modify this value by passing the Oracle Linux major version on the command line.For example:
-e os_version="9"Important: Wait for the playbook to run successfully and reach the pause task. At this stage of the playbook, the installation of Oracle Linux is complete, and the instances are ready. Note the previous play, which prints the public and private IP addresses of the nodes it deploys.
Install a Graphical Desktop Environment and FreeRDP
Open a terminal and connect using SSH to the ol-node-01 instance.
ssh oracle@<ip_address_of_instance>Upgrade the packages on the system to the latest release.
sudo dnf upgrade -yInstall a GNOME desktop environment and all of its dependencies.
sudo dnf group install -y GNOME FontsInstall the FreeRDP package
sudo dnf install -y freerdpCheck if a reboot is required.
sudo dnf needs-restarting -rIf required, reboot the system using
sudo rebootand then reconnect.
Configure the Multiple User RDP Service
Create a directory for the self-signed TLS certificate.
sudo -u gnome-remote-desktop mkdir -p ~gnome-remote-desktop/.local/share/gnome-remote-desktopGenerate a self-signed TLS certificate.
sudo -u gnome-remote-desktop winpr-makecert -silent -rdp -path ~gnome-remote-desktop/.local/share/gnome-remote-desktop rdp-tlsSet the TLS key for the remote desktop.
sudo grdctl --system rdp set-tls-key ~gnome-remote-desktop/.local/share/gnome-remote-desktop/rdp-tls.keyThe
--systemoption configures the remote desktop system daemon, which is necessary for multiple user access. Additional commands and options are availble by runninggrdctl --help.Set the TLS certificate.
sudo grdctl --system rdp set-tls-cert ~gnome-remote-desktop/.local/share/gnome-remote-desktop/rdp-tls.crtSet the RPD credentials.
sudo grdctl --system rdp set-credentials oracle 12345678You can either pass these credentials on the command line as shown, or if you do not pass the credentials, you are prompted for the username and password. These credentials only allow access to the remote RDP session that displays the Gnome Desktop login. To access a remote desktop session, users still need to have an actual Linux account on the machine and log in with those credentials.
Verify the TLS settings and the RDP credentials.
sudo grdctl --system status --show-credentialsCheck that the TLS certificate and TLS key are a matched set. When generating the TLS certificate using
winpr-makecert, it creates a.keyand.crtfile in the same folder with the same name. The--show-credentialsflag of thestatuscommand unhides the username and password, allowing you to read them and verify you typed them correctly.Enable the RDP service.
sudo grdctl --system rdp enableVerify the service is enabled and active.
sudo grdctl --system statusEnable the GDM service.
sudo systemctl enable --now gdmEnable the system-level remote login service.
sudo systemctl enable --now gnome-remote-desktop.serviceSet the remote desktop service as the default across reboots.
sudo systemctl set-default graphical.targetVerify the service is running.
sudo systemctl status gnome-remote-desktop.serviceYou can also verify that the service is running by checking if it's listening on port 3389 by running
sudo ss -lnpAinet | grep -e gnome-remote.
Open an RDP Client and Test Your Deployment
There are several clients you can use to connect to an RDP; however, not all of them work. The ones known to work are Remmina and Connections on Linux, and xfreerdp on macOS. The instructions will focus on Remmina as it's available for all versions of Oracle Linux, while Connections is only available in Gnome 47 and later, which is part of Oracle Linux 10. If running in the free lab environment, the Remmina software is already installed on the Luna Desktop.
Open a new terminal and connect via SSH to the ol-node-01 instance.
The
-Loption enables local forwarding, which opens a local port to connect through an SSH tunnel to the remote RDP server.ssh -L 13389:localhost:3389 oracle@<ip_address_of_instance>The default RDP port is 3389, so we'll use an available port of 13389 as the local port on the SSH tunnel.
Open Remmina by clicking the Applications menu, Internet, and then Remmina.

You can also connect by running Remmina from a terminal using
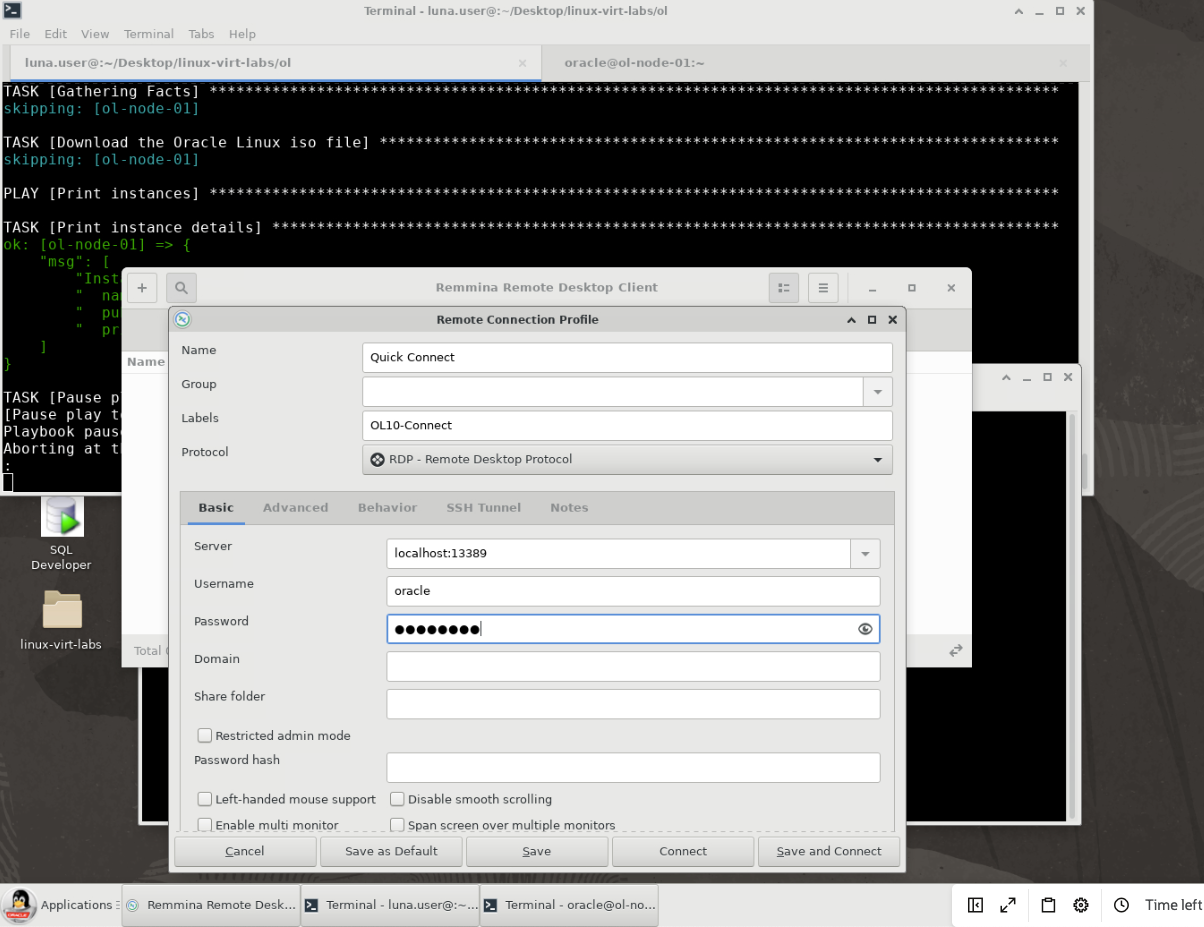
remmina -c rdp://oracle@localhost:13389Enter a name for the RDP connection in the Name field and select
RDP - Remote Desktop Protocolin the Protocol list of values.Log on to the deployed server's GUI environment.
Enter the following values and then press the Connect button.
- Server:
localhost:13389 - Username:
oracle - Password:
12345678
- Server:
The Gnome Desktop Manager is displayed, presenting you with a Gnome login session.
Log in with your user's Linux credentials.
The credentials in the free lab environment are:
- Username:
oracle - Password:
oracle
- Username:
You are now remotely logged onto the system.
Oracle Linux 10:
A 'Welcome' dialog appears.
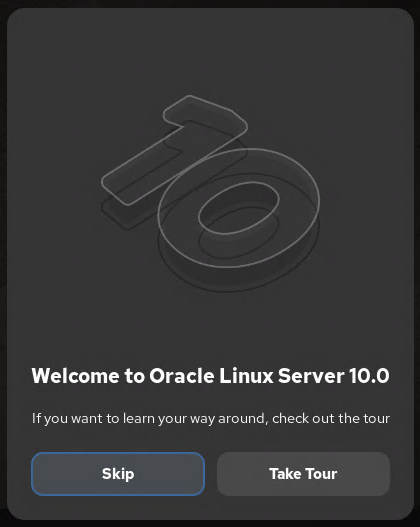
Press the Skip button (or press
Enter), and the 'Welcome' dialog will disappear.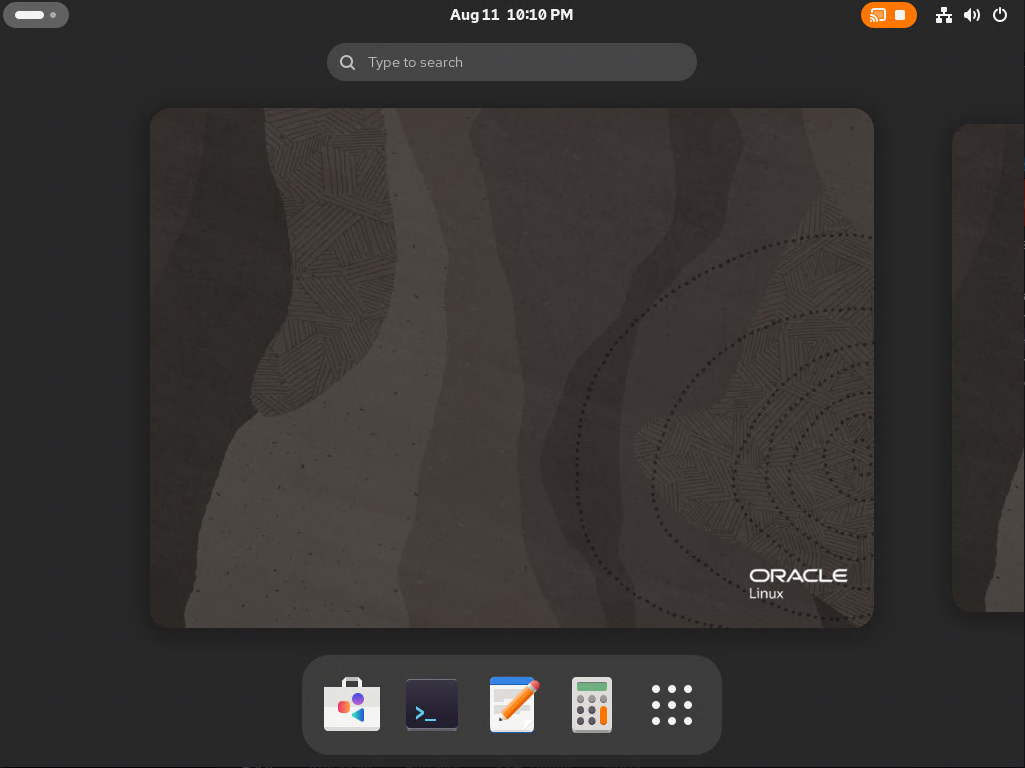
If you encounter connectivity problems, troubleshoot these issues by connecting to the remote server over an SSH tunnel connection.
You may need to perform additional steps if you want to connect to an Oracle Cloud Infrastructure instance. For more information, see Connecting to an Instance in the Oracle Cloud Infrastructure documentation.
If you are trying to connect to a virtual machine hosted by Oracle VM VirtualBox, then you need to configure additional port forwarding for remote access. You can find instructions for configuring virtual networks in the User Guide for your installed version of Oracle VM VirtualBox.
(Optional) Configure the Firewall Rules
When running on a secure private network, you can open the firewall port for the RDP service, which uses a default port of 3389.
sudo firewall-cmd --permanent --add-port=3389/tcp
sudo firewall-cmd --reload
Note: While RDP uses TLS to encrypt the protocol, you should not open the firewall to this port and connect directly to an RDP server over an unprotected network. Although we list this step as optional, we do not advise using it. Instead, you should consider using SSH tunnelling or another mechanism to protect the connection, as demonstrated in the non-optional steps.
Next Steps
You should now have a functional remote desktop environment for running your graphical applications. Check out our other content on the Oracle Linux Training Station.