Create VMs with KVM on Oracle Linux
Introduction
Kernel-based Virtual Machine (KVM) is an open-source type-1 (bare-metal) hypervisor. This functionality permits a host system, such as Oracle Linux, to host multiple virtual machines (VMs) or guests when running on supported hardware.
This tutorial will deploy Oracle Linux Kernel Virtualization Manager (KVM) to create a virtual machine.
Objectives
- Deploy KVM
- Deploy Cockpit for Virtual Machines
- Create a Virtual Machine from an ISO
- Create a Virtual Machine using Oracle Cloud Images
Prerequisites
Any Oracle Linux system with the following configurations:
- A non-root user with sudo permissions
Deploy Oracle Linux
Note: If running in your own tenancy, read the linux-virt-labs GitHub project README.md and complete the prerequisites before deploying the lab environment.
Open a terminal on the Luna Desktop.
Clone the
linux-virt-labsGitHub project.git clone https://github.com/oracle-devrel/linux-virt-labs.gitChange into the working directory.
cd linux-virt-labs/olInstall the required collections.
ansible-galaxy collection install -r requirements.ymlDeploy the lab environment.
ansible-playbook create_instance.yml -e localhost_python_interpreter="/usr/bin/python3.6" -e instance_ocpus="4" -e instance_memory="64"The free lab environment requires the extra variable
local_python_interpreter, which setsansible_python_interpreterfor plays running on localhost. This variable is needed because the environment installs the RPM package for the Oracle Cloud Infrastructure SDK for Python, located under the python3.6 modules.The default deployment shape uses the AMD CPU and Oracle Linux 8. To use an Intel CPU or Oracle Linux 9, add
-e instance_shape="VM.Standard3.Flex"or-e os_version="9"to the deployment command.Important: Wait for the playbook to run successfully and reach the pause task. At this stage of the playbook, the installation of Oracle Linux is complete, and the instances are ready. Take note of the previous play, which prints the public and private IP addresses of the nodes it deploys and any other deployment information needed while running the lab.
Validate Environment Supports Virtualization
Open a terminal and connect via SSH to the ol-node-01 instance.
ssh oracle@<ip_address_of_instance>Run the following command to determine your CPU type.
grep -e 'vendor_id' /proc/cpuinfo | uniqThe
vendor_idreports eitherAuthenticAMDfor an AMD CPU orGenuinIntelfor an Intel CPU.Check if the hardware supports virtualization.
Run the command that matches your CPU type.
- Verify the AMD V CPU extensions exist.
grep -w -o 'svm' /proc/cpuinfo | uniq- Verify that the Intel VT CPU extensions are present.
grep -w -o 'vmx' /proc/cpuinfo | uniqThe existence of one of these flags in the command output indicates that this system supports virtualization. You can also use the
lscpucommand and look for theVirtualizationentry in the output.Check for the loaded KVM modules.
lsmod | grep kvmThe output displays the KVM kernel module and, depending on the system's hardware, either the
kvm_amdorkvm_intelprocessor module. On modern Linux systems, these modules should load by default.
Install and Start KVM
Check the running version of Oracle Linux.
hostnamectl | grep 'Operating System'Install the associated software packages for Oracle Linux virtualization.
Run the command based on your installed operating system.
Oracle Linux 8:
sudo dnf module install -y virtOracle Linux 9 and Oracle Linux 10:
sudo dnf install -y qemu-kvm libvirtThese commands install the virtualization packages, which include libvirt, qemu-kvm, and other dependencies on Oracle Linux.
Install
virt-installandvirt-viewer.sudo dnf install -y virt-install virt-viewerInstall these packages to enable HTTPS protocol support for an image installation source.
Oracle Linux 8:
This functionality is available by default in this version of Oracle Linux.
Oracle Linux 9 and Oracle Linux 10:
sudo dnf install -y qemu-kvm-block-curlValidate that the host machine is ready and set up to run libvirt VMs.
virt-host-validateIf all checks pass, the system is prepared for creating VMs. If any checks fail, follow the instructions to correct the problem. If any check returns the value of
WARN, consider following the instructions to improve the virtualization capabilities.In Oracle Linux 9, there is a
WARNmessage regarding the cgroup devices controller support. This is expected based on an upstream issue that states,With cgroups v2 there is no devices controller; eBPF should be used instead.Start the Systemd services and sockets, enabling them to start automatically on each boot. Then, check their status to confirm they are currently active.
Oracle Linux 8:
sudo systemctl enable --now libvirtd.service
sudo systemctl status libvirtd.service
Oracle Linux 9 and Oracle Linux 10:
for drv in qemu network nodedev nwfilter secret storage interface
do
   sudo systemctl start virt${drv}d{,-ro,-admin}.socket
done
for drv in qemu network nodedev nwfilter secret storage interface do sudo systemctl status virt${drv}d{,-ro,-admin}.socket doneOutput shows the service or sockets as enabled and running.
Set up the Cockpit Web Console to manage KVM on Oracle Linux
Install the cockpit-machines extension for managing VMs based on Libvirt.
sudo dnf install -y cockpit cockpit-machinesStart the cockpit socket and enable it to auto-start on system boot.
sudo systemctl enable --now cockpit.socket
sudo systemctl status cockpit.socket
Example Output:
[oracle@ol-node01 ~]$ sudo systemctl enable --now cockpit.socket
Created symlink /etc/systemd/system/sockets.target.wants/cockpit.socket -> /usr/lib/systemd/system/cockpit.socket.
[oracle@ol-node01 ~]$ sudo systemctl status cockpit.socket
* cockpit.socket - Cockpit Web Service Socket
   Loaded: loaded (/usr/lib/systemd/system/cockpit.socket; enabled; vendor pres>
   Active: active (listening) since Mon 2022-06-13 21:39:24 GMT; 10s ago
     Docs: man:cockpit-ws(8)
   Listen: [::]:9090 (Stream)
...
The output indicates the service is enabled and listening.
Open another terminal on the Luna Desktop and enter the following command to create a local port forward for the Cockpit web console using SSH.
ssh -L 9090:localhost:9090 oracle@<ip_address_of_instance>Open a web browser and enter the URL.
https://localhost:9090The Cockpit web console uses a self-signed certificate to enable HTTPS. Approve the security warning based on the browser used. For Chrome, click the
Advancedbutton and then theProceed to localhost (unsafe)link.Log in as the
oracleuser with the password oforacle.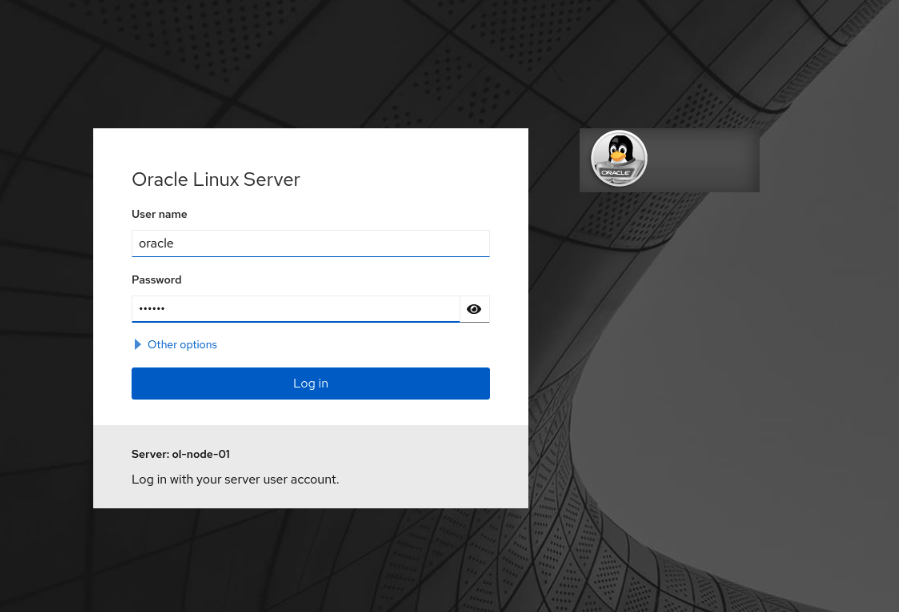
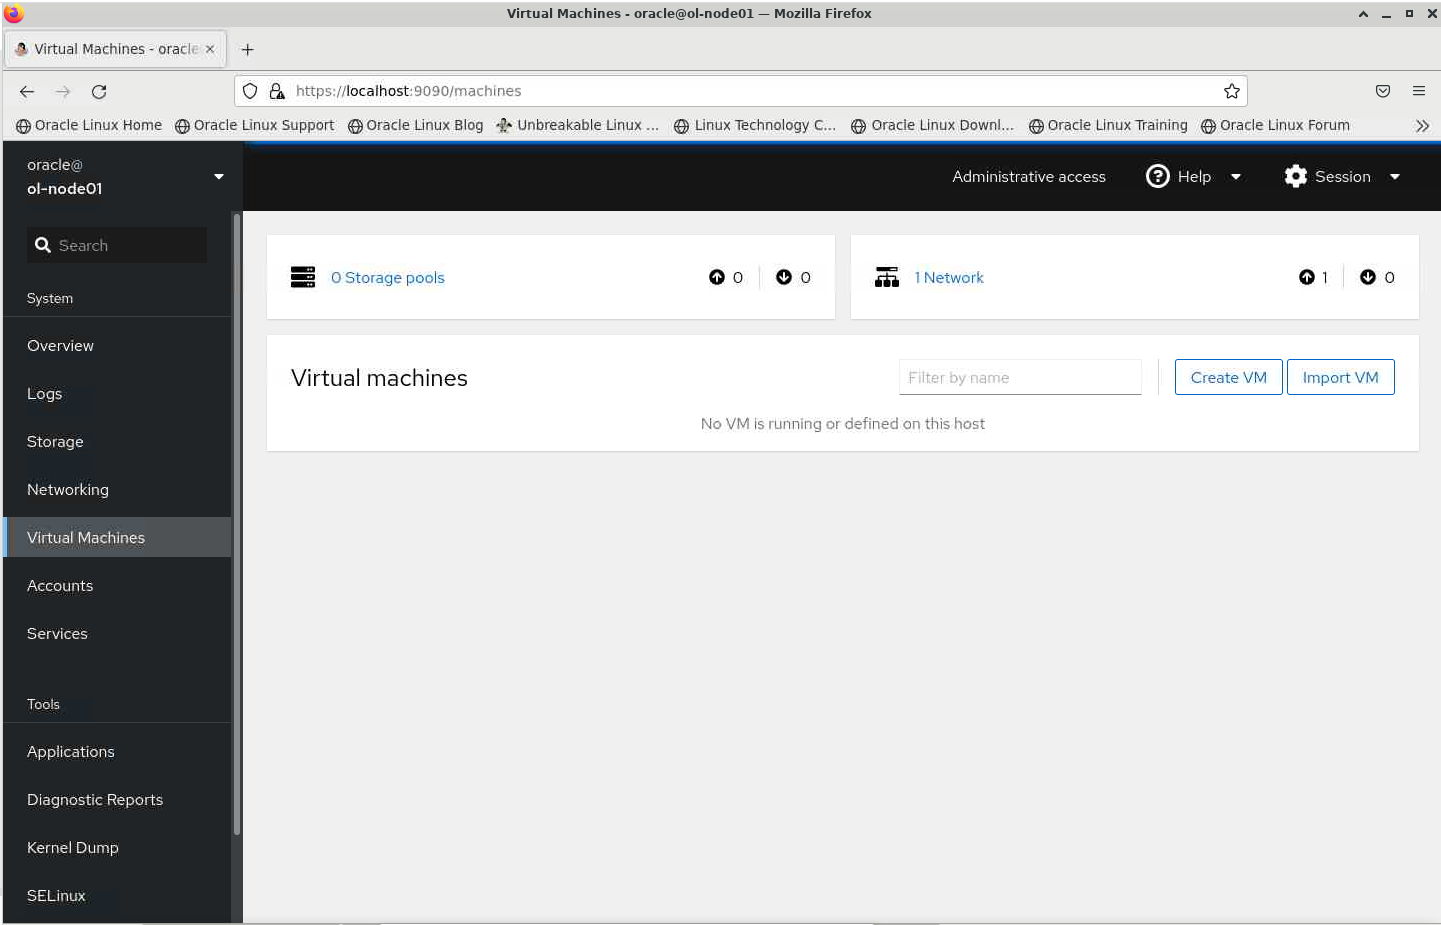
The Cockpit Dashboard is displayed.
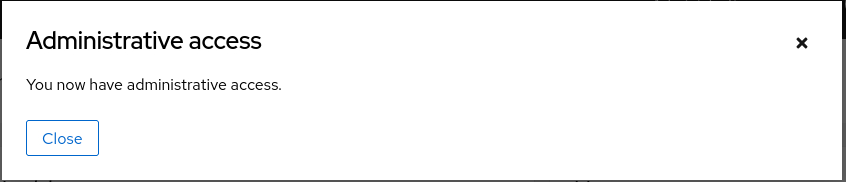
Click the "Limited Access" button to gain Administrative privileges.

Close the Administrative access window.
Create a Virtual Machine from an ISO
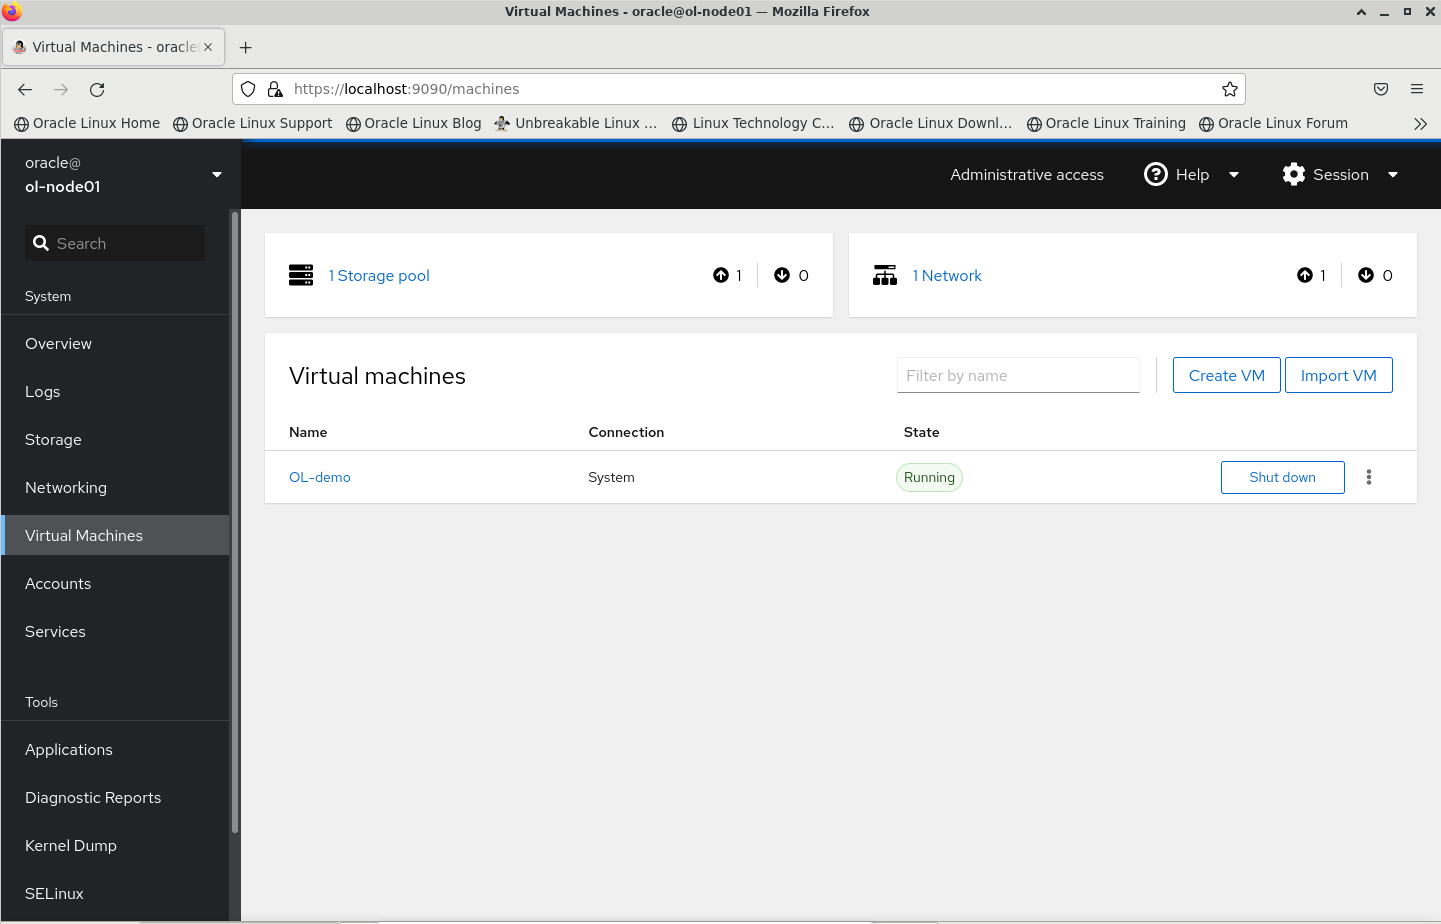
Click the "Virtual Machines" option in the navigation panel on the left.
Click the "Create VM" button.
Provide the following information in the Create new virtual machine dialog.
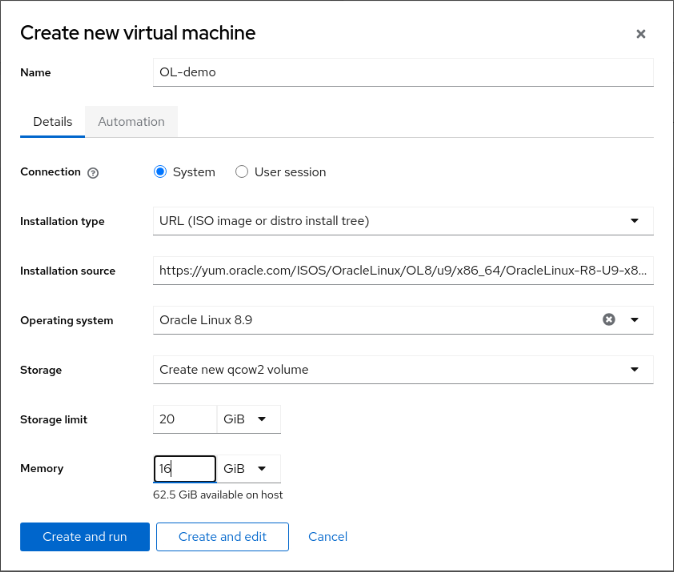
- Installation source:
https://yum.oracle.com/ISOS/OracleLinux/OL8/u10/x86_64/OracleLinux-R8-U10-x86_64-dvd.iso
Oracle provides access to the Oracle Linux Installation Media from https://yum.oracle.com/oracle-linux-isos.html . The disk size of
10 GiBand memory of1 GiBare just for this tutorial and are not recommended for real-world use.- Installation source:
Click "Create and run" to begin.
From the list of Virtual Machines, click the ol-demo link.
Scroll down to view the VNC Console.
If you're quick enough, you will see a menu with the options to Install Oracle Linux or Test this media and Install. The Test option will be selected by default after a few seconds. The installer validates that the content on the media is good and then starts the installation.

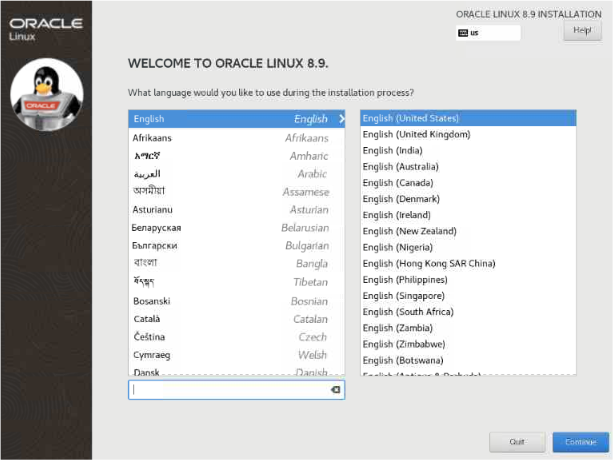
Once the installer boots, you are presented with the Welcome to Oracle Linux screen. You begin the installation by selecting your language for the installation process.
This lab does not continue with the installation process.
Note: Check out these free videos demonstrating the Oracle Linux 8 and Oracle Linux 9 installation process.
Close the web browser by clicking the 'X' in the window's top-right corner.
Create a Virtual Machine using Oracle Cloud Images
- Switch to the terminal running your KVM server.
Change to the KVM image storage location.
cd /var/lib/libvirt/imagesDownload the Oracle Linux VM template.
sudo curl -O https://yum.oracle.com/templates/OracleLinux/OL8/u10/x86_64/OL8U10_x86_64-kvm-b237.qcow2Create a metadata file.
cat << 'EOF' | sudo tee ~/meta-data > /dev/null
instance-id: iid-local01
local-hostname: vm-01
EOF
Create a user-data file.
cat << 'EOF' | sudo tee ~/user-data > /dev/null
#cloud-config

system_info:
  default_user:
    name: opc

ssh_authorized_keys:
  - <paste_public_key_here>
EOF
Generate an SSH Key Pair
ssh-keygen -t rsa -b 4096Hit
Enterto accept each of the defaults. The command writes the key pair to the.sshdirectory in the user's home.Copy the public key into the user-data file.
SSHKEY=$(cat ~/.ssh/id_rsa.pub)
sed -i "s|<paste_public_key_here>|${SSHKEY}|g" ~/user-data
Generate the ISO image.
Oracle Linux 8:
sudo genisoimage -output /var/lib/libvirt/images/vm-01.iso -volid cidata -joliet -rock ~/user-data ~/meta-dataOracle Linux 9 and Oracle Linux 10:
sudo xorriso -as mkisofs -o /var/lib/libvirt/images/vm-01.iso -V cidata -J -R ~/user-data ~/meta-dataFind the OS variant that best matches your image.
Oracle Linux 8:
osinfo-query os | grep ol8Oracle Linux 9 and Oracle Linux 10:
virt-install --os-variant list | grep ol8Create the instance.
Oracle Linux 8:
sudo cp /var/lib/libvirt/images/OL8U10_x86_64-kvm-b237.qcow2 /var/lib/libvirt/images/vm-01.qcow

sudo virt-install --name vm-01 \
--memory 2048 \
--vcpus 2 \
--disk /var/lib/libvirt/images/vm-01.qcow,device=disk,bus=virtio \
--disk /var/lib/libvirt/images/vm-01.iso,device=cdrom \
--os-type linux --os-variant ol8.10 \
--virt-type kvm --graphics none \
--network network=default,model=virtio \
--noautoconsole \
--import
Oracle Linux 9 and Oracle Linux 10:
The
--os-typeoption is deprecated and no longer required to create a virtual machine when runningvirt-install.sudo cp /var/lib/libvirt/images/OL8U10_x86_64-kvm-b237.qcow2 /var/lib/libvirt/images/vm-01.qcow sudo virt-install --name vm-01 \ --memory 2048 \ --vcpus 2 \ --disk /var/lib/libvirt/images/vm-01.qcow,device=disk,bus=virtio \ --disk /var/lib/libvirt/images/vm-01.iso,device=cdrom \ --os-variant ol8.10 \ --virt-type kvm --graphics none \ --network network=default,model=virtio \ --noautoconsole \ --importList the VMs.
sudo virsh listRetrieve the IP address of the
vm-01virtual machine.sudo virsh net-dhcp-leases --network defaultNote: Depending on how quickly the virtual machine starts, you may need to rerun the command to display the IP address.
Alternatively, you can filter by the MAC address.
sudo virsh domiflist vm-01Copy the MAC address from the previous output and provide it in the following command.
sudo virsh net-dhcp-leases --network default --mac <MAC_address>Verify the virtual machine works by connecting with
ssh.ssh opc@<ip_address_of_vm-01>You can verify the version and get additional details about the OS within the virtual machine by running
hostnamectl.Example Output:
[oracle@ol-node01 images]$ ssh opc@192.168.122.46
The authenticity of host '192.168.122.46 (192.168.122.46)' can't be established.
ECDSA key fingerprint is SHA256:xcuVfQdoFDCC72i7plD0OfqDTSBG6QWhOm5ti4HIKEs.
Are you sure you want to continue connecting (yes/no/[fingerprint])? yes
Warning: Permanently added '192.168.122.46' (ECDSA) to the list of known hosts.

[opc@vm-01 ~]$ hostnamectl
   Static hostname: vm-01
         Icon name: computer-vm
           Chassis: vm
        Machine ID: 30c9345b511448b681aafb3371de9792
           Boot ID: c2d5586b094f4d299a4ba6c05086d004
    Virtualization: kvm
  Operating System: Oracle Linux Server 8.10
       CPE OS Name: cpe:/o:oracle:linux:8:10:server
            Kernel: Linux 5.15.0-206.153.7.1.el8uek.x86_64
      Architecture: x86-64
(Optional) View VM from the Cockpit Dashboard
The previously opened SSH tunnel should still be available if you did not exit and close that terminal session. If it is not open, create a new tunnel using ssh -L 9090:localhost:9090 oracle@<instance_ip_address>.
Switch to a web browser and enter the URL.
https://localhost:9090Log in as the
oracleuser with the password oforacle.The Cockpit Dashboard is displayed.
If necessary, click the "Limited Access" button to gain Administrative privileges.
Click the "Virtual Machines" option in the navigation panel on the left.
From the list of Virtual Machines, click the vm-01 link.
Explore the Virtual Machine's Overview, Disks, and Network Interfaces sections.
Note: The console is inactive within Cockpit as we create the
vm-01virtual machine using the--graphical noneoption withvirt-install.
Next Steps
The virtual shell and Cockpit provide two different ways to create and interact with KVM virtual machines. With these basics, you can explore and further enhance your virtualization skillset.